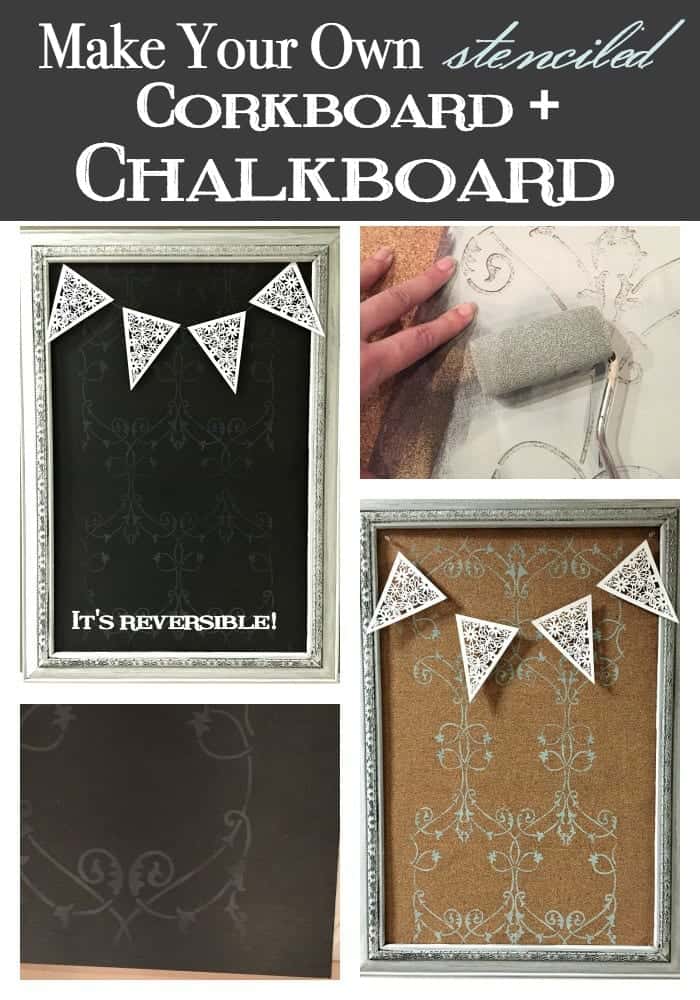
DIY Stenciled Chalkboard (for my tween)
I’m updating my daughter’s room and this project was inspired by her. We’ve had a lot to do in this space, and it’s transformed quite a bit now that she’s become a “tween”.
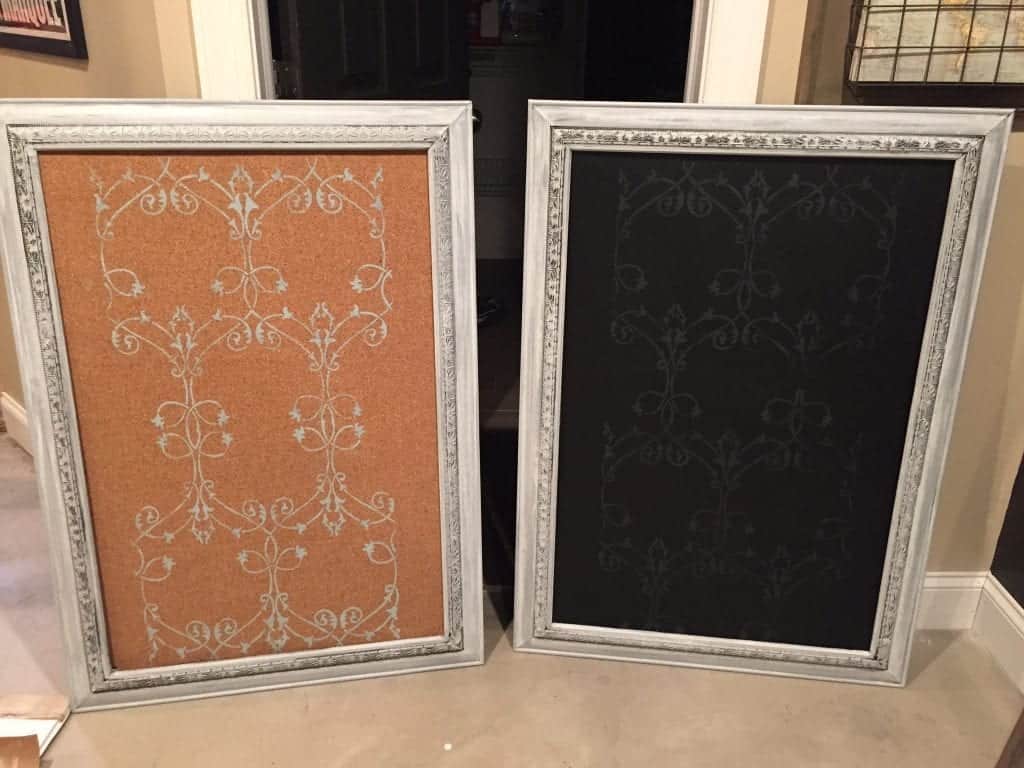
Reversible Chalk & Cork Board
(Great for college, kids rooms, or those of us that can’t make up our mind).
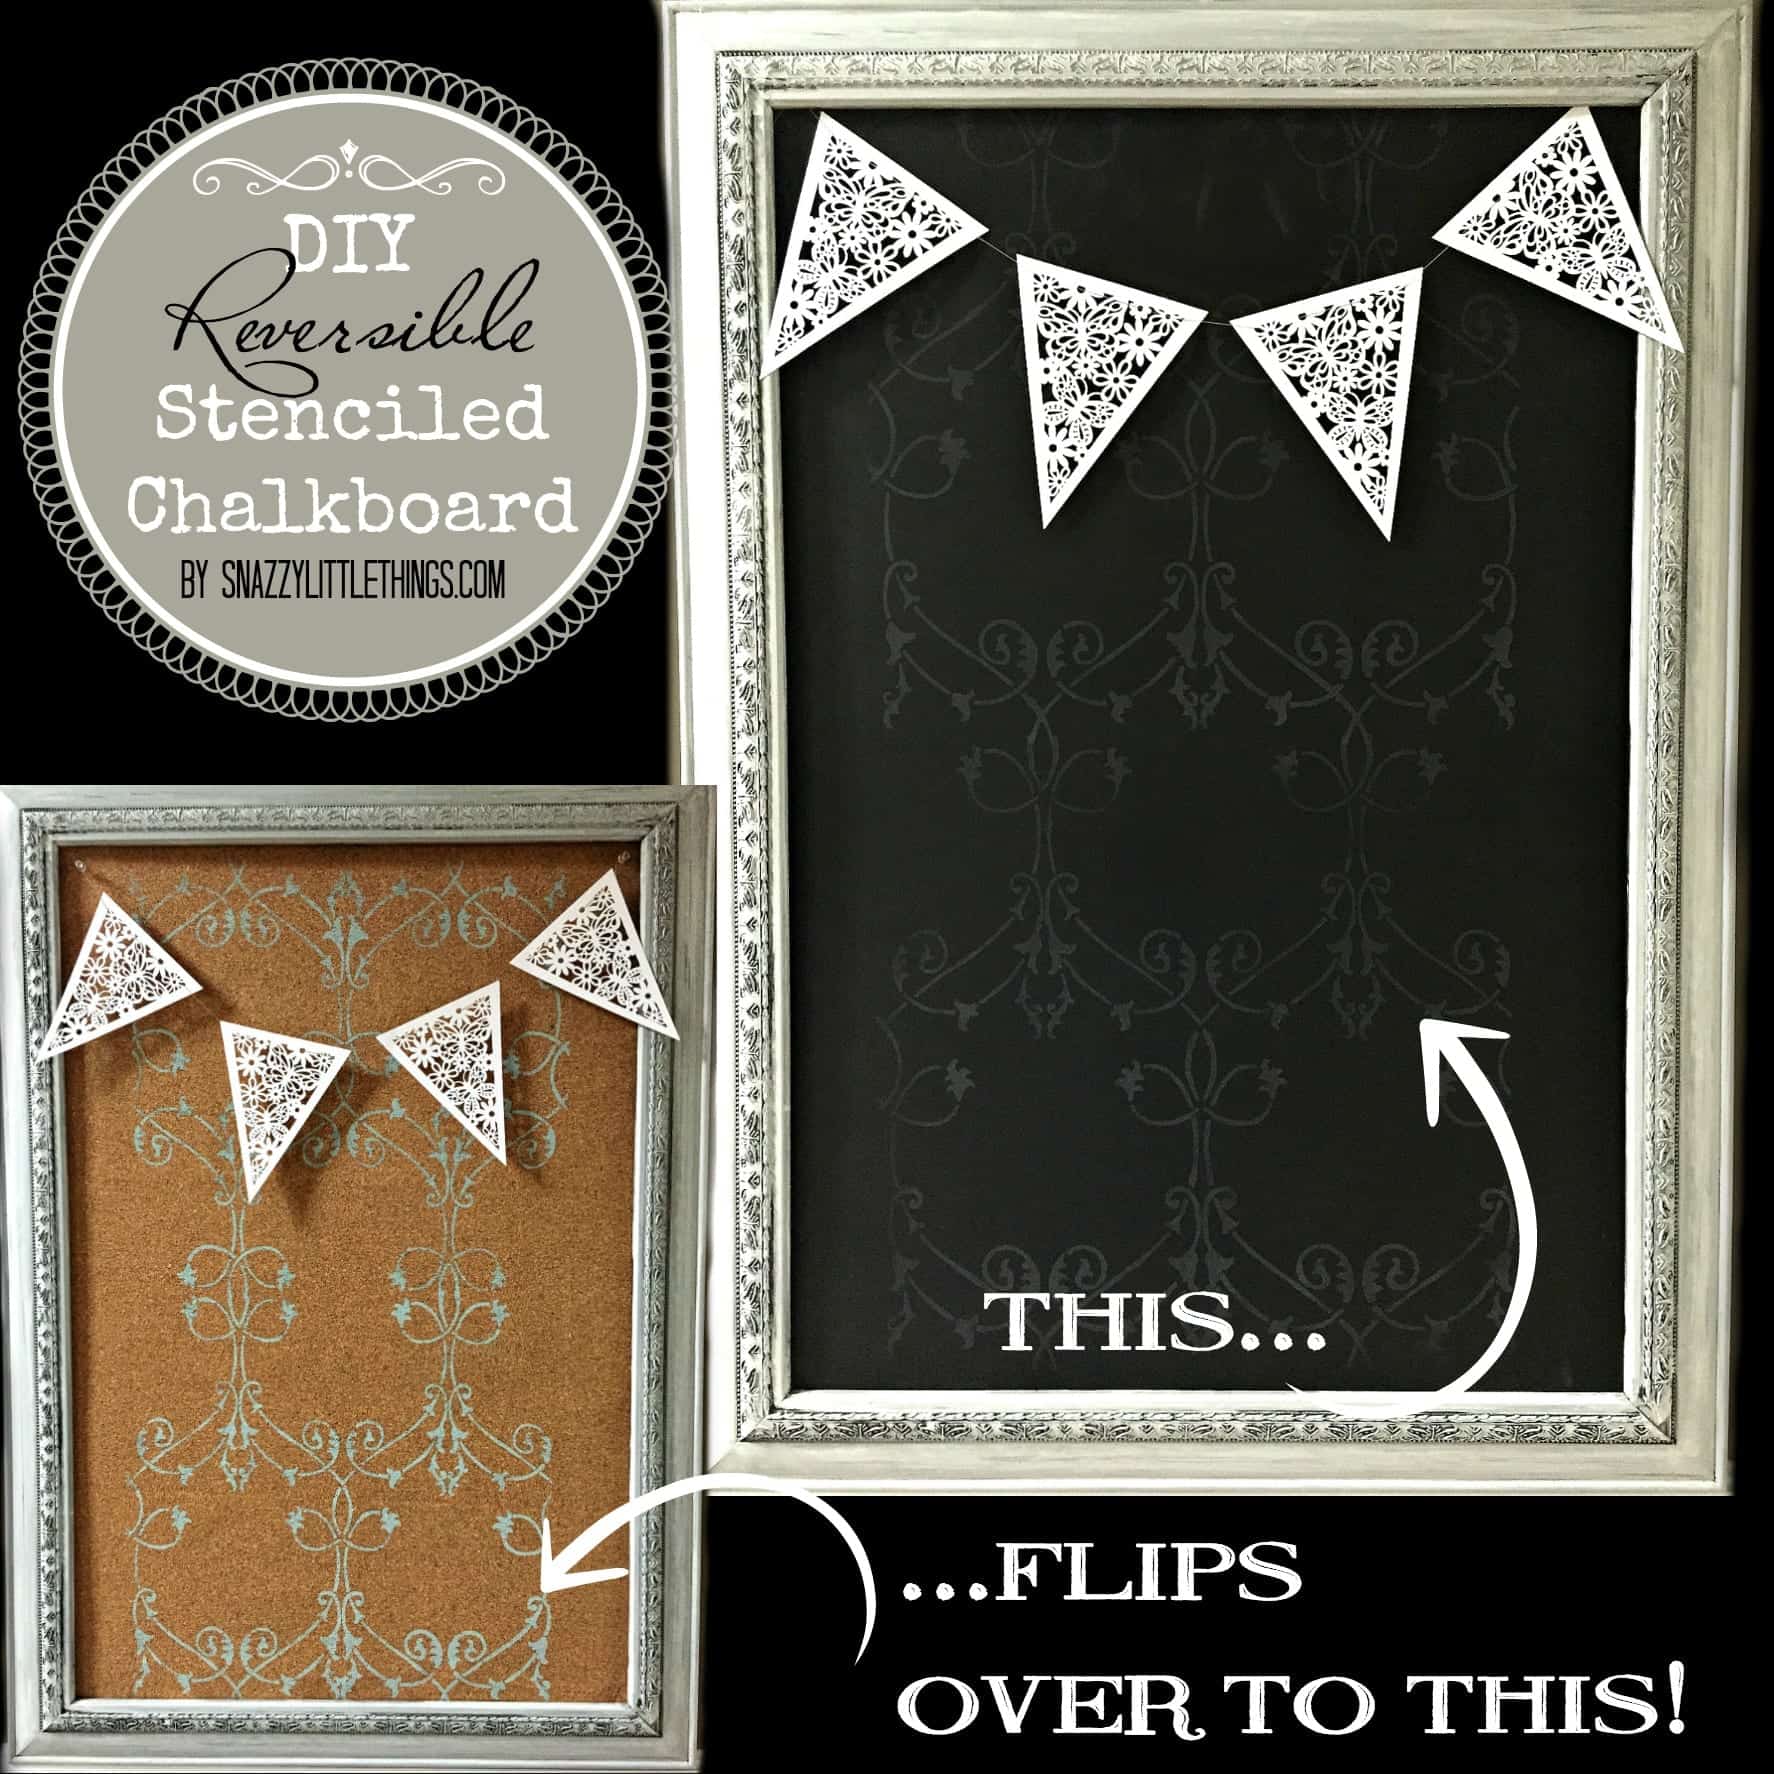
Start with a two-sided panel. One side chalkboard + one side cork.
Total Cost Each = approximate $30 each (I used a lot of leftover materials)
Time: In one evening I created two reversible frames
Supply List:
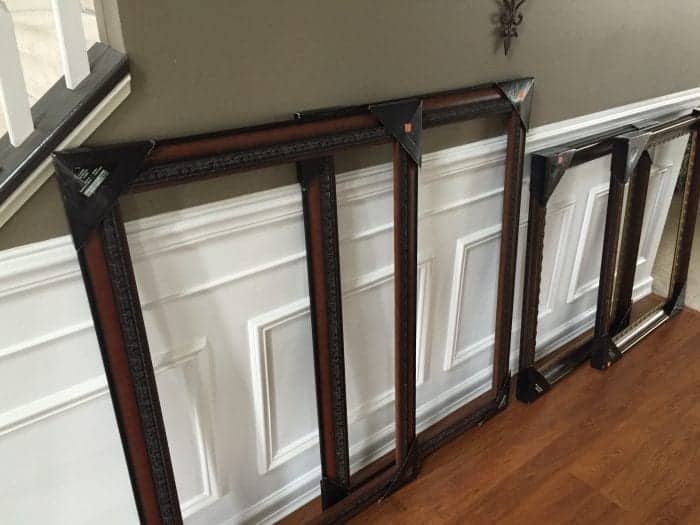
* Two empty 24″ x 36″ frames (I found mine for $14.99 on clearance at Michael’s Stores)
* Two corkboard rolls ($10.99 each)
* Two plywood pieces ($5.00 ea) cut to fit inside each frame
* 1 qt. of black chalkboard paint $10.99 (or you can find it cheaper at the craft store)
* 6 oz. beige Martha Stewart chalkboard paint (for stenciling)
* Acrylic Craft Paint or chalk paint for frames $1.99
* Foam Brushes ($2.99)
* Stencil (used one from home)
* Exacto Knife
* Hot Glue Gun + Glue Sticks
* Primer + Paint of your choice
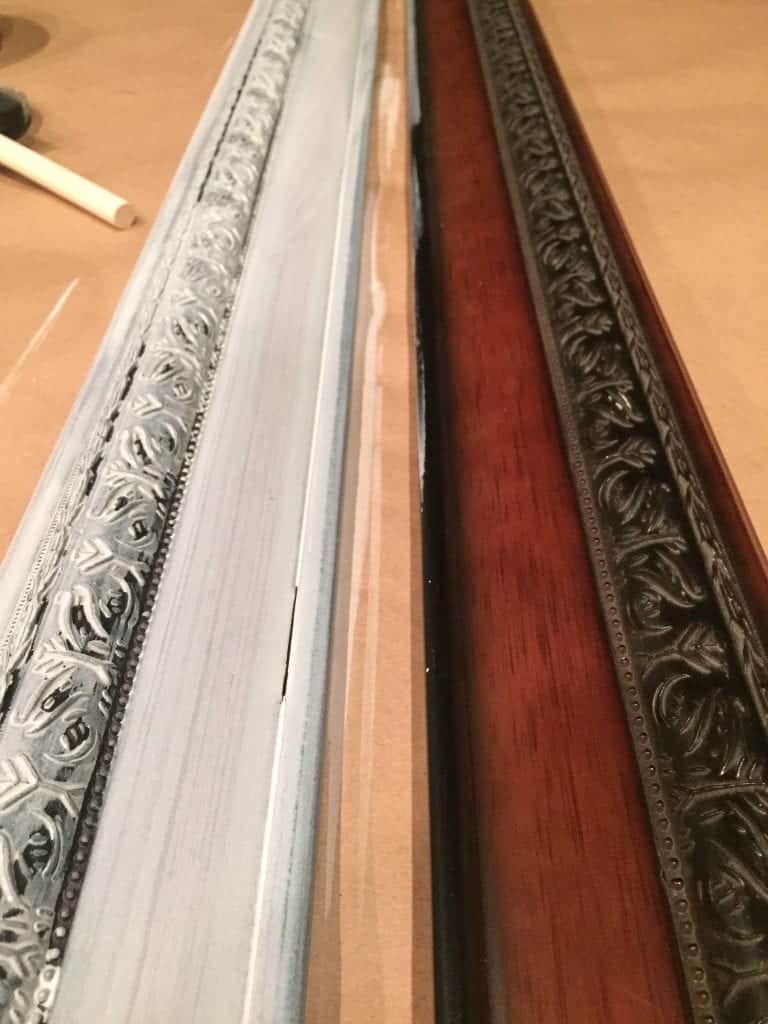
1) Prep Frames:
Paint the frame in a color of your choice. In my case I used many varieties of leftover paints (chalk paints), but you can purchase chalky paint in craft stores. I love DecoArt paints, they go on very smooth, or you can mix your own.
2) Cut, Sand & Paint the Plywood:
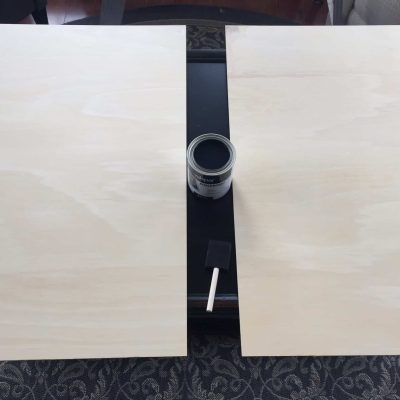
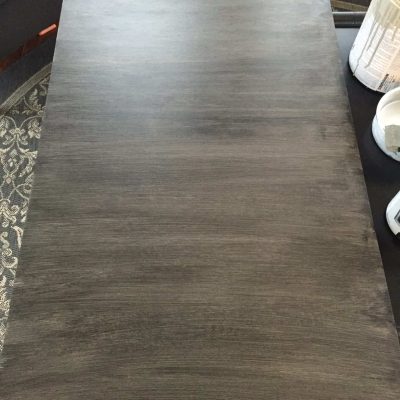
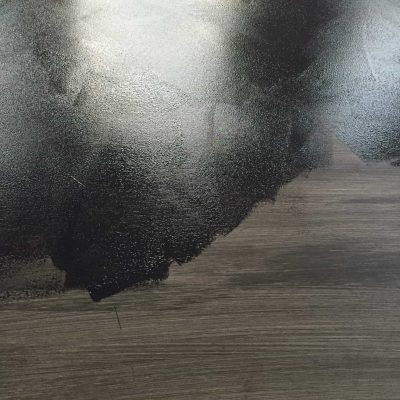
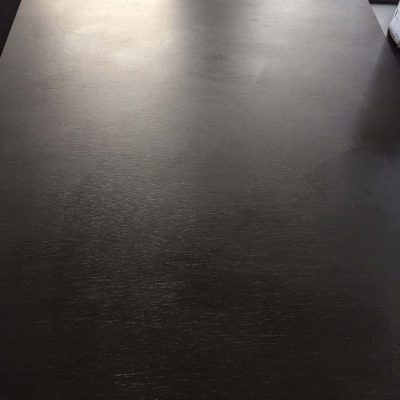
Cut plywood to fit the frame. Choose a no-knots side and sand it out (this side will be your chalkboard) until smooth. Using a foam brush, apply primer on one side. Followed by 3 coats of chalkboard paint. Lightly sand in between coats. Let dry. (Tip! Before actually using chalk on the chalkboard and eliminating the waxy feeling, you will want to “season” the board).
3) Hot Glue Corkboard on opposite side of chalkboard:
Once your chalkboard is dry, flip the plywood over. Now you’re creating the “reversible” side. Apply corkboard like wallpaper rolled up, apply hot glue at the top, then roll downward. Align corkboard while pressing is down smooth onto the plywood. Keep working your way down the board until the entire board is covered and you’ve unrolled the entire piece of corkboard. Ensure the edges are especially secure and hot glue the edges so they are secure. This corkboard is fragile. Carefully trim edges with an exacto knife to ensure a snug fit inside the frame. Place inside the frame and secure in your frame.
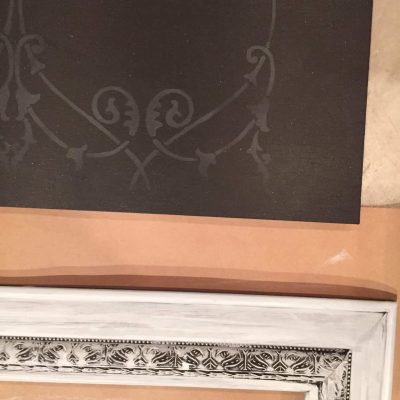
4) Apply Stenciling:
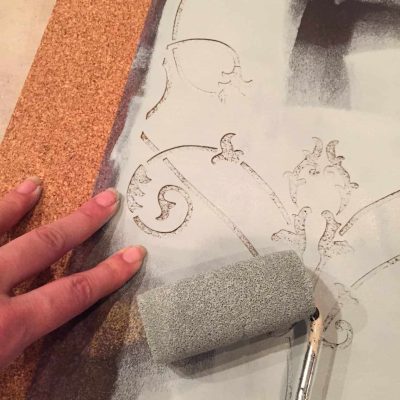

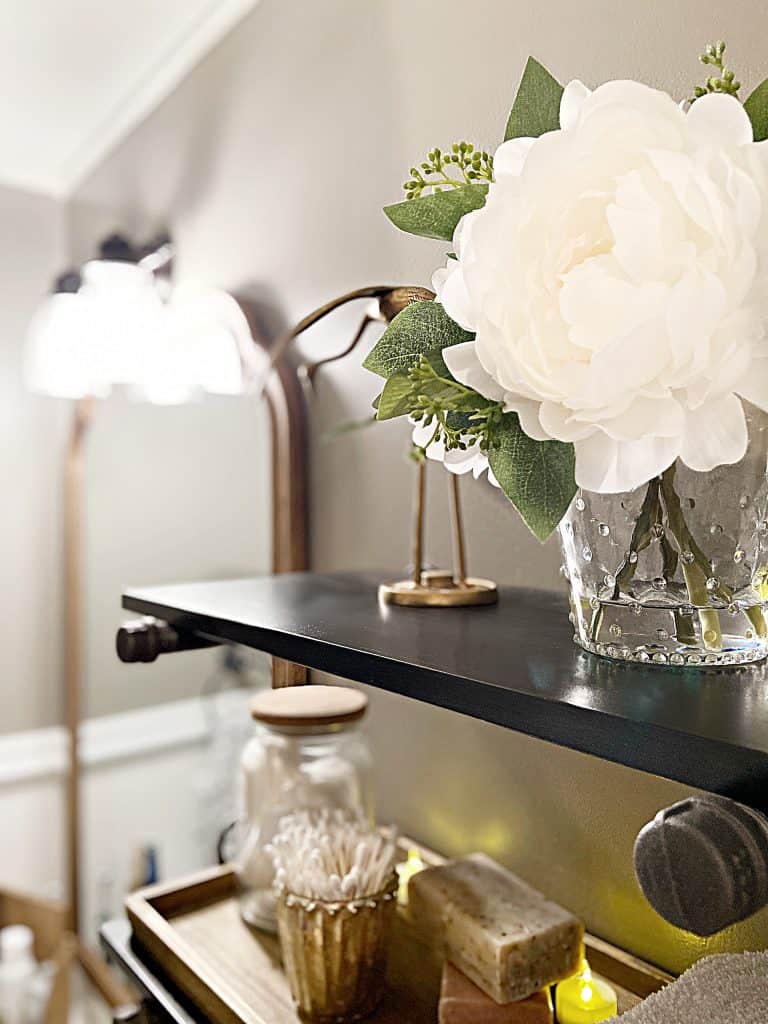
And there you have it! Come take a tour of her room…she may even be outgrowing these a little bit, but if that’s the case, I might want them!

I’m not seeing how they are reversible.
Jeanette, this is so perfect and practical for a tween. Your daughter will feel so grown up with her own special decor. I’m thrilled to be a part of the #BestofDIY line up with you. Hugs Kerryanne xx
Jeanette, that is soooo cool and I’m sure you daughter loves it. How creative you are. Here’s to a great party, have a nice weekend, Lisa at Concord Cottage
Jeanette – What a genius idea! You daughter is one lucky girl to have such a creative mom :)
What a great project for your tween’s room. I know she’ll enjoy this for many years. I’d like to have this in my room. :)
This is such a clever and useful and sooooo pretty projects! Forget the tweens.. I would love to have it!
LOVE it Jeanette! What a pretty and fun transformation! I bet she loves it too!
Great project! Awesome for a teen :)
Brilliant Jeanette! :) Bet she will enjoy that!
Nancy
It turned out beautifully! I am sure your daughter loves it!
Cute cute cute! Love the idea of a faint stencil in the background!
I LOVE how this turned out!
Oh Jeanette! Glad to see the light stencil on the chalkboard side too! Great job and I can’t wait to see the completed room. Jeanette
This turned out great! I can totally see one of these in my pantry :)
I love the bunting – source?
Love this idea! Totally adorable and perfect for a tween room. My daughter would love it!