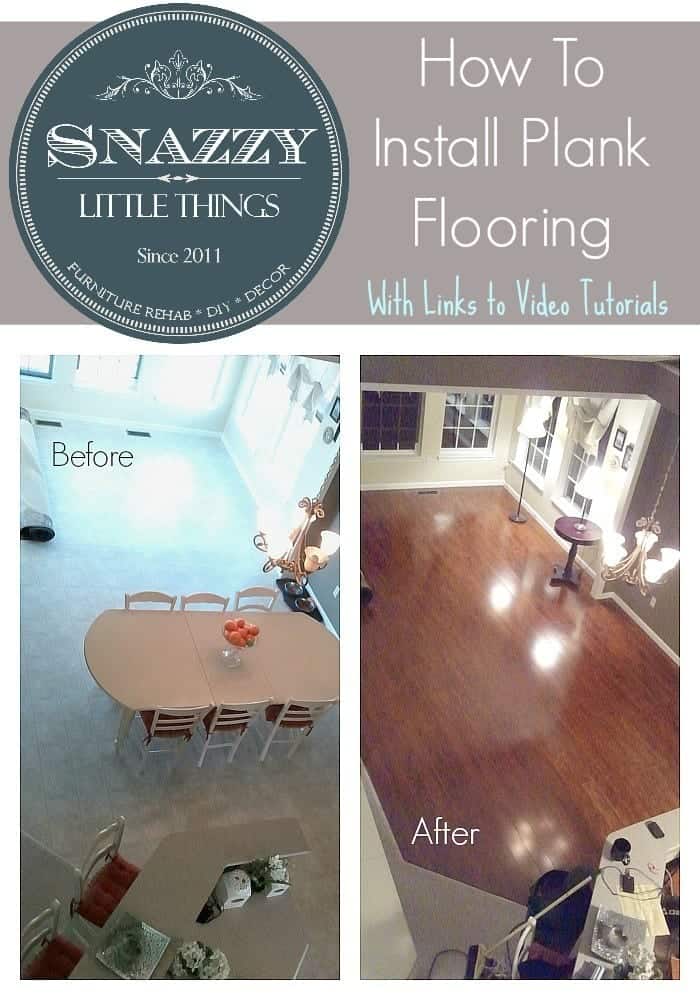
DIY Laminate Floor Installation
DIY Laminate Floor Installation
Cost = $1.95 / square foot
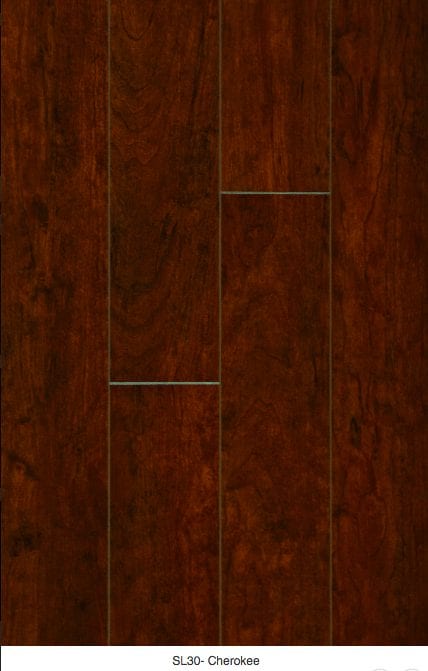
Product we chose: Purchased from BestLaminate.net. Item #SL30CH-SP (Diamond Living, Southern Lakes, Laminate Piano Finish. Color=Cherokee)
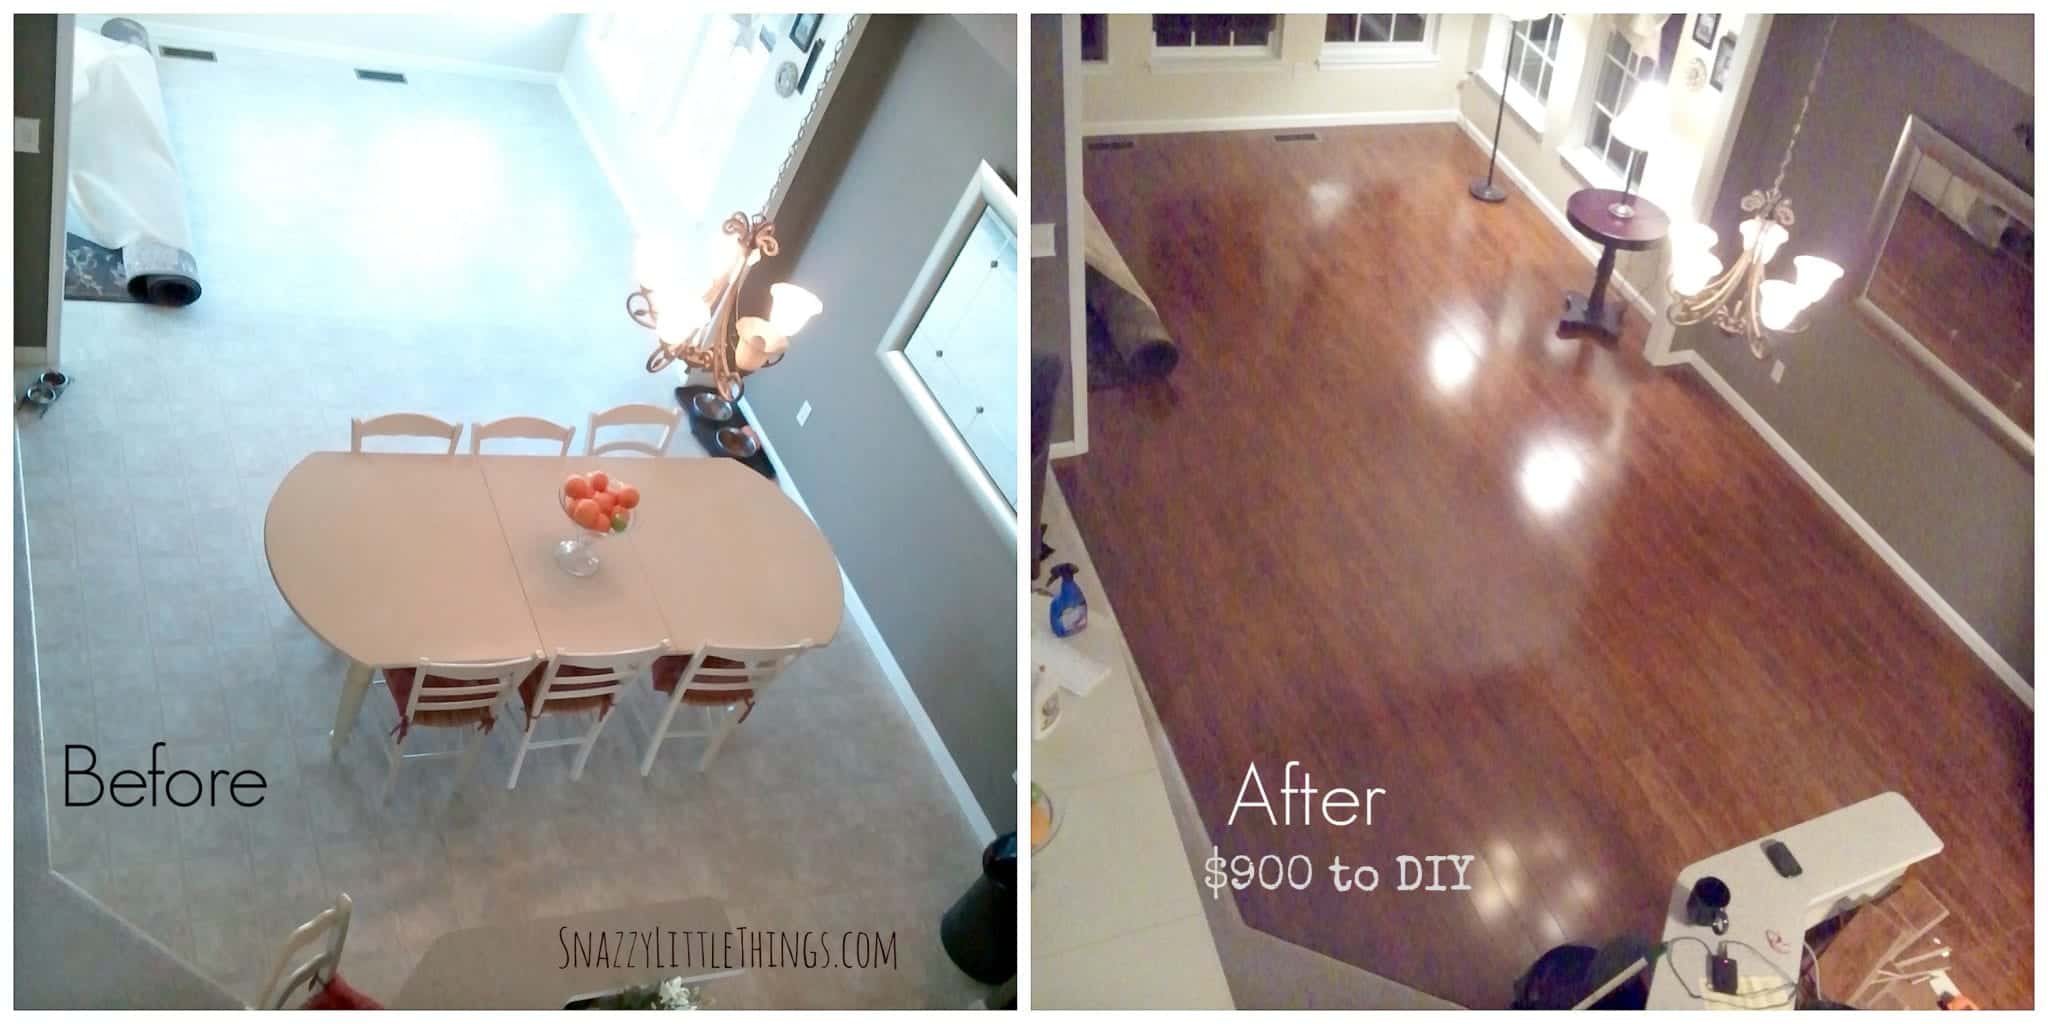
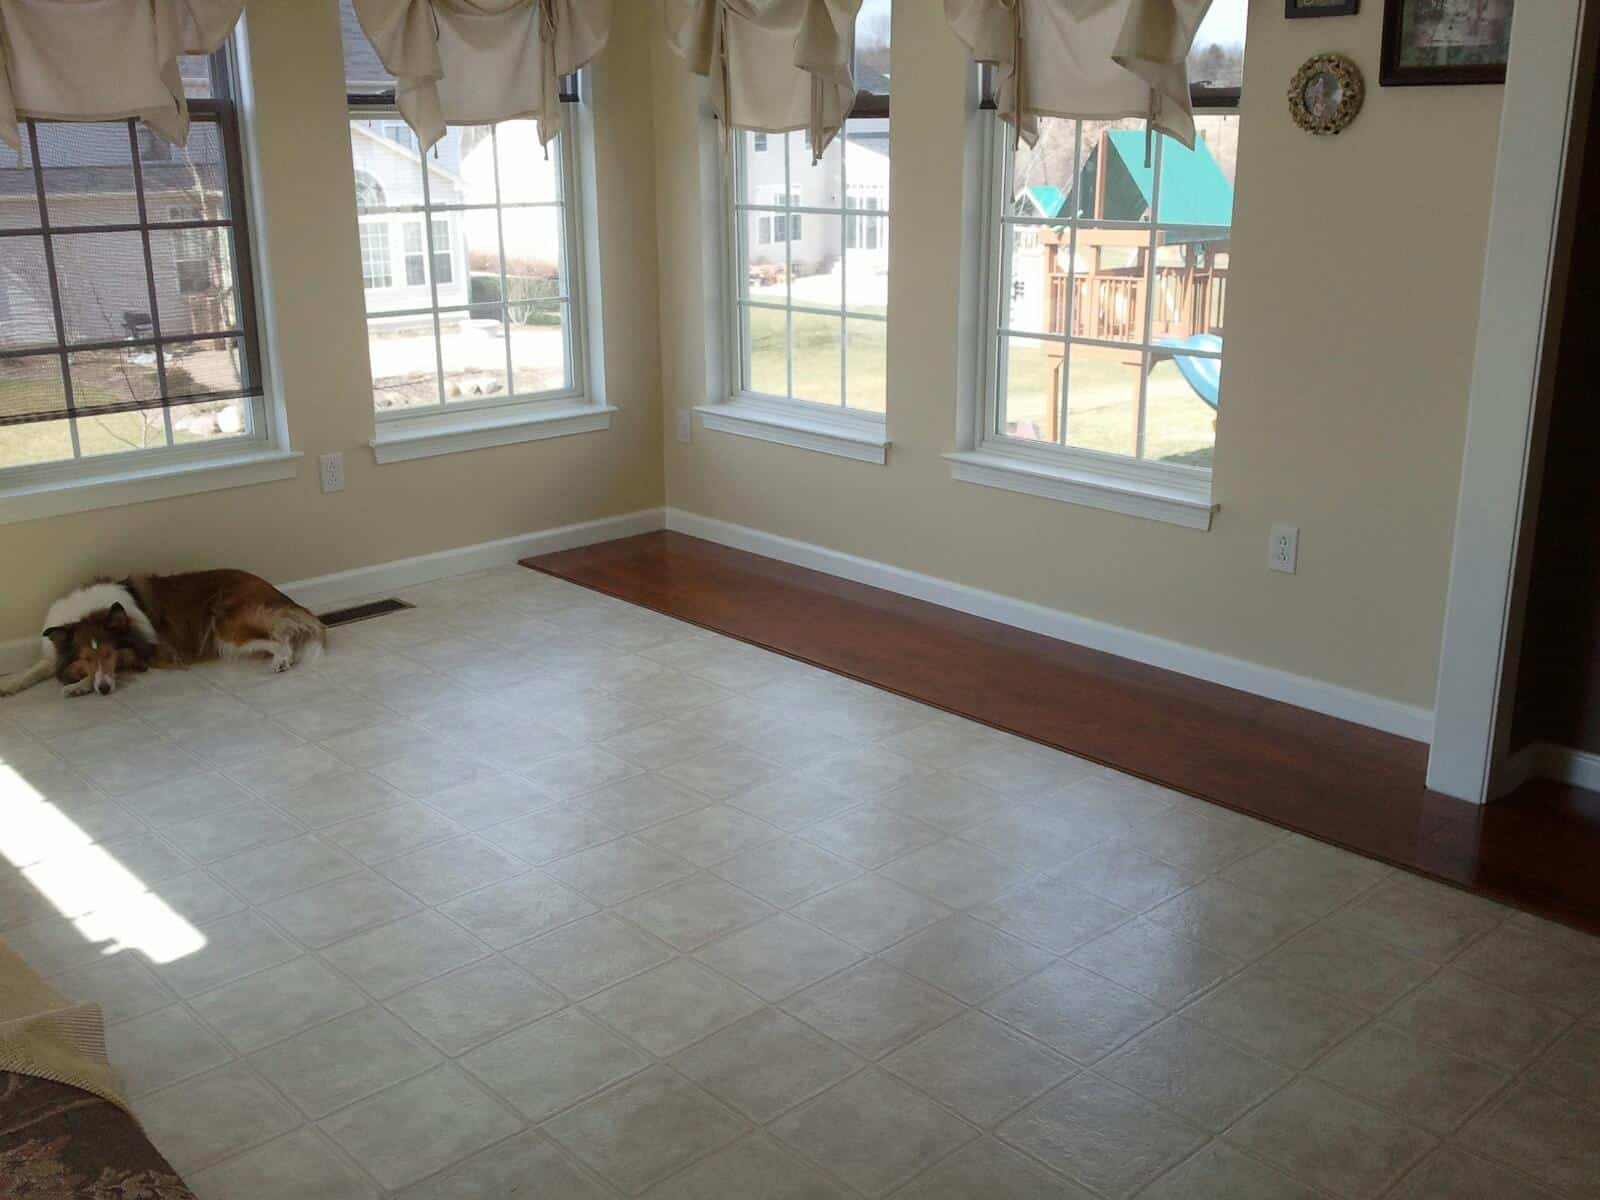
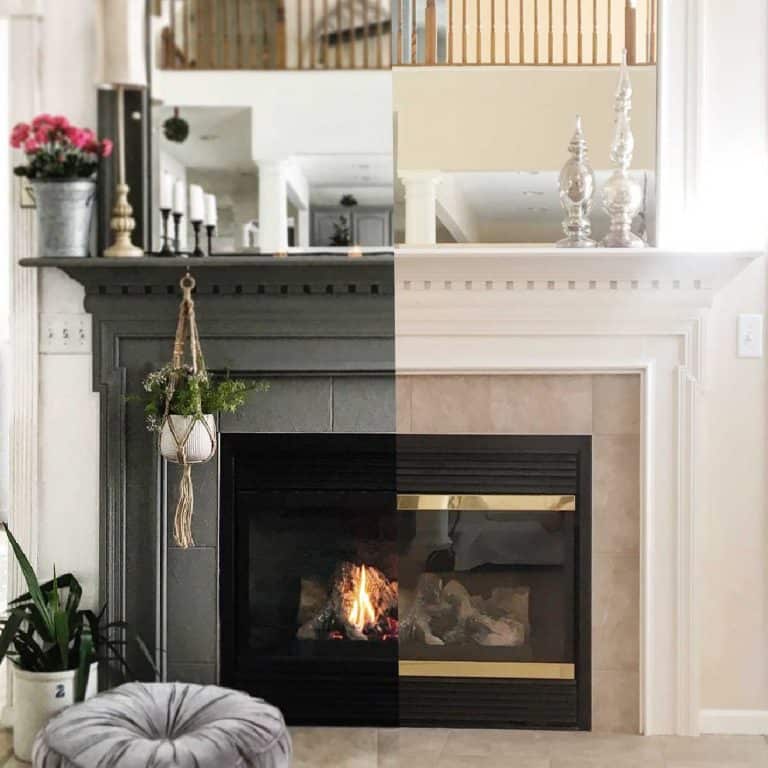
The white flooring (pictured left) was what came standard with the house when I built it back in 2005. Instead of fancy upgrades (including wood flooring), I chose to expand square footage instead. My thought process was that I could DIY my interior upgrades later.
Another view before the install as we prepped for the project (taken in 2012).
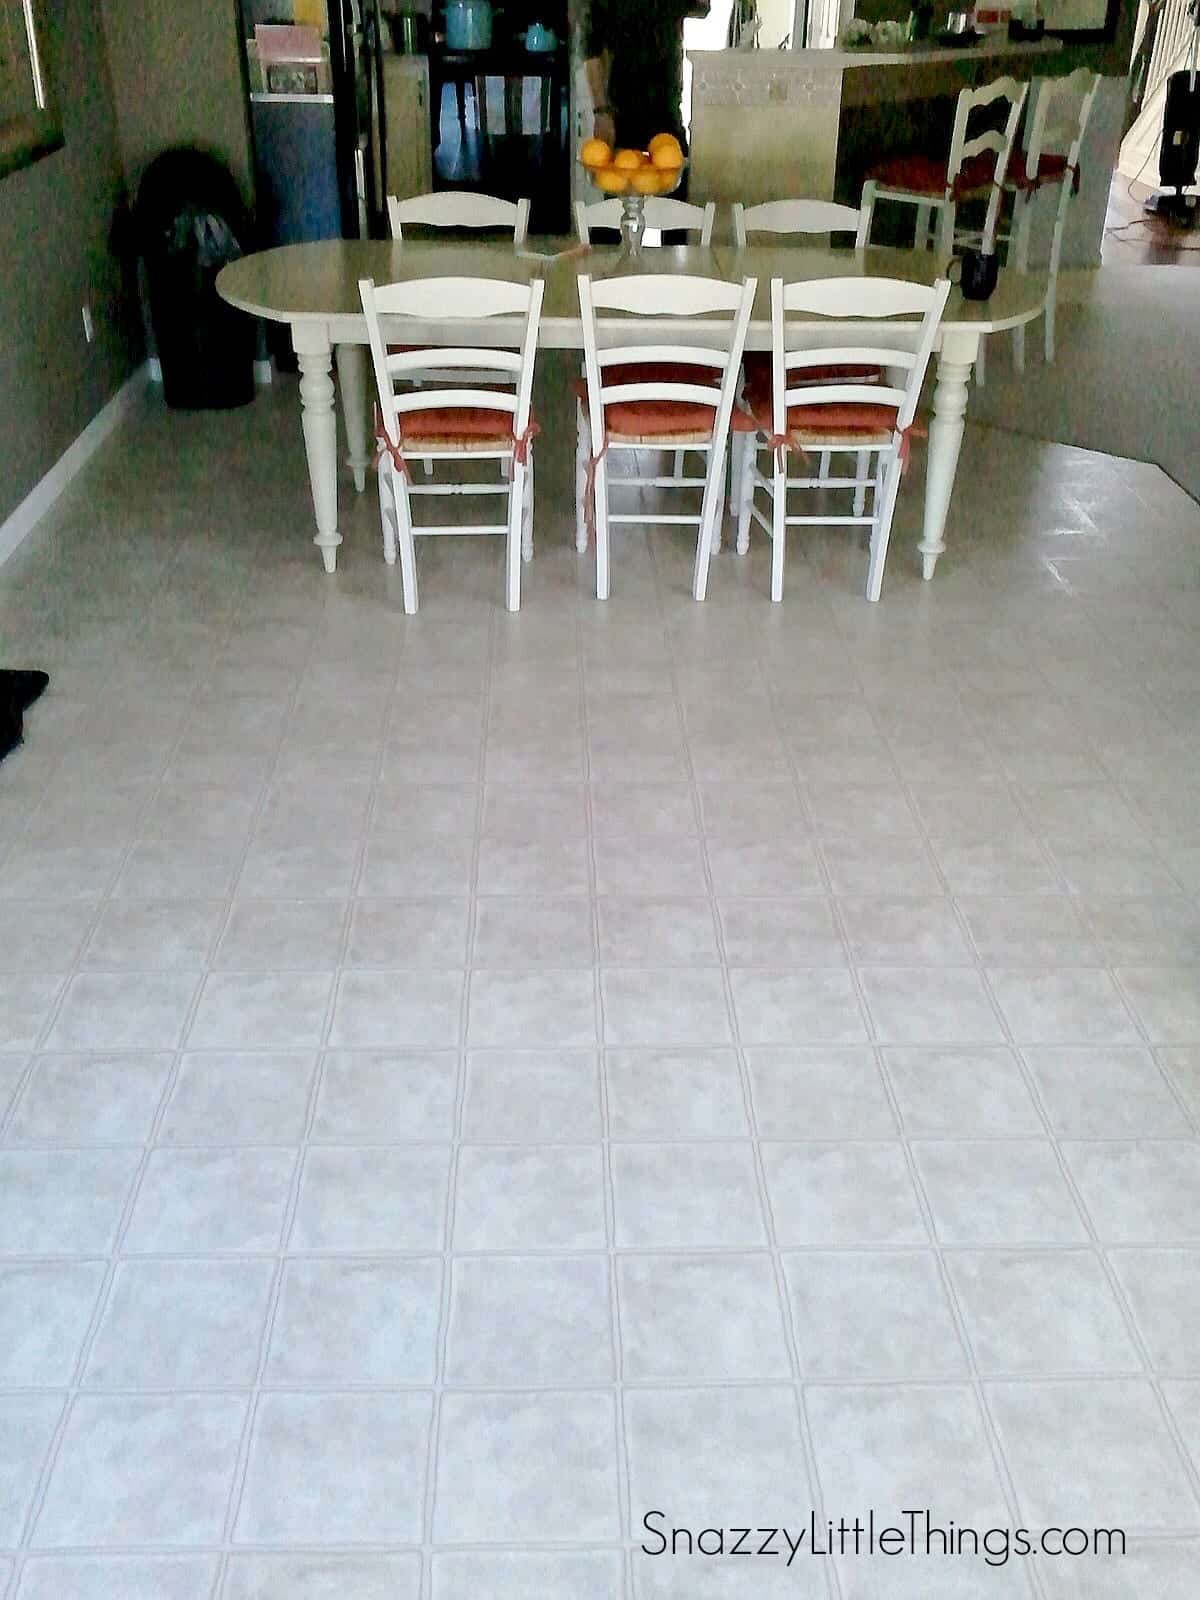
From the sunroom looking towards the kitchen. Lots, and lots…of white, which was starting to feel antiseptic and like I lived in a hospital.
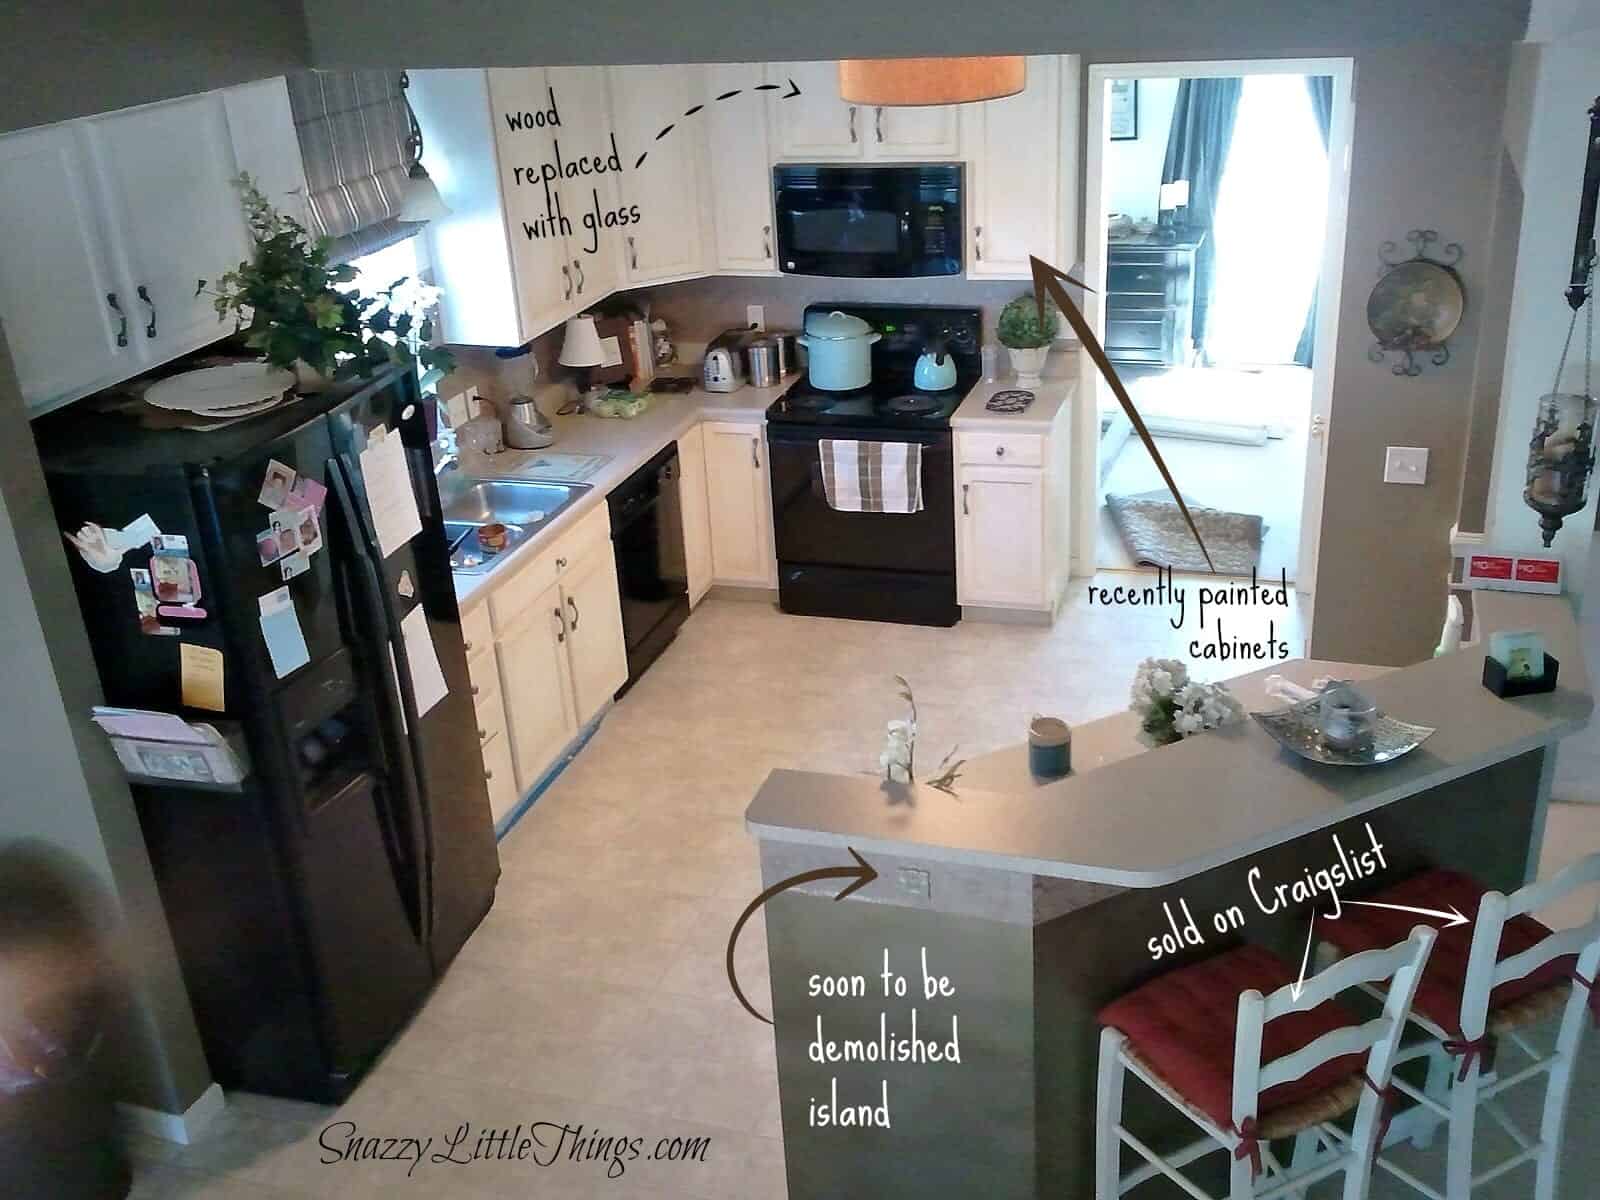
My messy kitchen as we were prepping to do the floor, I was hoping the floor would add some contrast and depth to the room.
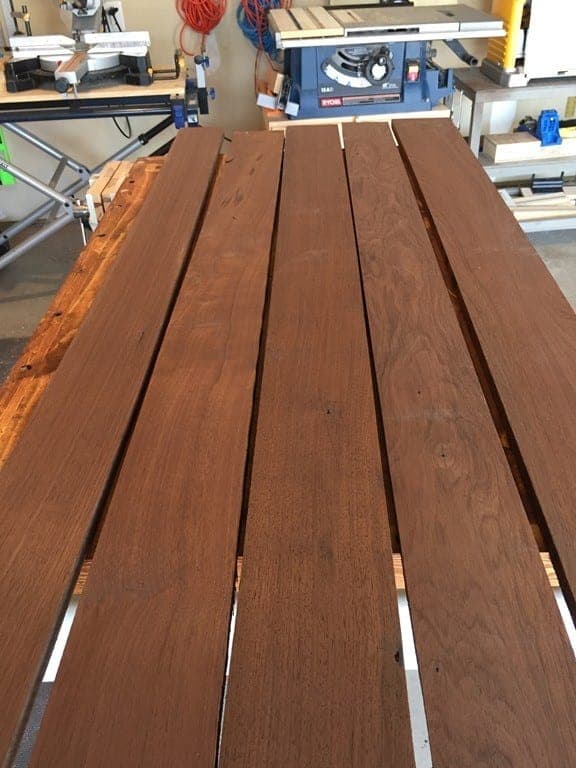
In the end, I’m SO glad I didn’t pay for an upgraded floor 10 years ago that I didn’t love. The quality of flooring has improved DRAMATICALLY since 2005. Had I chosen to pay to upgrade my floor back then, I would have regretted it. Just ten years later, choices have become very cool (including distressed walnut). We opted for the piano finish mainly because it is very popular in my neighborhood, and we considered resale as part of our selection.
Here was how the decision process went in 2012:
Wood Floor Laminate Floor
Scratches Easily Resilient to Scratches and Wear
Costly Least expensive option
Refinish if damaged Replace floorboards if damaged (cannot refinish surface)
Easy to Clean Easy to clean
Pay builder $2,2200 DIY a product that I LOVE for $900 — (sold!)
 Courtesy of the Southern Lakes website
Here is a video overview of the Southern Lakes brand we chose.
Another picture before we got started…
Laying our first pieces. Our dog lays on everything. Much like a cat.
We got it done in one day…
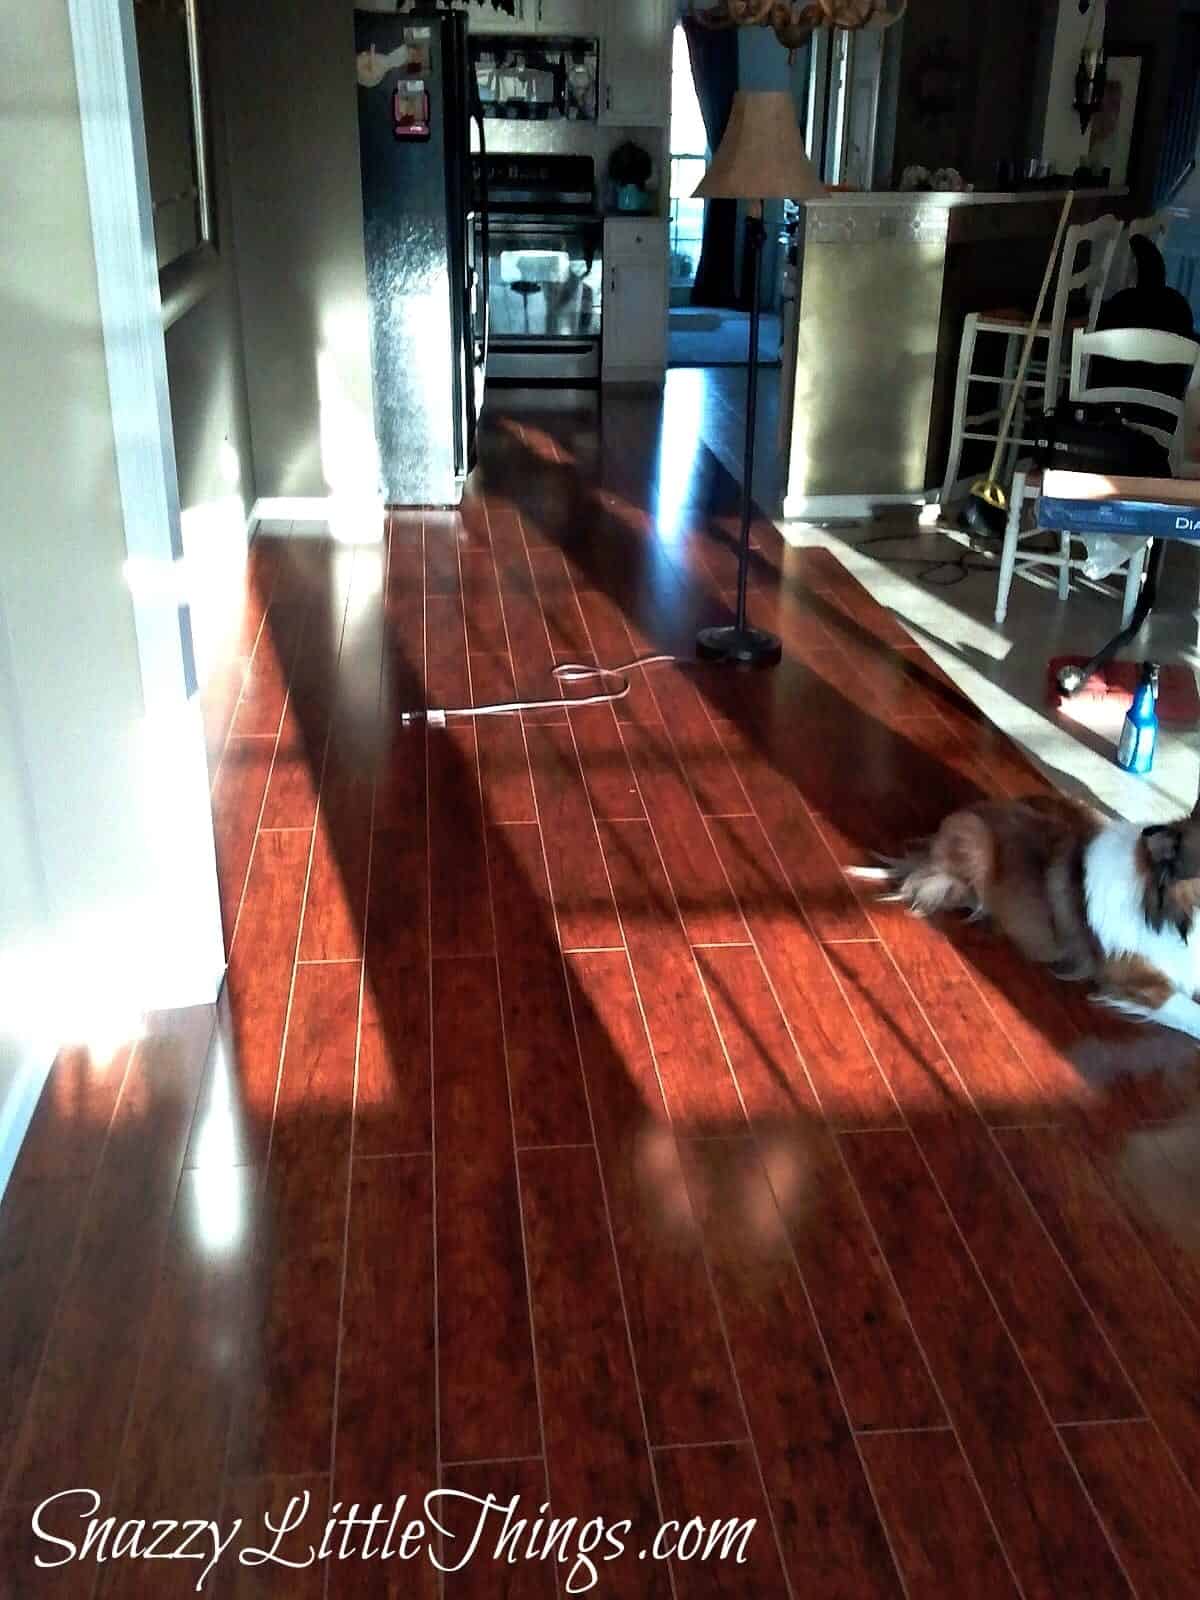
There he is again. Acting as if the floor has been there all along.
Skill Level:
You don’t need to be an advanced DIYer to install your own flooring. To make things easier, we chose flooring with the built in pad and it saved us a ton of time. This way you don’t have to do a double installation of the pad + the laminate overlay.
Tools needed:
(affiliate links provided)
Measuring tools
(Painkillers if you have bad joints like me)
In spite of the skill level and minimal tools required, this was a very physical project if you’re covering a large area. The built in locking system makes it much easier. This means you lay them down at a 45 degree angle. Once the two pieces are locked, you lay them flat. Here is a video to show you what I mean:
We followed these instructions almost to the letter. DIY Network has an abundance of information if you’d like to read more about how to install your own DIY laminate floor, but I assure you it’s very easy. We created a stair-step pattern, but there are several, more complicated effects that you can choose. But if you go for a herringbone effect, LOTS of cutting will take place. Case in point…
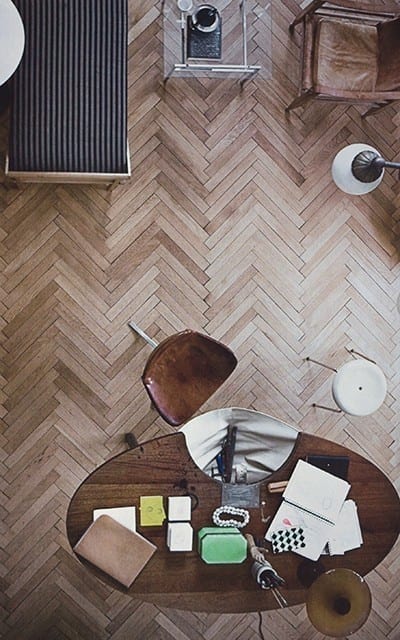
Above: Herringbone pattern floor. Photo courtesy Life on Sundays
But we opted for a simpler, stairstep pattern since minimal cutting was required.
What was the main reason I chose laminate?
Because I am this dog’s human.

Dogs claws really don’t penetrate laminate like they can damage natural wood. I can’t imagine what my floors would look like today had I installed real wood.
Laminate Cleaning Instructions:
After sweeping up Buddy hair and dust off the floor, I use a home made floor spray. Here is the recipe:
Laminate Floor Cleaner
1 cup rubbing alcohol
1 cup white vinegar
1 tsp lemon juice
Spray bottle / mister
Once I spray this home made solution on my floor, I run a steam cleaner to wipe up the solution (mine is an Oreck). This homemade solution is the BEST I have found to brighten and shine the floors, and I’ve tried several store-bought brands. I don’t let the steam run constantly, because with laminate, you don’t oversaturate it or it could cause your flooring to swell and warp.
I also use the Oreck to steam clean the carpeting as well to kill dust mites.
*****
QUESTION:
Do you think that laminate flooring helps increase (or decrease) a home’s value?
Do you think buyers ONLY want wood flooring?
Continue taking a tour of my home:


I had two dogs in my home before I sold it, and I couldn’t stand my wood floors. Always some scratches. So this time I am building a small home and doing stained concrete floors all through the house. As for resale value, no sooner than the person bought my house he put down new flooring. It seemed like the things that mattered to me as a woman didn’t to him, but then again he bought it and his wife was in another state. I love that your doggie made the difference.
We just put down a vinyl laminate in the kitchen and upstairs bathroom and wonder if yours is vinyl too. I am stressing what to clean mine with. So thats why I am asking. thanks.. Judy.
Judy ours is pressed board wood laminate – so not the vinyl style. I’m sure the solution I offered above might work for you too!
For a first timer, you actually nailed it. Lamintaing floor installation tests your patience. Thanks for inspiring me!
Thanks Anna. It definitely tests patience but the reward is huge! Thanks for stopping by and commenting! :)