6 Tips: How To Prioritize Your Home Improvement Projects
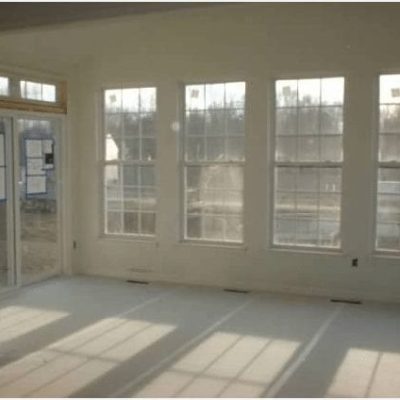
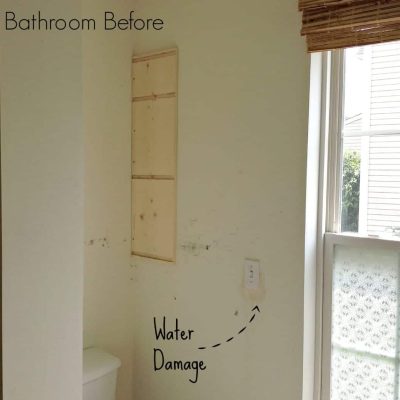
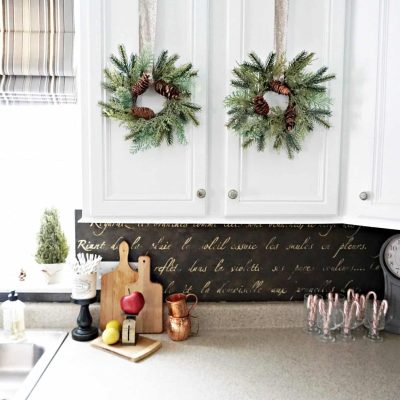
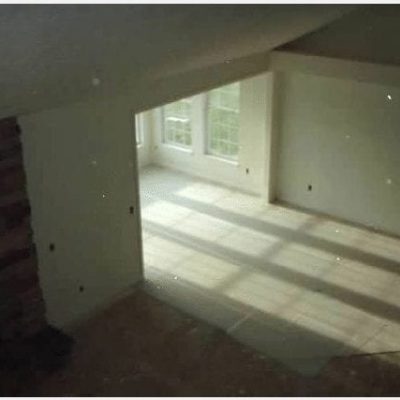
It was around this time of year several years ago that I had just torn down my holiday decor and all of the flaws in my house were blaringly obvious. Once the cloak of holiday “cheer” had been removed all of the wall scuffs, the nail pops, falling drywall tape and the blinding builders-grade quality of my home were on display for the world to see. My house looked SO empty and boring, and my growing to-do list was starting to overwhelm me.
For many years, I had no idea where to start. Some of my earliest DIY endeavors commenced after scraping together some cash, conducting a little bit of online research, and mustering up a whole lot of courage. And because I worked full time, I knew I could only do my projects on the nights and weekends.
If this sounds like you and you’re not sure where to start, I’ll offer you a few tips based on my own experience on how to prioritize your home improvement projects, even if you’re a DIY beginner. I hope to help you get organized and to create a realistic plan for achieving your home improvement goals this year.
How to Prioritize Your Home Improvement Projects
Address Function- first!
A great place to start is to identify the functional ‘deficits’ in your home. Walk through each room with an open mind and imagine yourselves going about your daily routine. What little conveniences could you add that would make life easier? Dig into the details! –> Does your entryway lack a hall closet ? Do you need a place to hang your keys? Where do your shoes go when you walk in the door? Does your master bathroom have a linen closet? Where do you fold laundry? Do you need a larger space in your kitchen to prepare food? Would installing a few wall hooks solve a simple problem? This little exercise helps flesh out “needs versus wants” and pares down a daunting list of to-dos and potential spending leaks. Yes, we want our homes to look nice. But the entire point of home improvement is to improve the quality of our lives, right?
Next: Think First Impressions
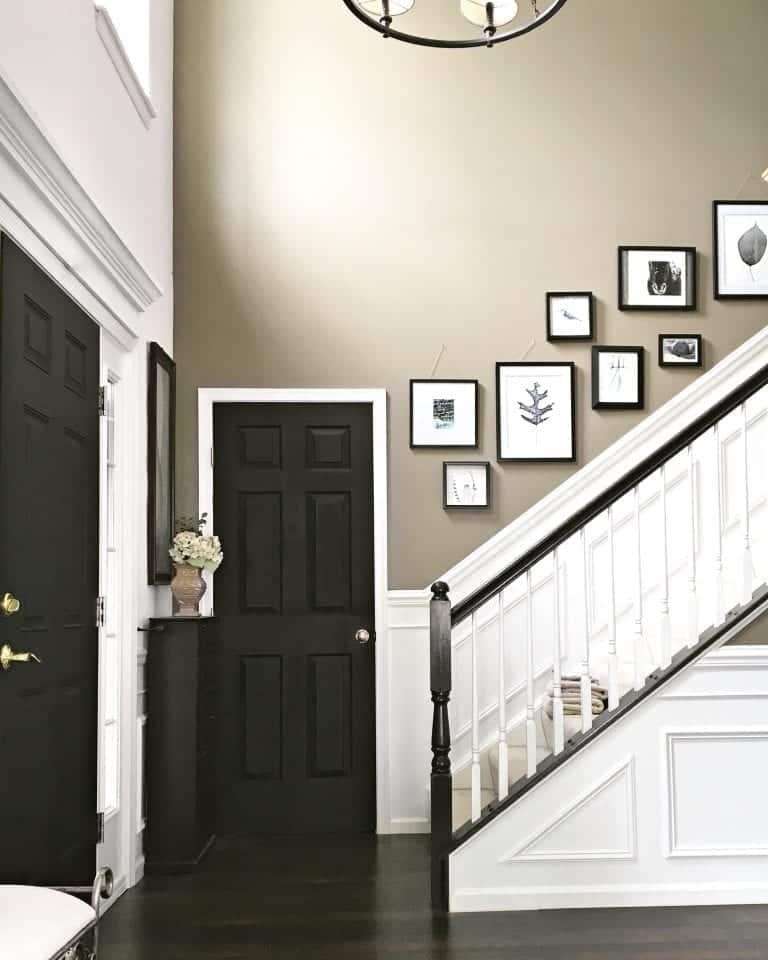
Since a whole-house remodel isn’t possible for most of us, I suggest starting on small, achievable projects that make you (and your guests) happy. For me, creating a stylish and functional entryway became a priority. It helped me fall in love with my home and make it more welcoming. My front door and the foyer wainscoting installation were among my very first DIY projects. Adding key hooks, a more functioning closet, a rug and painted the interior doors black made the foyer user-friendly. Take a walk through your front door–pay attention to the details. Addressing your entryway is a great place to get your feet wet when it comes to refreshing your home.

Always Identify Lowest-Cost with Highest Impact Projects
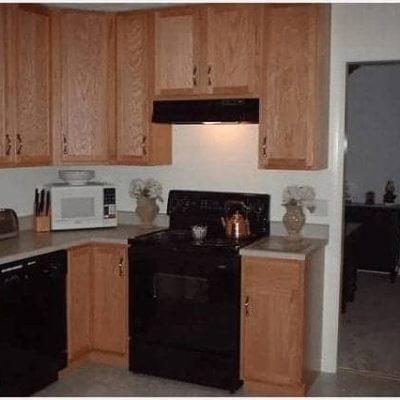
In each and every project, I always think about lowest cost approach that will make the highest impact. Paint is an easy example. But to dig a little deeper — I go through this mini-analysis each time I begin a new DIY project. My line of questioning goes something like this –> What is my current skill set? What tools do I have that I’m comfortable using? What can a single can of paint accomplish? Or $50 worth of wood trim? Or a single stencil? Would a skill (such as sewing) solve a multitude of decorating dilemmas in my house? As you prioritize your time and your budget, this thought process will become fundamental as you prioritize your DIY to-do list. Each little project will enable you to acquire more DIY skills, and soon you’ll be able to take on bigger and more meaningful projects!
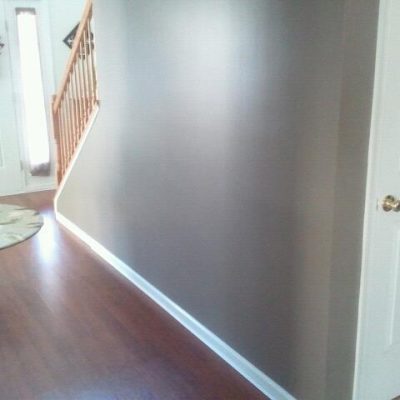
Narrow your focus:
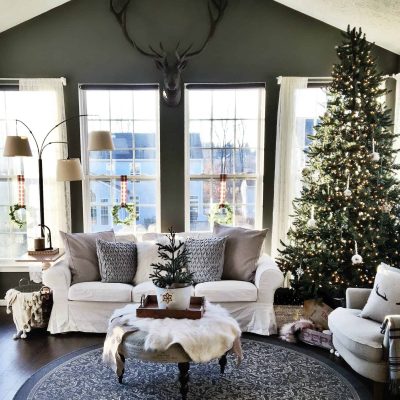
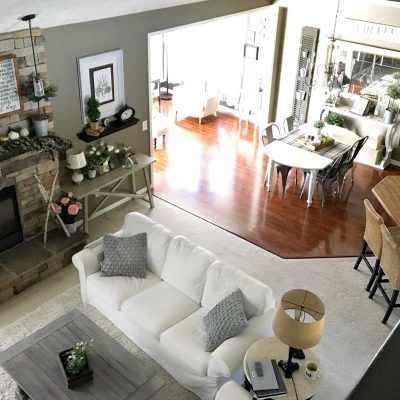
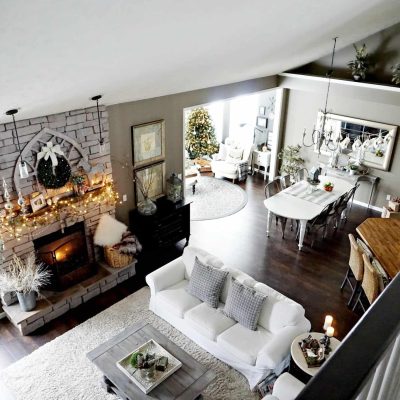
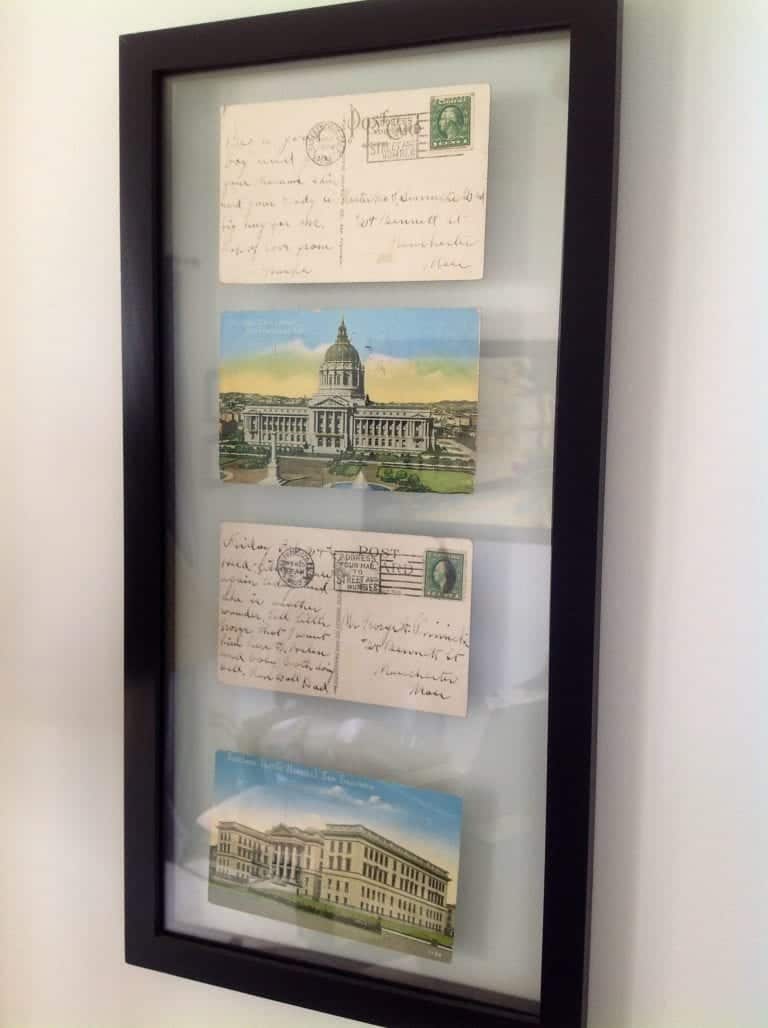
If you’re overwhelmed, stuck, or if your budget is tight, focusing on one wall…or even one small vignette is totally ok! Give yourself a break now and then. It is so rewarding to have a completely finished a task, even if it’s only a small portion of your house. Our family room TV wall was an area that bothered us. It was just a blank, 2 story wall with what most would consider an outdated entertainment center. Our art was too tiny for the tall, awkward space. No matter what we did to the rest of the room, this wall never felt quite right. We finally drew up a plan and implemented the changes once and for all. We finally love it, but it took a focused effort for almost a month before we figured it out!
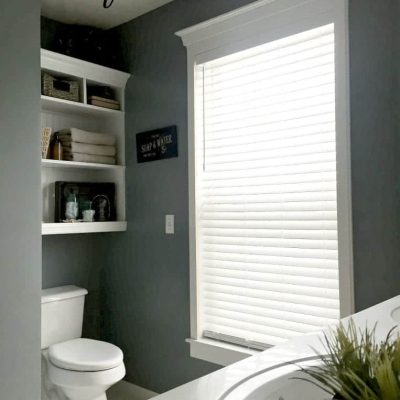
Work in Phases:
If you’ve followed my blog for a long time, you know that I tend to work in phases in every room. In our current home, our “Phase I” typically addresses the outer shell of a room. It consists of creating a basic mood board (see my laundry room as an example) followed by a very low budget “sweep” through a room including easy fixes, like paint, updating fixtures and hardware. The second phase adds embellishments including details like crown molding, trim and updating the floor. Phase III consists of the contents of the room — repurposing old furniture, purging the excess and buying (or making) the items in my mood board. Figuring out my decorating style was also a learned skill (I’m not a trained decorator)! Budget DIY (and learning to decorate) takes time. It doesn’t come naturally for most of us. Just be patient, do high quality work & it will all be worth it.
Clear The Space:
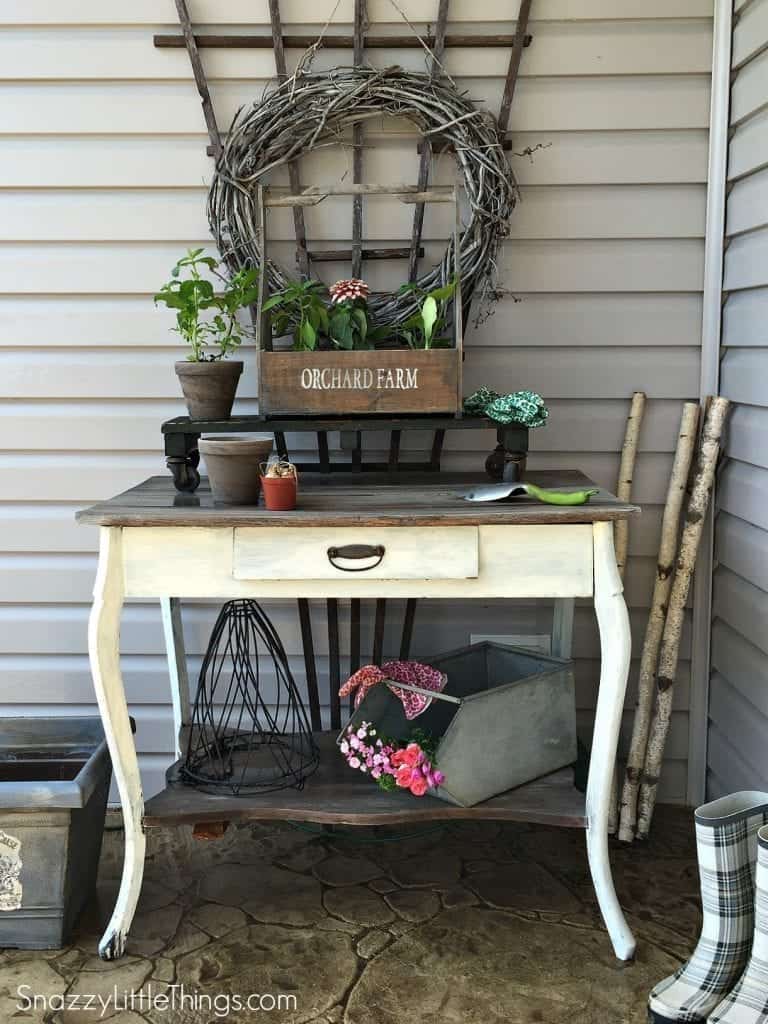
Sometimes when a room is overwhelmed with “stuff” it blurs my vision on what I’d like that space to be. So I purge the space and start with a fresh point of view. It is difficult to transform a space when it’s filled with all of the things that you wish to change. After the purge, I could see the room through a different lens. Then assess the following: what pieces are the highest quality? What pieces are similar in style? What are my favorites? What pieces need to be refinished or could use a fresh coat of paint? Am I brave enough to try upholstery? So I assessed my skill set, and started going to work. To get a feel for how I tackled these pieces, see my furniture DIY and craft gallery for some additional inspiration.
If you’re still feeling overwhelmed, another great place to start is to read “7 Thing To Do When You’re Feeling Overwhelmed”. (courtesy Apartment Therapy) -or- Home Improvement Tips (courtesy The DIY Network).
The most important advice I will give is to stay true to yourself and to your budget. Honor the pieces you own and showcase your favorites. And above all…enjoy the process! Happy DIYing, and here’s to a productive new year!
Pin it:

Great post – just what I needed! We just bought a beautiful (but huge) 1920’s bungalow style farmhouse, and I have so many plans… daunting!
What a thoughtful and very useful post! You broke down this difficult dilemma in a way that I think will help me. And I think you helped me decide to go ahead and hire someone to paint the walls I want to redo. Sure, I can do it, but I hate doing it and I’m a very sloppy painter.
I’m so glad you found this helpful. Home improvement can be so overwhelming, so I hope my random thoughts on how to tackle this helps others, too!
Wonderful post! Moving into my childhood home with my packrat mother. So I am feeling overwhelmed but know we can make this place beautiful.
I found myself becoming a packrat when I didn’t exactly know what style I wanted my home to be. Once I figured it out, the piles reduced quickly and I was able to hone my tastes. Best of luck and enjoy the process! :)
How do you make your mood boards?
The program I once used is now discontinued. Once I find one that is comparable I will update this post!
Thank you… single mom here working full time and just bought a simple builder grade home. My mind is swirling. Did you keep a journal of ideas or how did you make your mood boards? Is there a simple tool for non interior designer? I am so stuck from Making decisions!
Hi Kristen, thanks for your comment. First off…have fun with it. I wanted a pretty home in spite of my circumstances at that time, but design is a never ending process so there isn’t any need to rush. For mood boards, I have come to rely on Pinterest now more than ever for mood board creation. I would suggest making an individual boards (per each room) and if you’d like…make these private. I look for rooms similar to mine…and then I just pin away…don’t think at first. Just pin what you like in each room. Then identify the common threads. Then when it comes time to decorating, set a budget and stick to it. I love to find inexpensive alternatives for items that are out of my price range. That’s part of the fun :)
These are great tips. I often have clients that don’t know where to start or think they can’t do anything until they can afford to do everything! Thanks for sharing at #HomeMattersParty
So true. Every vignette, small project or a wall of your house is progress. :) thanks for stopping by!
Jeanette,
Excellent tips!! We have struggled many times trying to figure out what to tackle next. Your list is a great way to work through all the projects and enjoy the home more and more as you go. We find that being realistic with how much we can actually accomplish in an evening or weekend helps no matter what type of project we take on.
*pinned!
Cheers,
Denise and Sean
Very well Explained! Great work!
Great advice for getting the ball rolling on all the projects we all day-dream about having done one day! Love the walk through list to prioritize wants and needs , that is such an important piece!
Great tips Jeanette! Been working Full time and prioritizing home improvements is really a challenge.
I do agree to “stay true to yourself and to your budget”. Works well for me. Thanks for sharing Jeanette!
I struggle so much with this! I’ll have to follow this guide. Thanks!
So glad it helped! Good luck with your projects :)
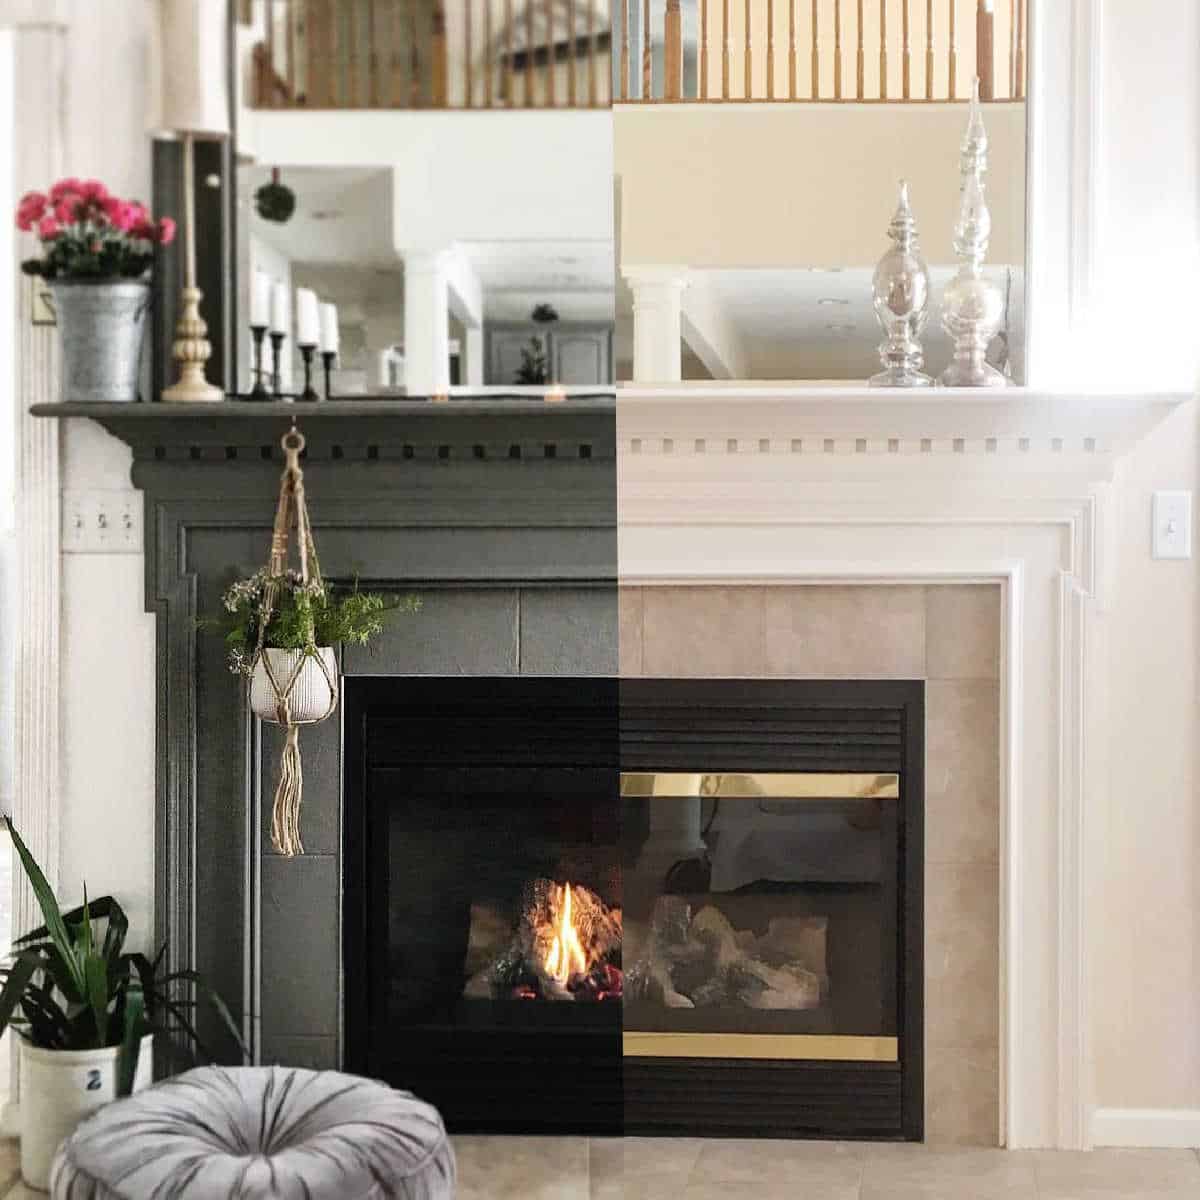
Can you share the color used for the mantel update? Beautiful gray!
Yes, thank you! It’s called “Garden Trowel” by Magnolia. You can find it at Ace Hardware.