Daughter’s Bedroom
Here is a never-before-seen-glimpse of my daughter’s bedroom. It’s a project that we are all really proud of since we’ve overcome a few space-planning and storage challenges along the way. This room has been a bit overwhelming, so I applied my “6 Tips: How to Prioritize DIY Projects” as we worked on this room in phases as our time and budget allowed.
The young lady who lives here is a self-motivated nail-artist-extraordinaire on Instagram, and she has some very strong ideas about how she wants her space to look (I wonder where she gets this?!) ;-) So I’ve been very respectful of her wishes and only worked on this space when she was ready.
Here is a look back. When her room was clean…she was in heaven. And I have to say, it was pretty darn cute!
Before:
The challenges:
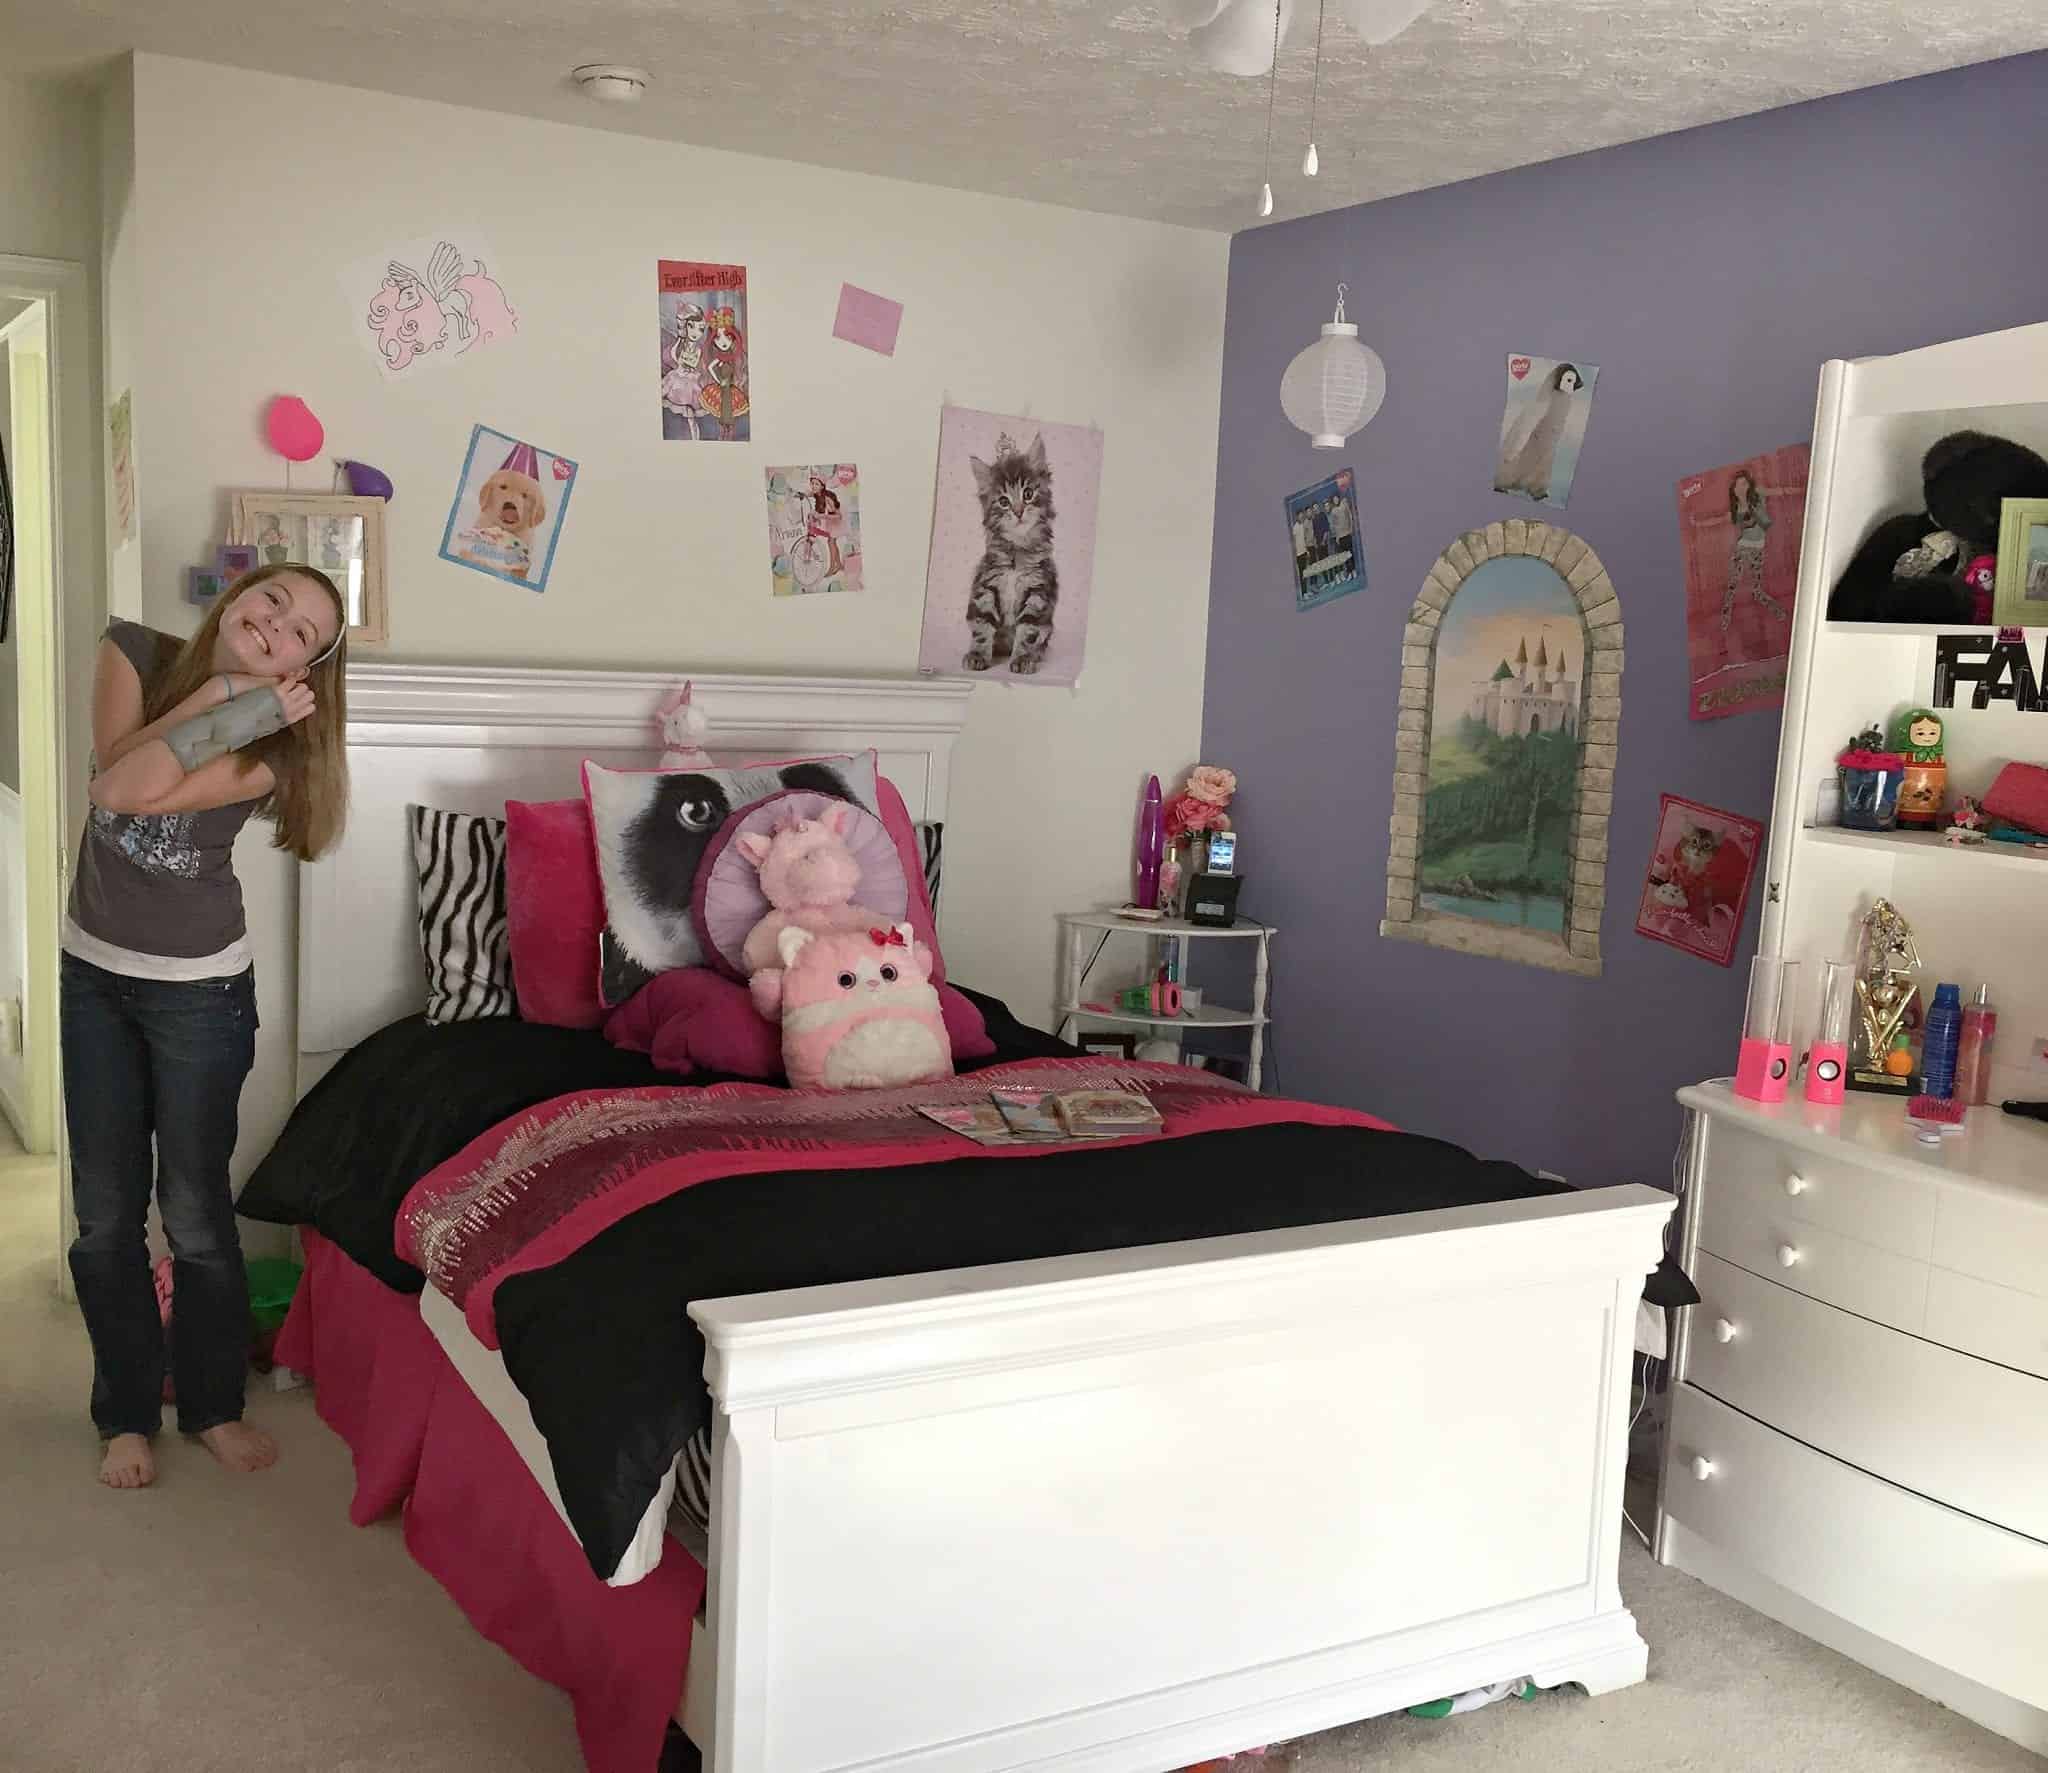
While this room is big on personality (which I love!), most of the furniture here was hand-me-down or items that were too big for the room. Drawers couldn’t open because the furniture was oversized. She’s also had more than her fair share of storage challenges that were pretty tricky to solve. Another challenge — she’s grown SO fast! Her drawers were always overflowing with brand new clothes that she quickly outgrew. (Her shoe size alone jumped three sizes in a single school year!) So the turnover of clothing seemed accelerated for the last few years for my 5’9″ twelve year old!
I knew we had to do something to help her out…a little kid doesn’t often understand how to solve these storage problems themselves so we addressed the biggest hurdles one phase at a time.
She loved her pinks and purples from 2-10 years old, but she was ready for a change.
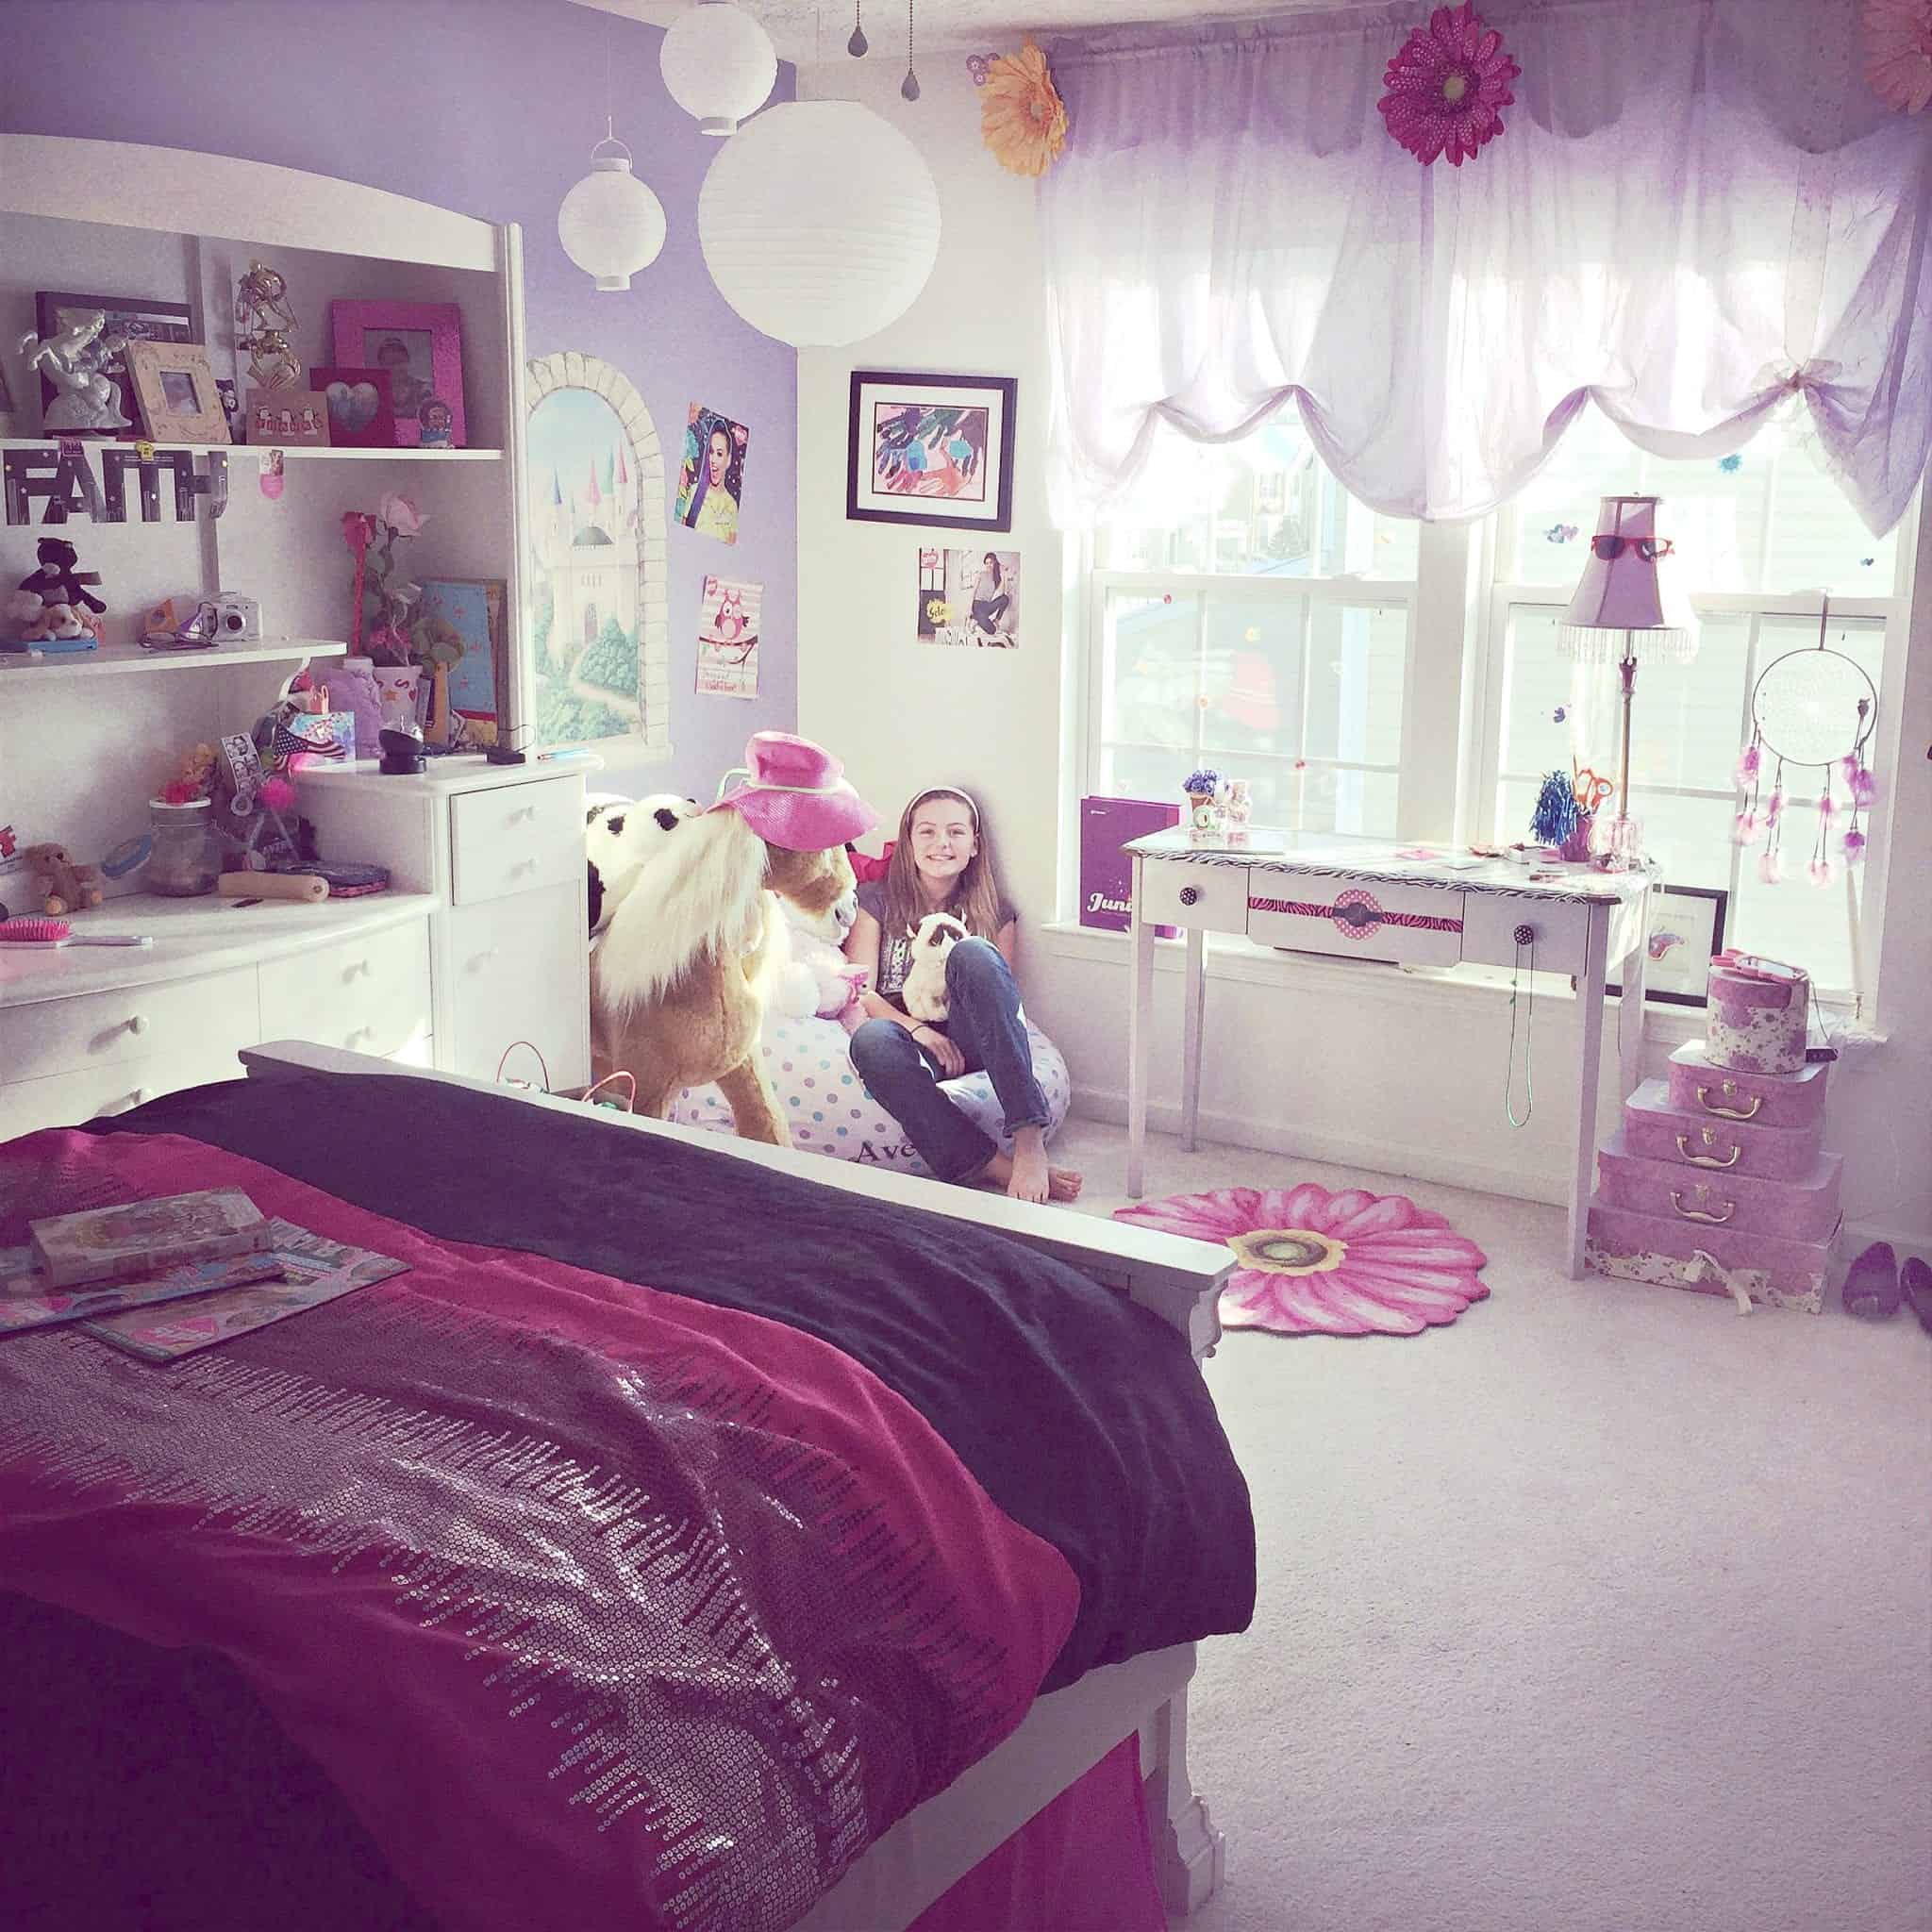
Above: Her room, before we began making changes…
Strategy #1: Clear the Clutter
I helped her clear some of the clutter and put her keepsakes in storage (well, rather..it’s a big pile in my basement waiting to be addressed…part of working in phases, right???). This was a bit of a process, but once finished, it was a big relief for her.

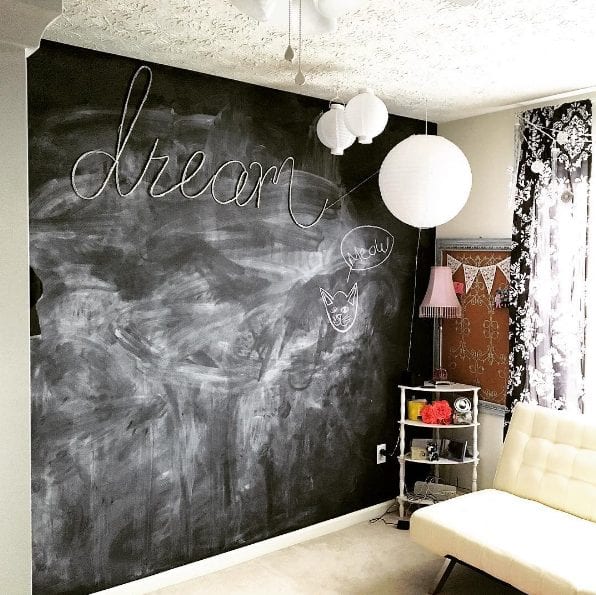
Sources: BeanBag Chair, L.L. Bean | Butterscotch the Horse (Discontinued, I hear they’re almost $900 on Amazon now!) | Chalkboard with Bunting is a DIY (see tutorial)

Strategy #2: Identify Functional Deficits
Eventually, she realized how much space the hutch was taking, so she opted to sell it and used that money to fund her new faux leather futon (affiliate link included).
She loved having more floor space and asked if she could skip having a dresser altogether. She has MANY friends and lots of sleepovers, and preferred to host the girls in her room (instead of the family room).
“Creating more floor space became a priority for her room”
A chalkboard wall became her feature wall (a girl after my own heart) and it’s worked out perfectly. Her friends love it too, and they use it as backdrop to make funny videos of each other.

Strategy #3: Create More Storage Options
In an effort to create more floor space and a tween “hangout” atmosphere, we decided a loft bed would be a better fit for her, plus it would create a nice desk area and more under-bed storage.
We were lucky enough to find this bed on Craigslist for only $300. A fresh coat of paint is all it needed.
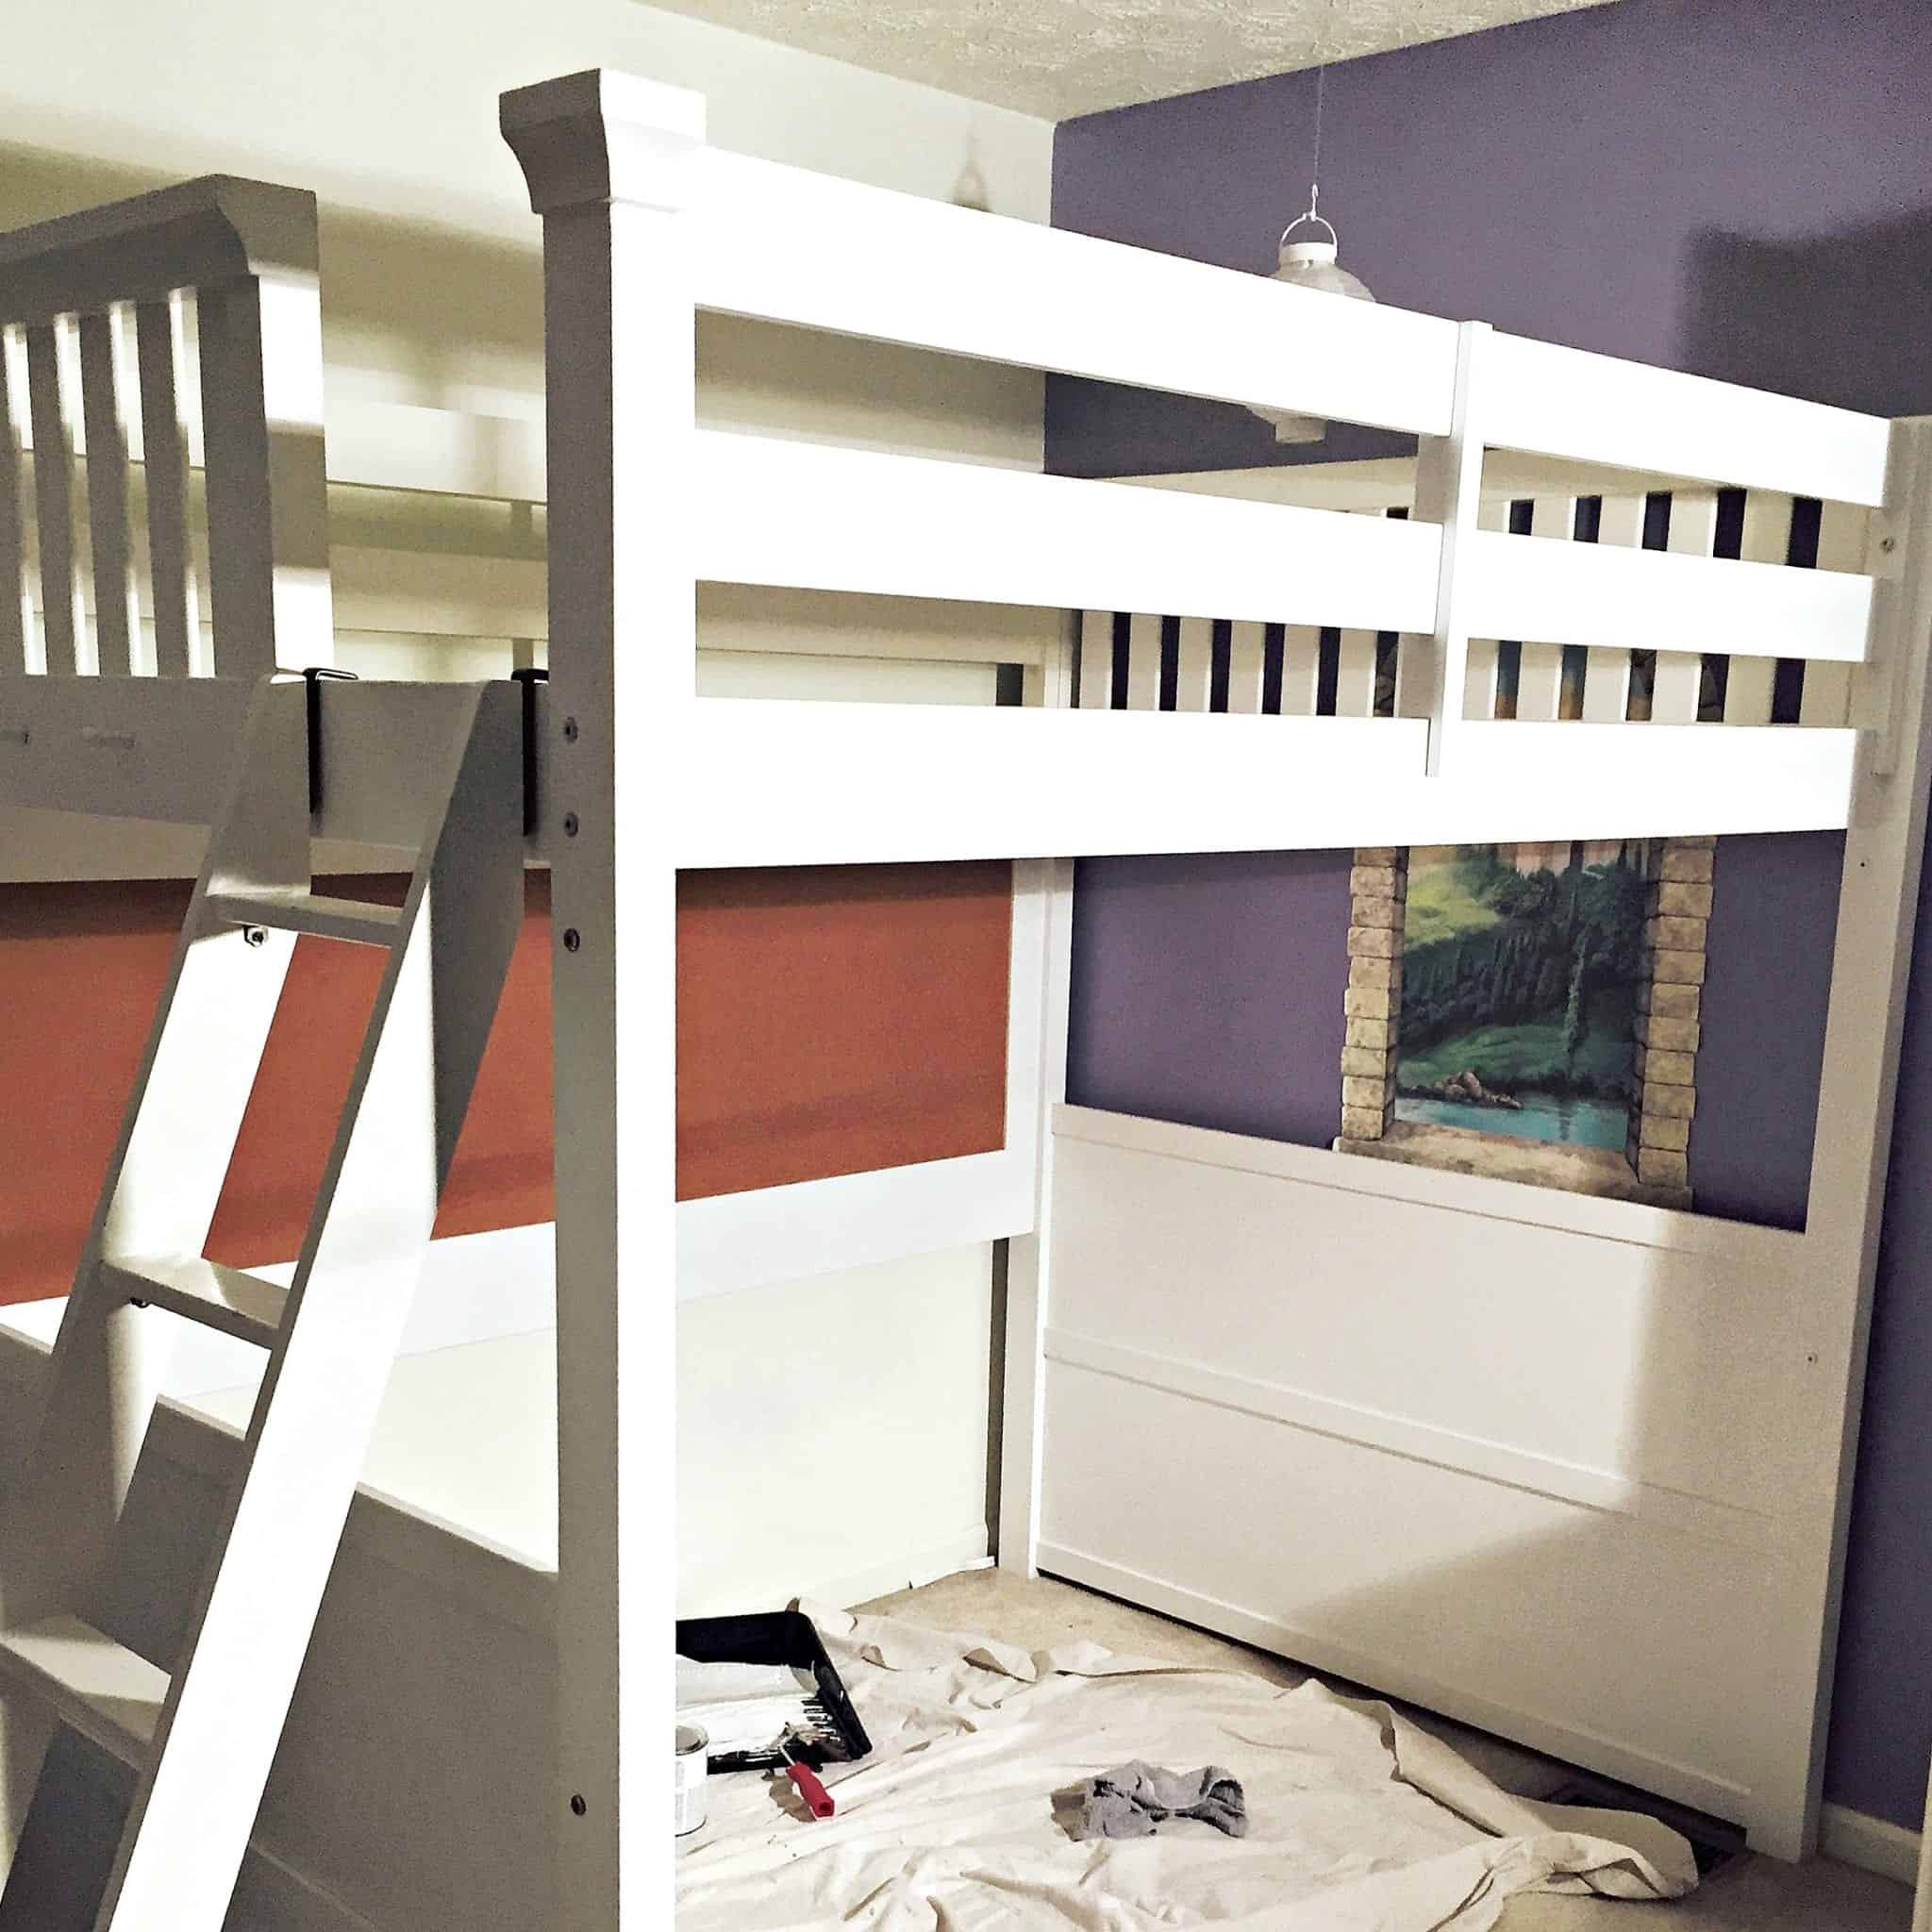
We also bought her mattress from Amazon, and I’m not joking when I say it’s the most comfortable mattress in the house!
For under her desk, we’re creating a studio where she films her nail art videos. She’s become quite an artist! Click the image to follow along:
The biggest hurdle — not having a dresser. So we converted her closet into a mini walk-in. More on this DIY later, but what a difference it makes having deep shelving on both sides of her closet. No dresser needed, and every bit of her clothing now fits, floor-to-ceiling in her closet.
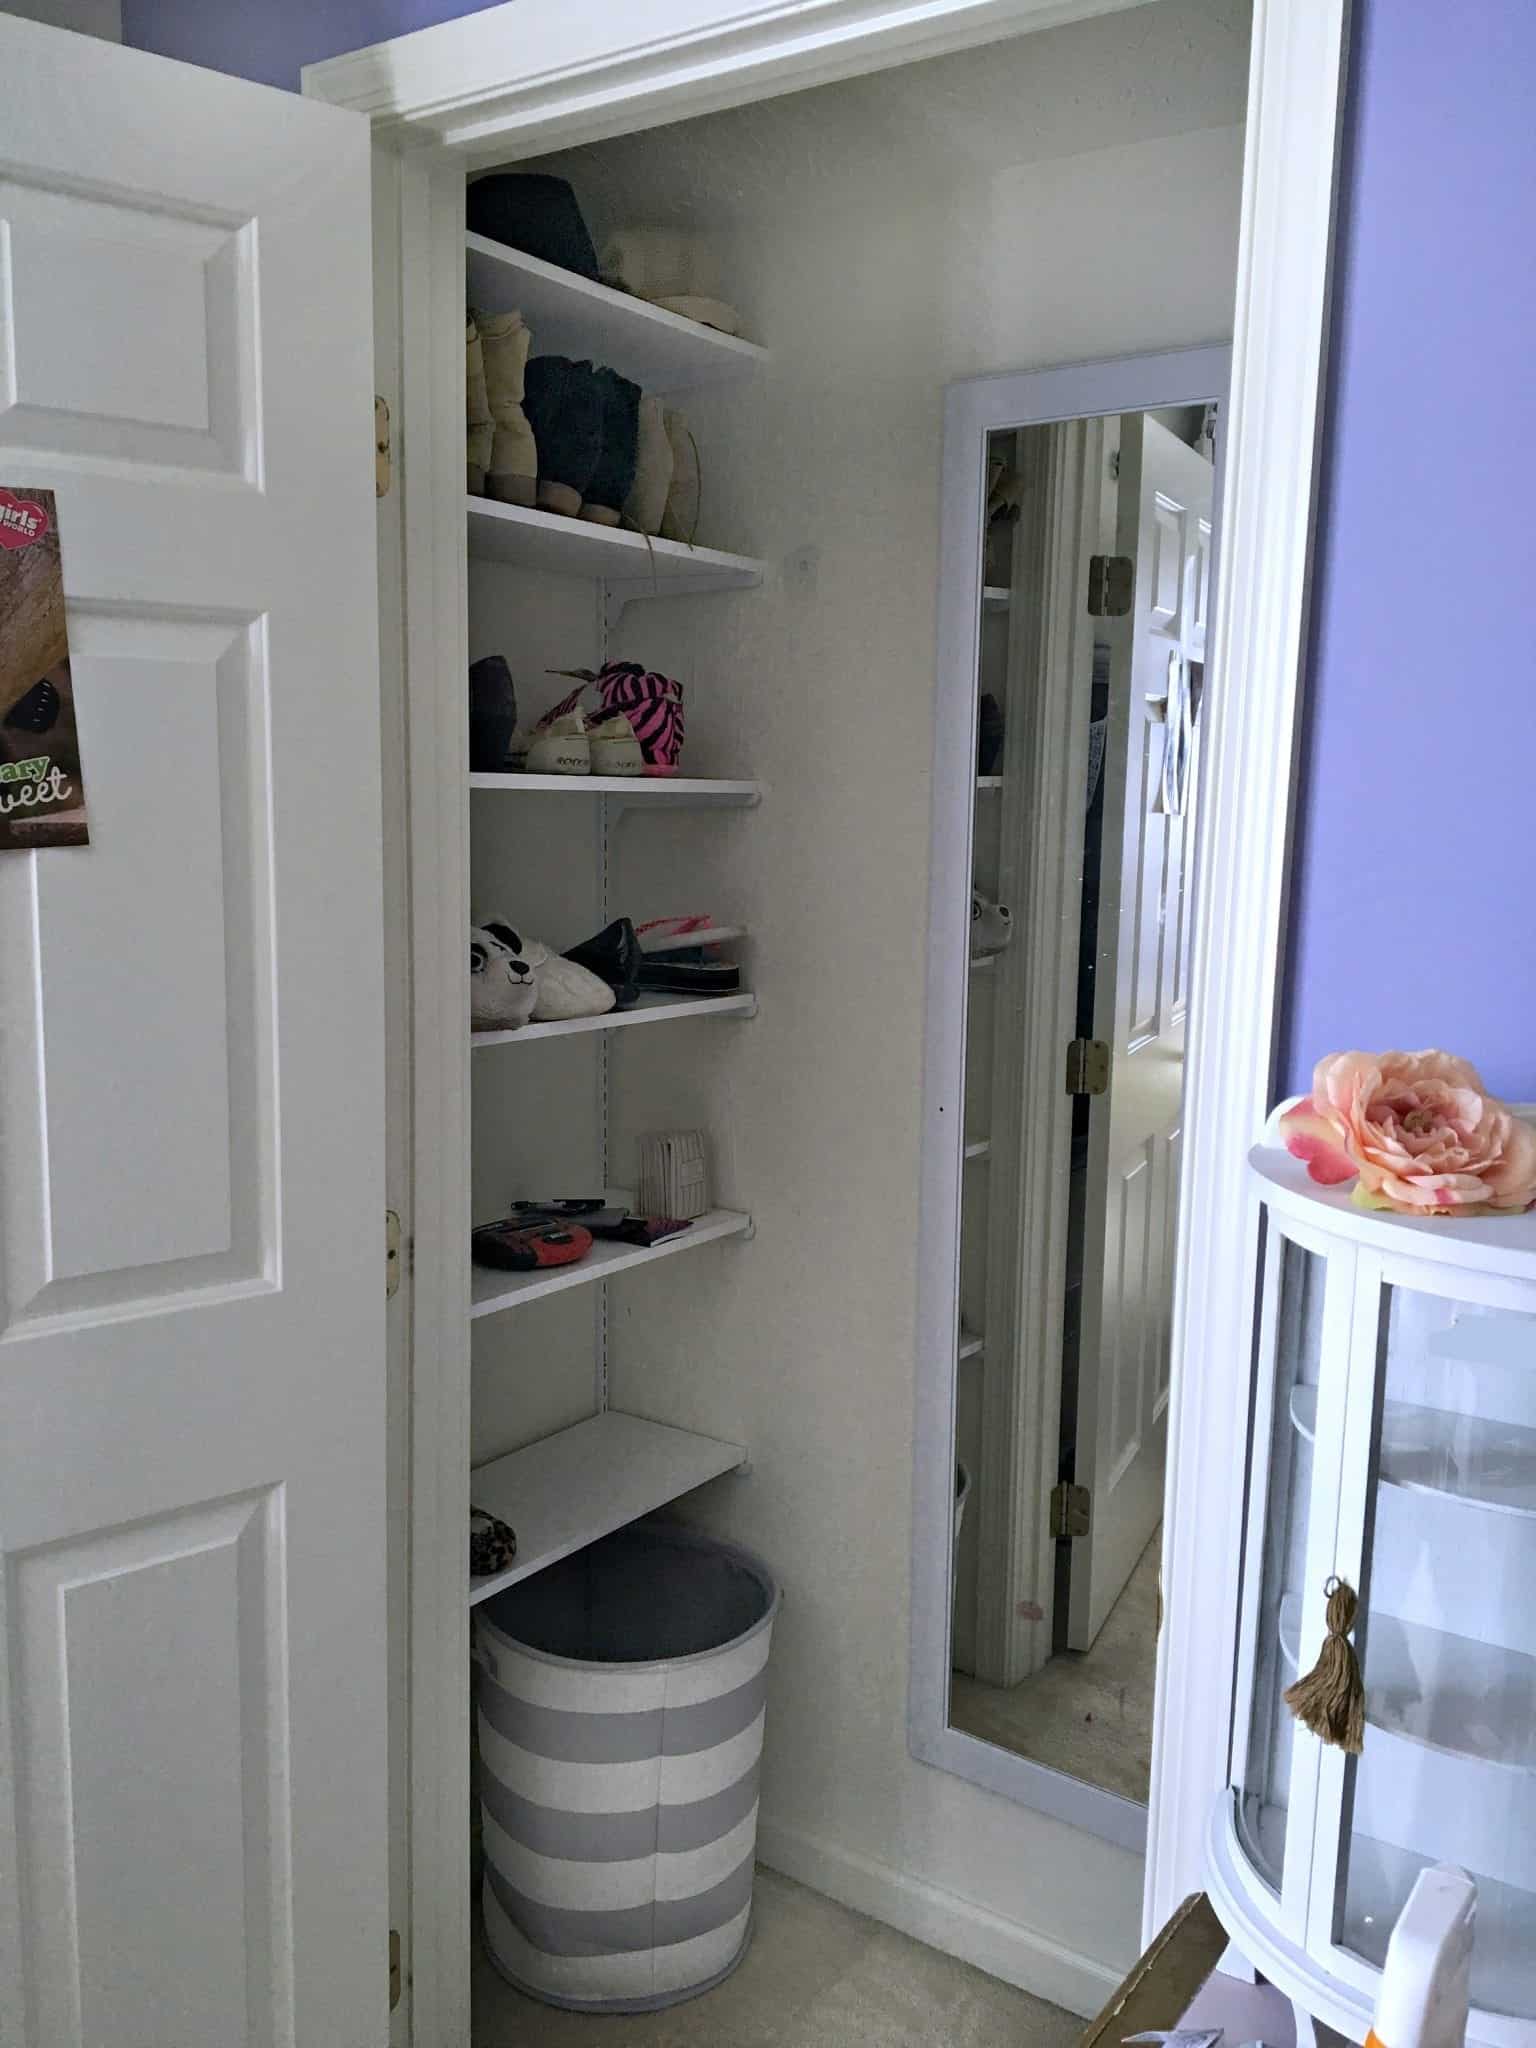
With this simple closet hack, she now has more space than she ‘d ever dreamed.
Shop This Room
(affiliate links included):

Stay tuned, more tweaks to come!


I can’t wait to see how the studio under the bed will look like!! I hope you’ll share..:)
Thank you, Emily. She’s like a mad scientist always filming new nail tutorials, so has to clean it first, and once she does, I will definitely share. LOL!
Love what you’ve done for organization/storage. Can’t wait to see the finished room!
Thanks Melanie, each paycheck we’re finishing it out…one little piece or project at a time. It sure did take awhile for this space, but she finally loves her room now! Hopefully before school starts we’ll have the final reveal.
Her room was pretty before even though it was crowded. It really looks nice now. Good job done on it. Very cute young lady she is. Her nails looked really nice to. Thanks for sharing with me.
Where can I find the DIY tutorial on converting the closet into a mini-walk in? My daughter definitely needs that!
Hi Julie, we never actually wrote a post about this, but we are happy to put one together. Her closet is so strange – it has two doors and runs the entire length of her wall. Prior to this it had one wire shelf that ran the whole length. I will update this soon and ping you once we write the how-to!
Chalk walls are so fun!