How to Mill Lumber at Home
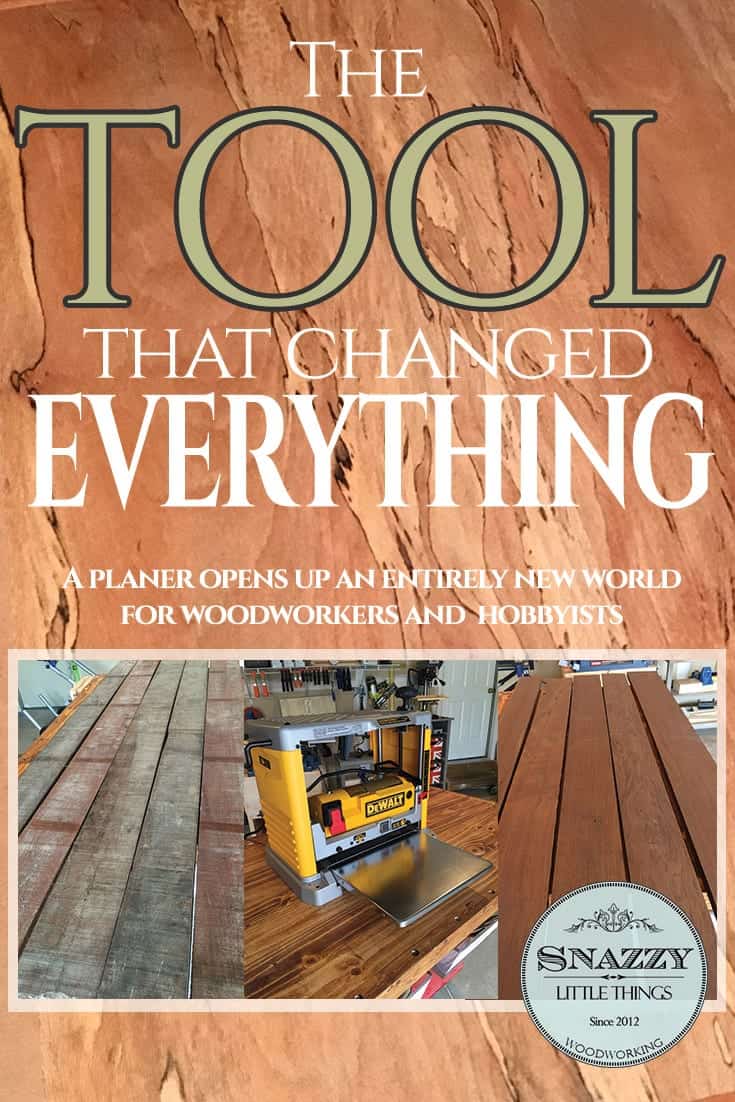
We are thrilled to announce a new partnership with Rockler Woodworking. This has special significance to me because of the hours and hours my dad and I spent in the Cincinnati Rockler as I was learning about woodworking and beginning to build my own shop. The staff at the Rockler stores are eager to assist, and are knowledgeable and passionate about the craft. I have many fond memories of wandering through the store, asking dad questions and learning about so many of the intricacies of making sawdust. Through this new partnership, we have added the tool that changed everything in our shop.
It might be time for a planer if…
…you’re tired of using pine or cheap wood for projects.
…you’d like to create high-end furniture that calls for cherry, walnut, or any wood you can imagine.
…you want the natural beauty of wood to show through (and not just paint over top of cheap wood).
…you have passed by bins of cutoffs and rough cuts because you couldn’t do anything with them.
…you’ve scaled back your designs and your creative process because you feel limited with what materials you can afford.
Verdict: a planer (in combination with a tablesaw) will allow you to expand your wood choices by giving you the power to mill at home. You can now afford to purchase higher end wood (in rough-cut form) and turn into pieces you can use in your furniture designs.

(We are affiliates for Rockler, click the image above to see their current sales for the holidays).
What the planer does…
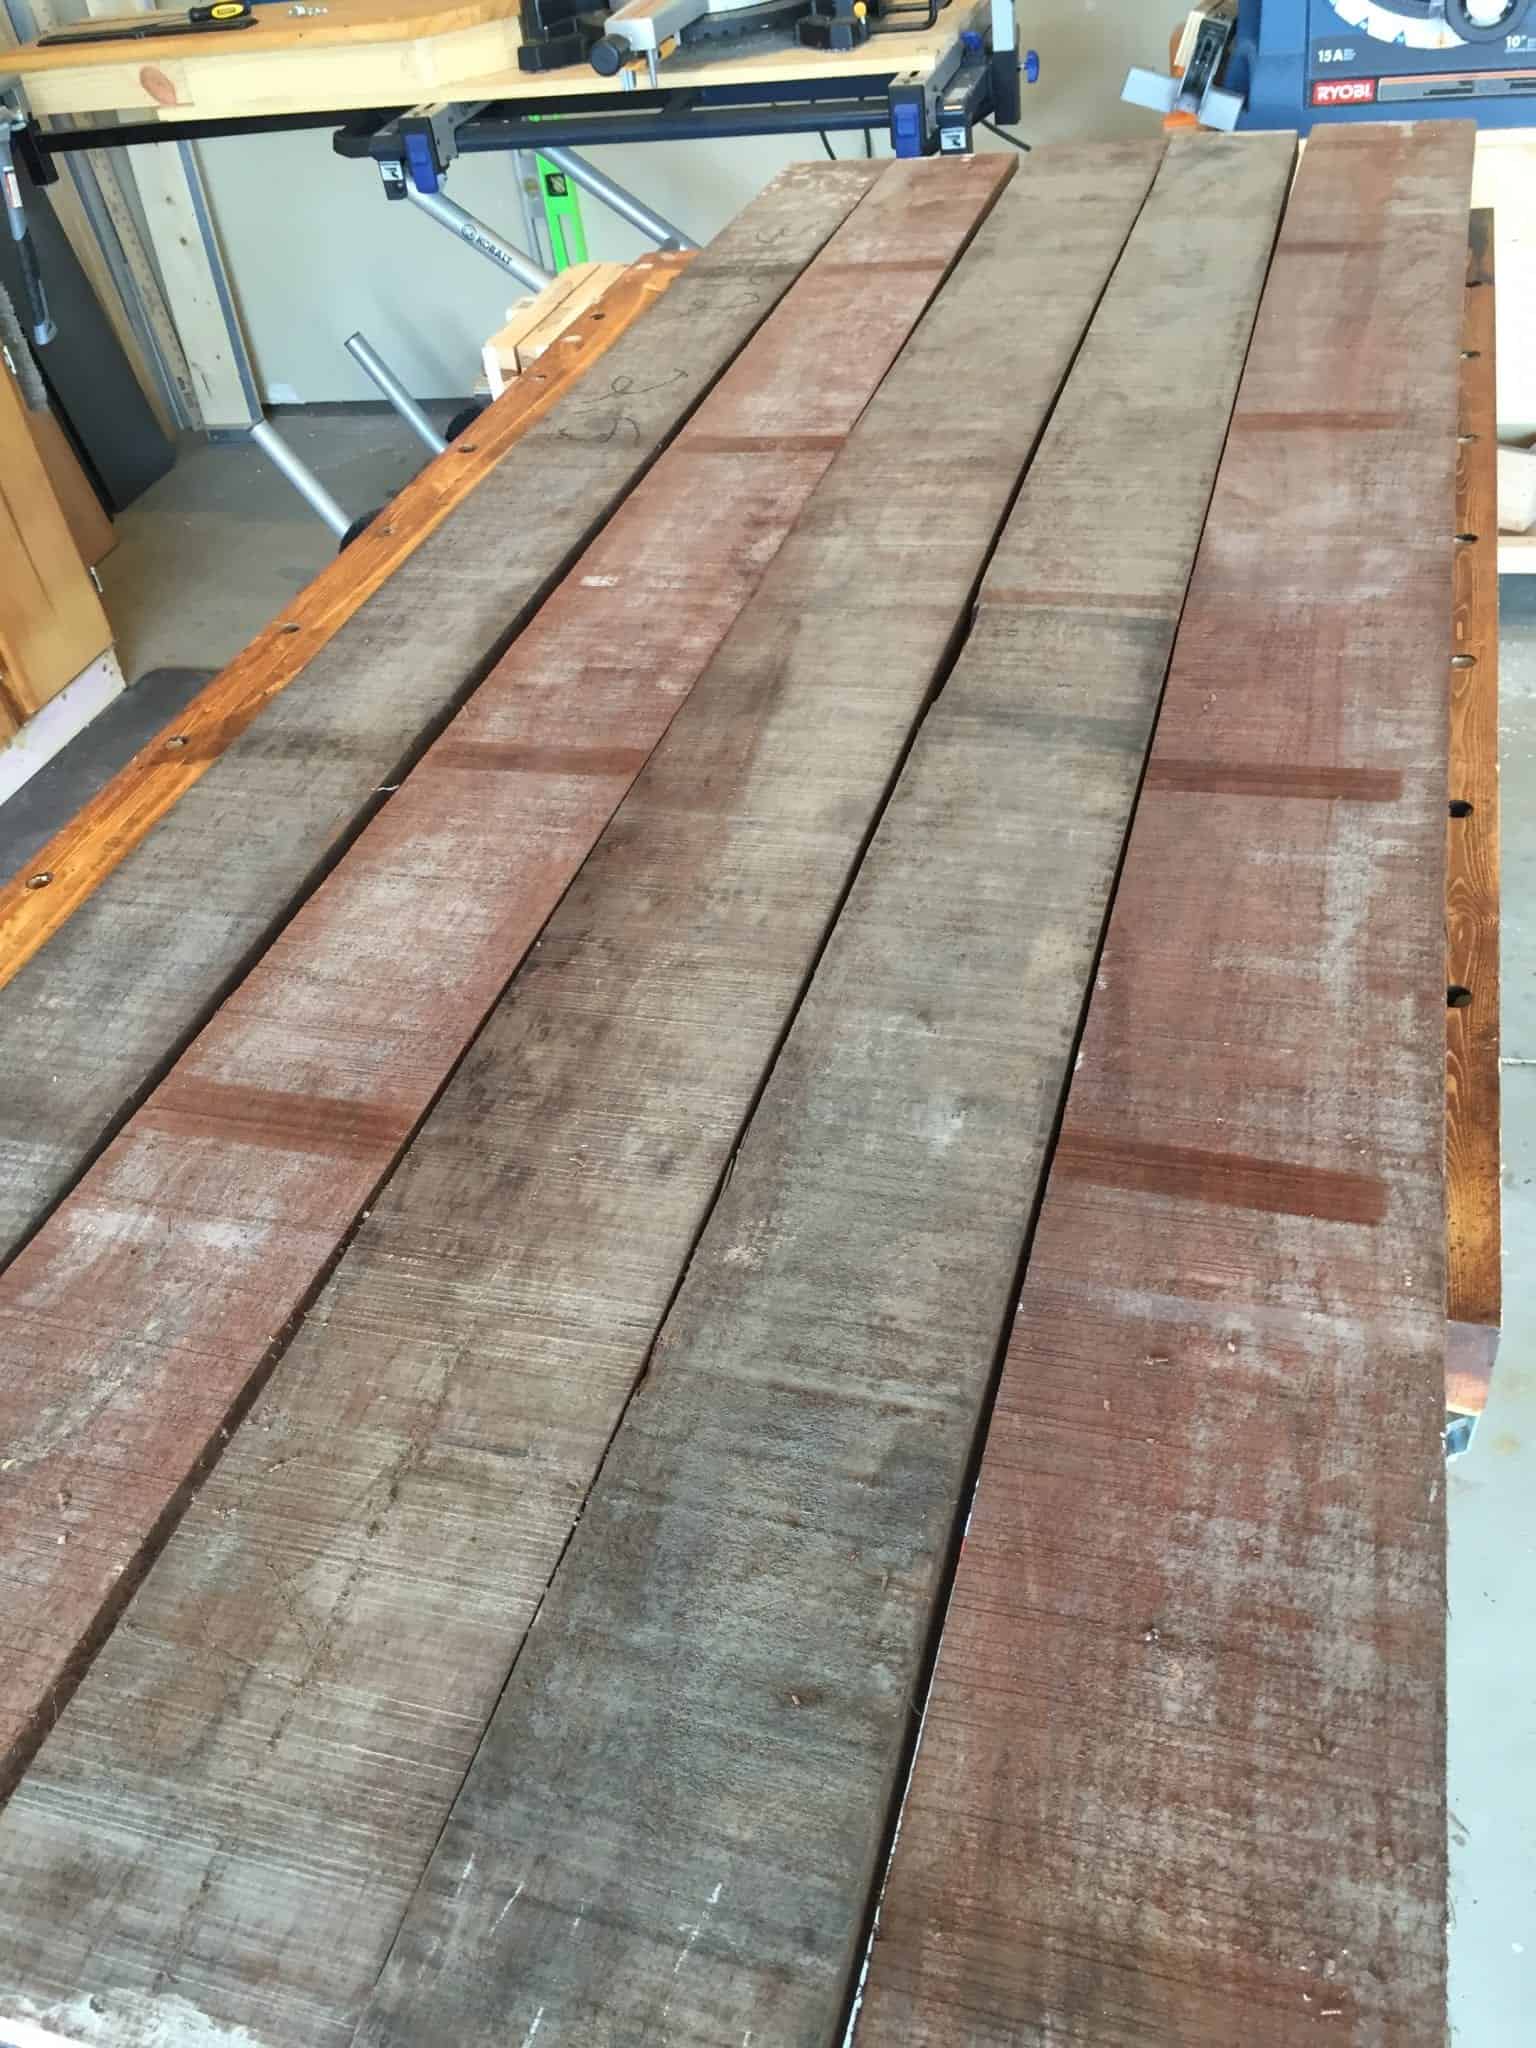
Above: It turns this
After: into this
In order for lumber to be usable in furniture making you need both edges and both faces to be straight, square and parallel. If they are not you will end up with pieces that don’t fit, hours of filling and sanding and a project that will drive you nuts. Further if you are going to glue up multiple pieces to make a tabletop it is critical that each of those pieces be of the exact same thickness. This process is called milling and you will pay a huge premium to buy hardwood that is already milled. If you can do it at home, suddenly domestic and exotic hardwoods can be had for nearly the same price as you would pay for a ready-to-use piece of clear pine or oak from the local big box store.
I have had a table saw for years and it does a terrific job making the edges square and parallel. In this post I will demonstrate a very simple jig that will make sure each edge is perfectly straight. But without a planer I had no way to address the faces, no way to clean up rough cuts, or assure that both faces are parallel. The additional bonus is that after planing the boards need almost no sanding. They are smooth as silk.
The Dewalt 12” Surface Planer can handle boards up to 12” wide and 6” thick. So here she is:
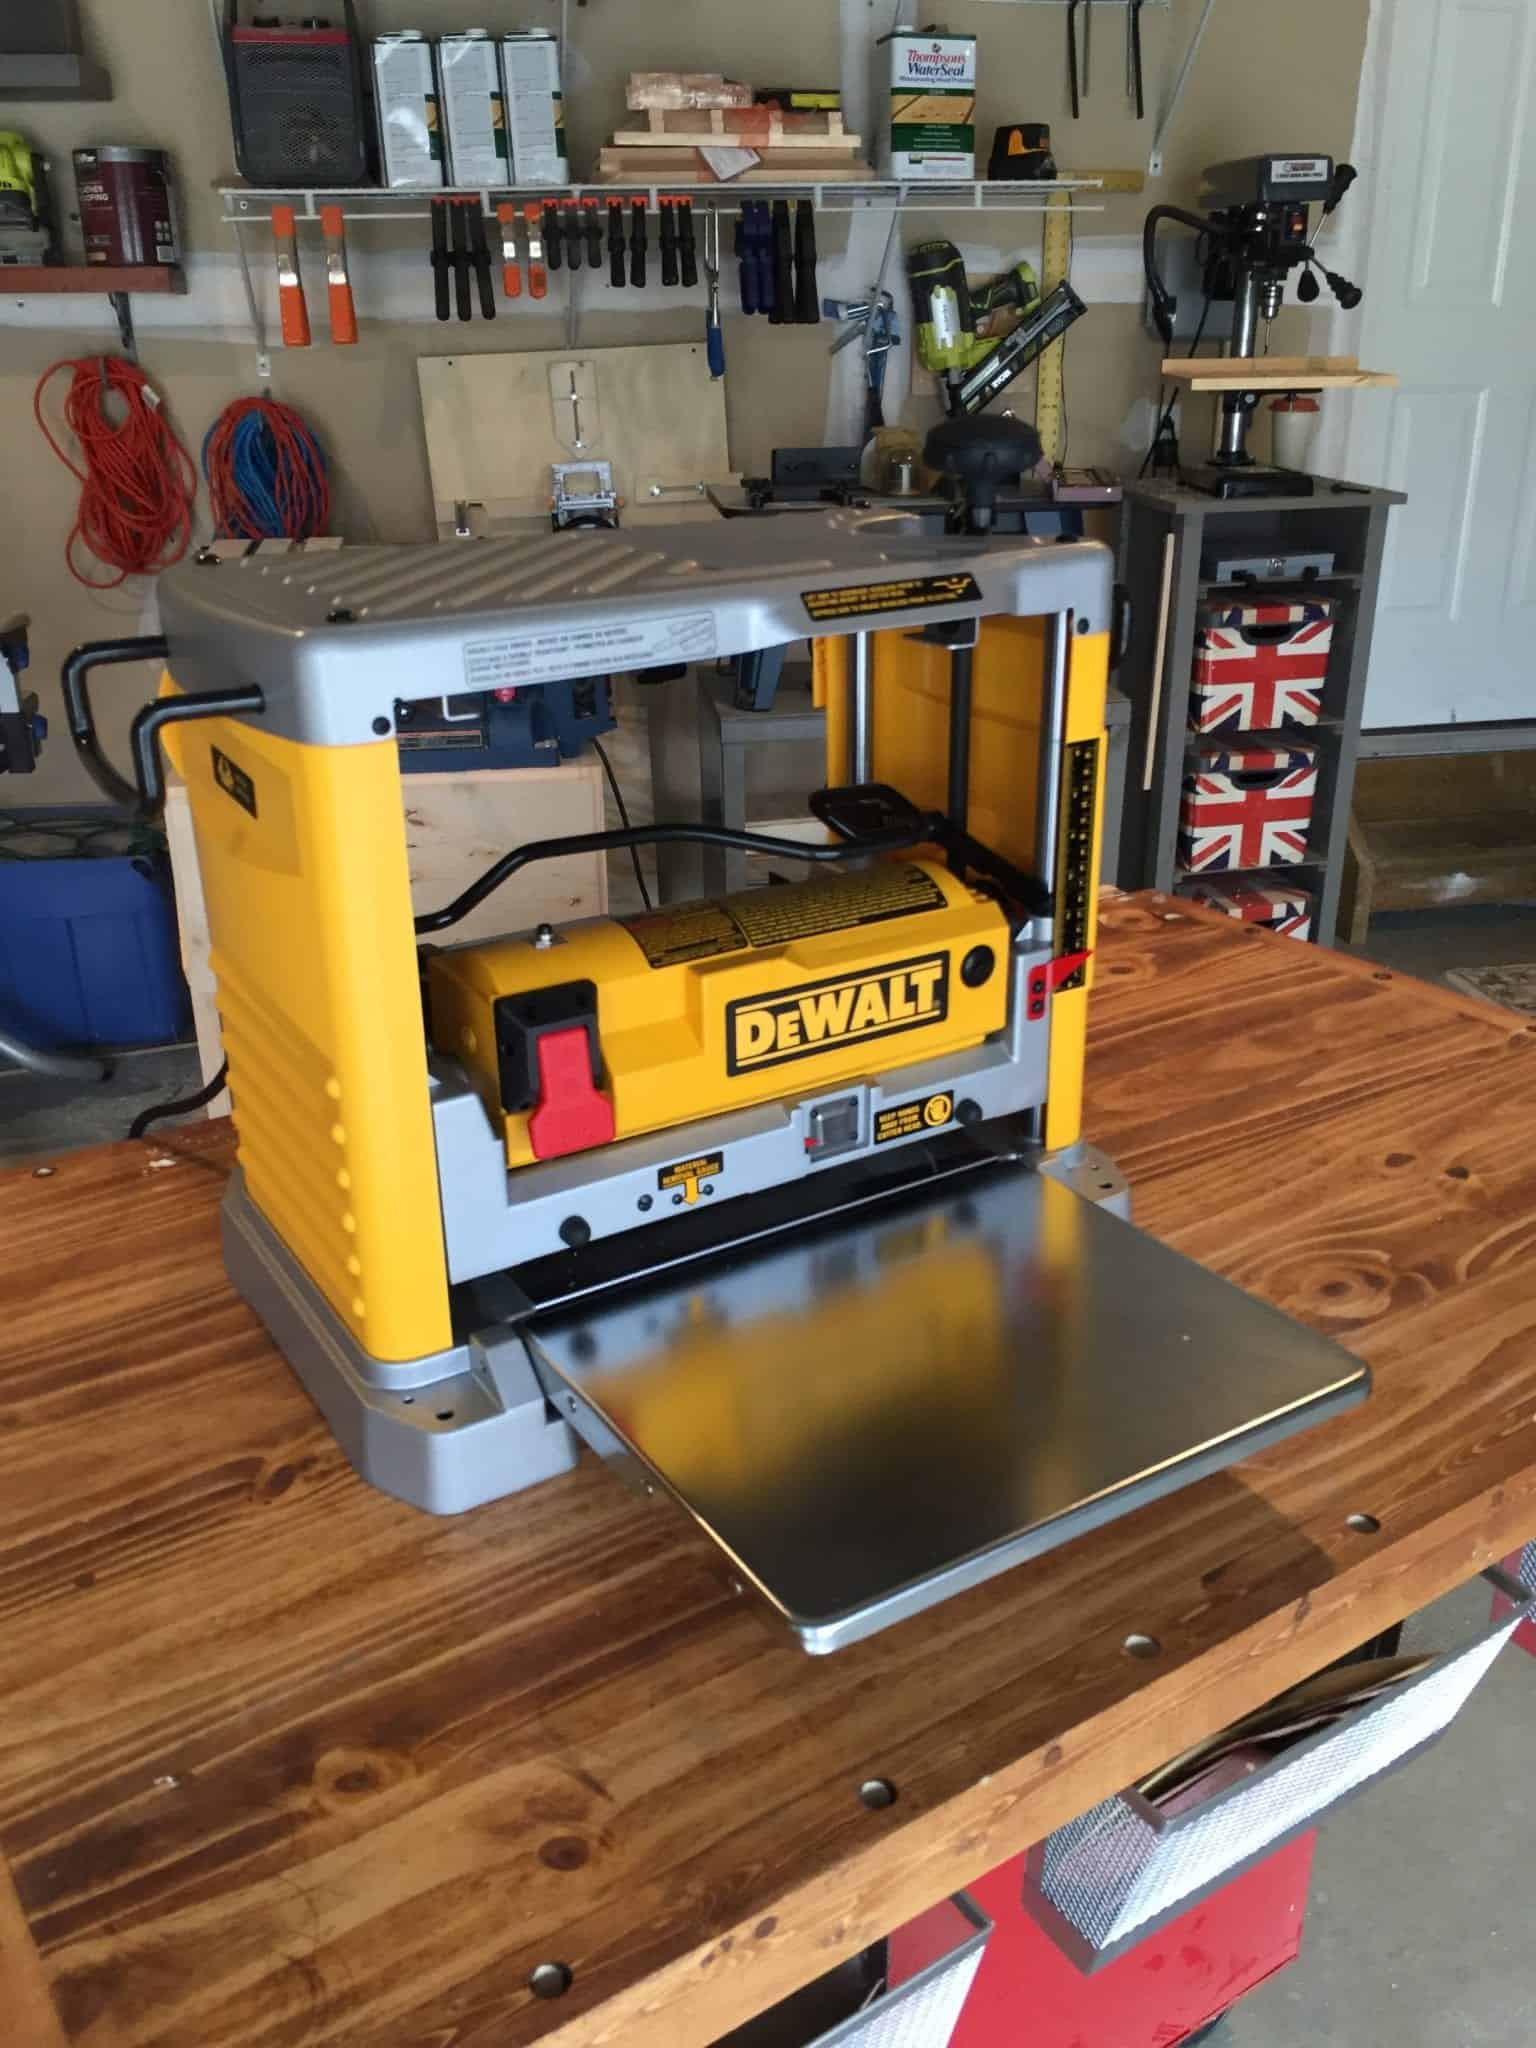
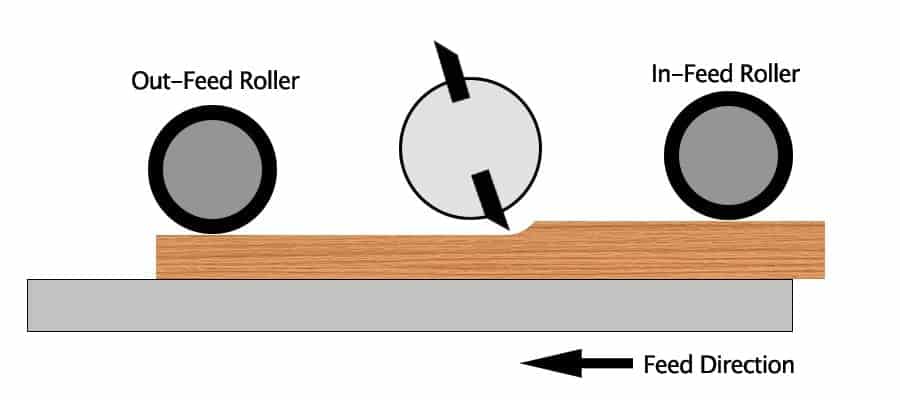
A surface planer operates this way. The board is fed in one side and a horizontal blade trims of a very precise amount of material while rollers press the board flat to the table, shaving off tiny layers until the board is cut to the desired thickness. The finish on the cuts is unbelievable.
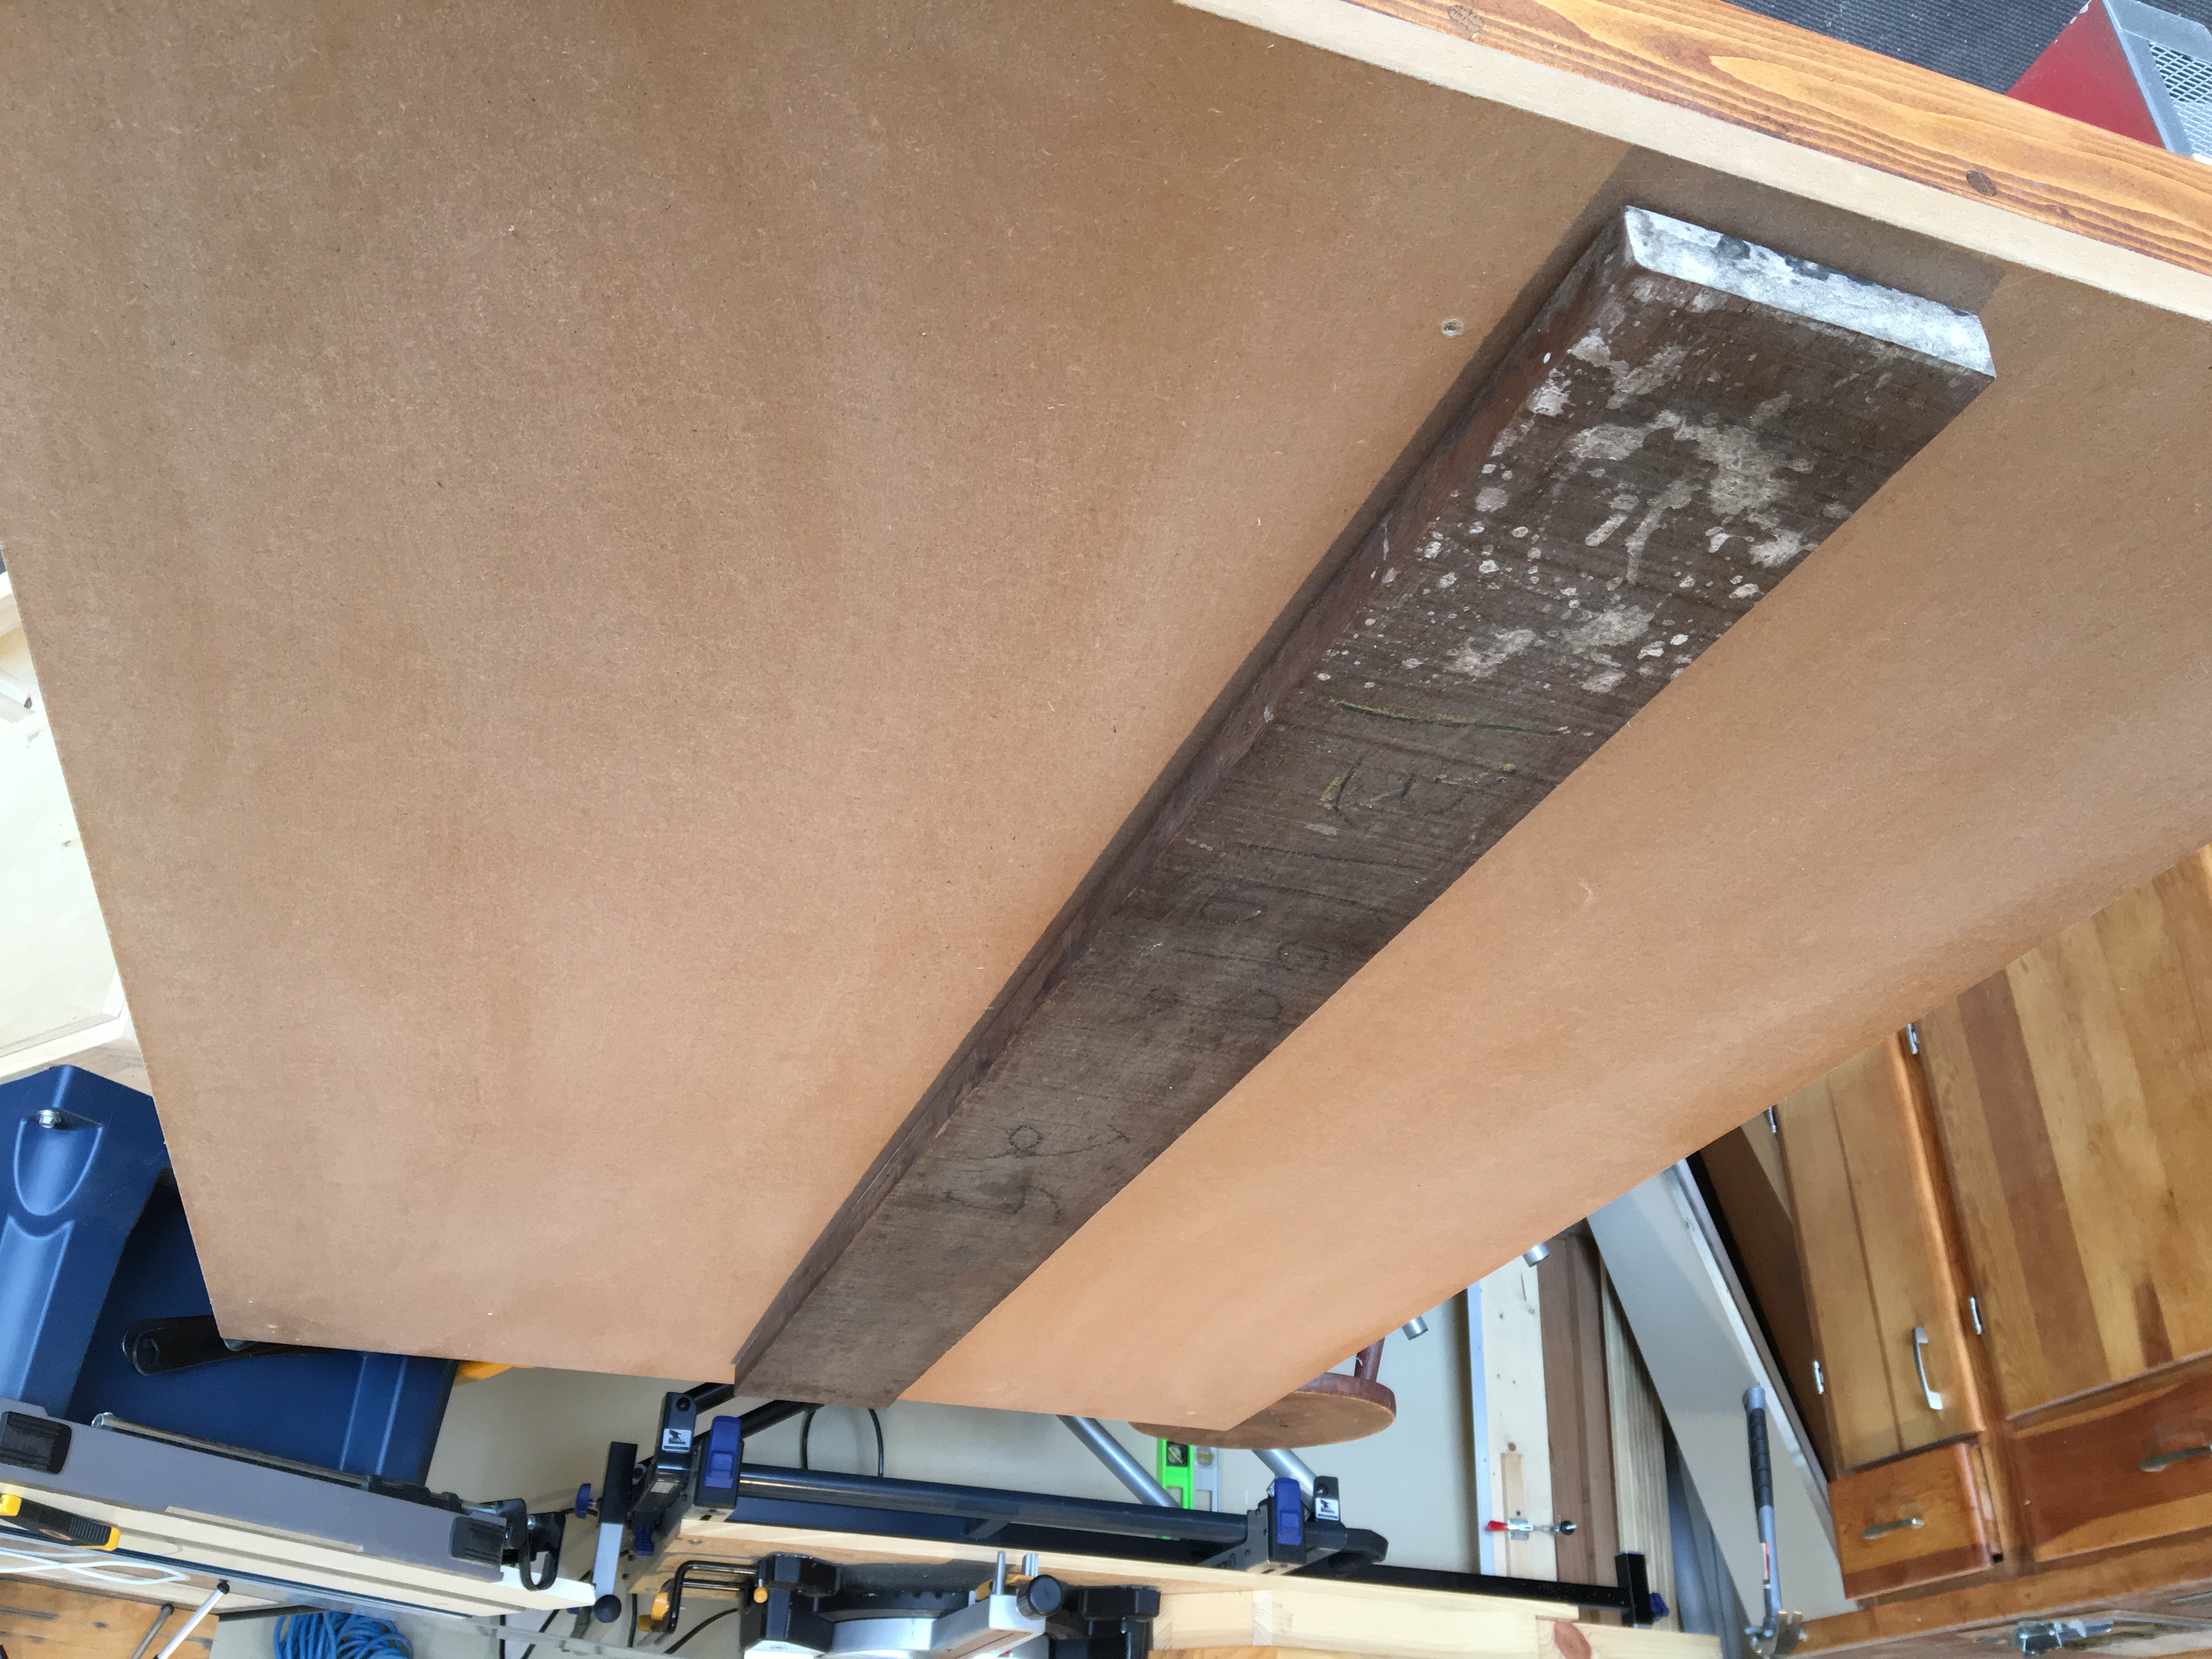
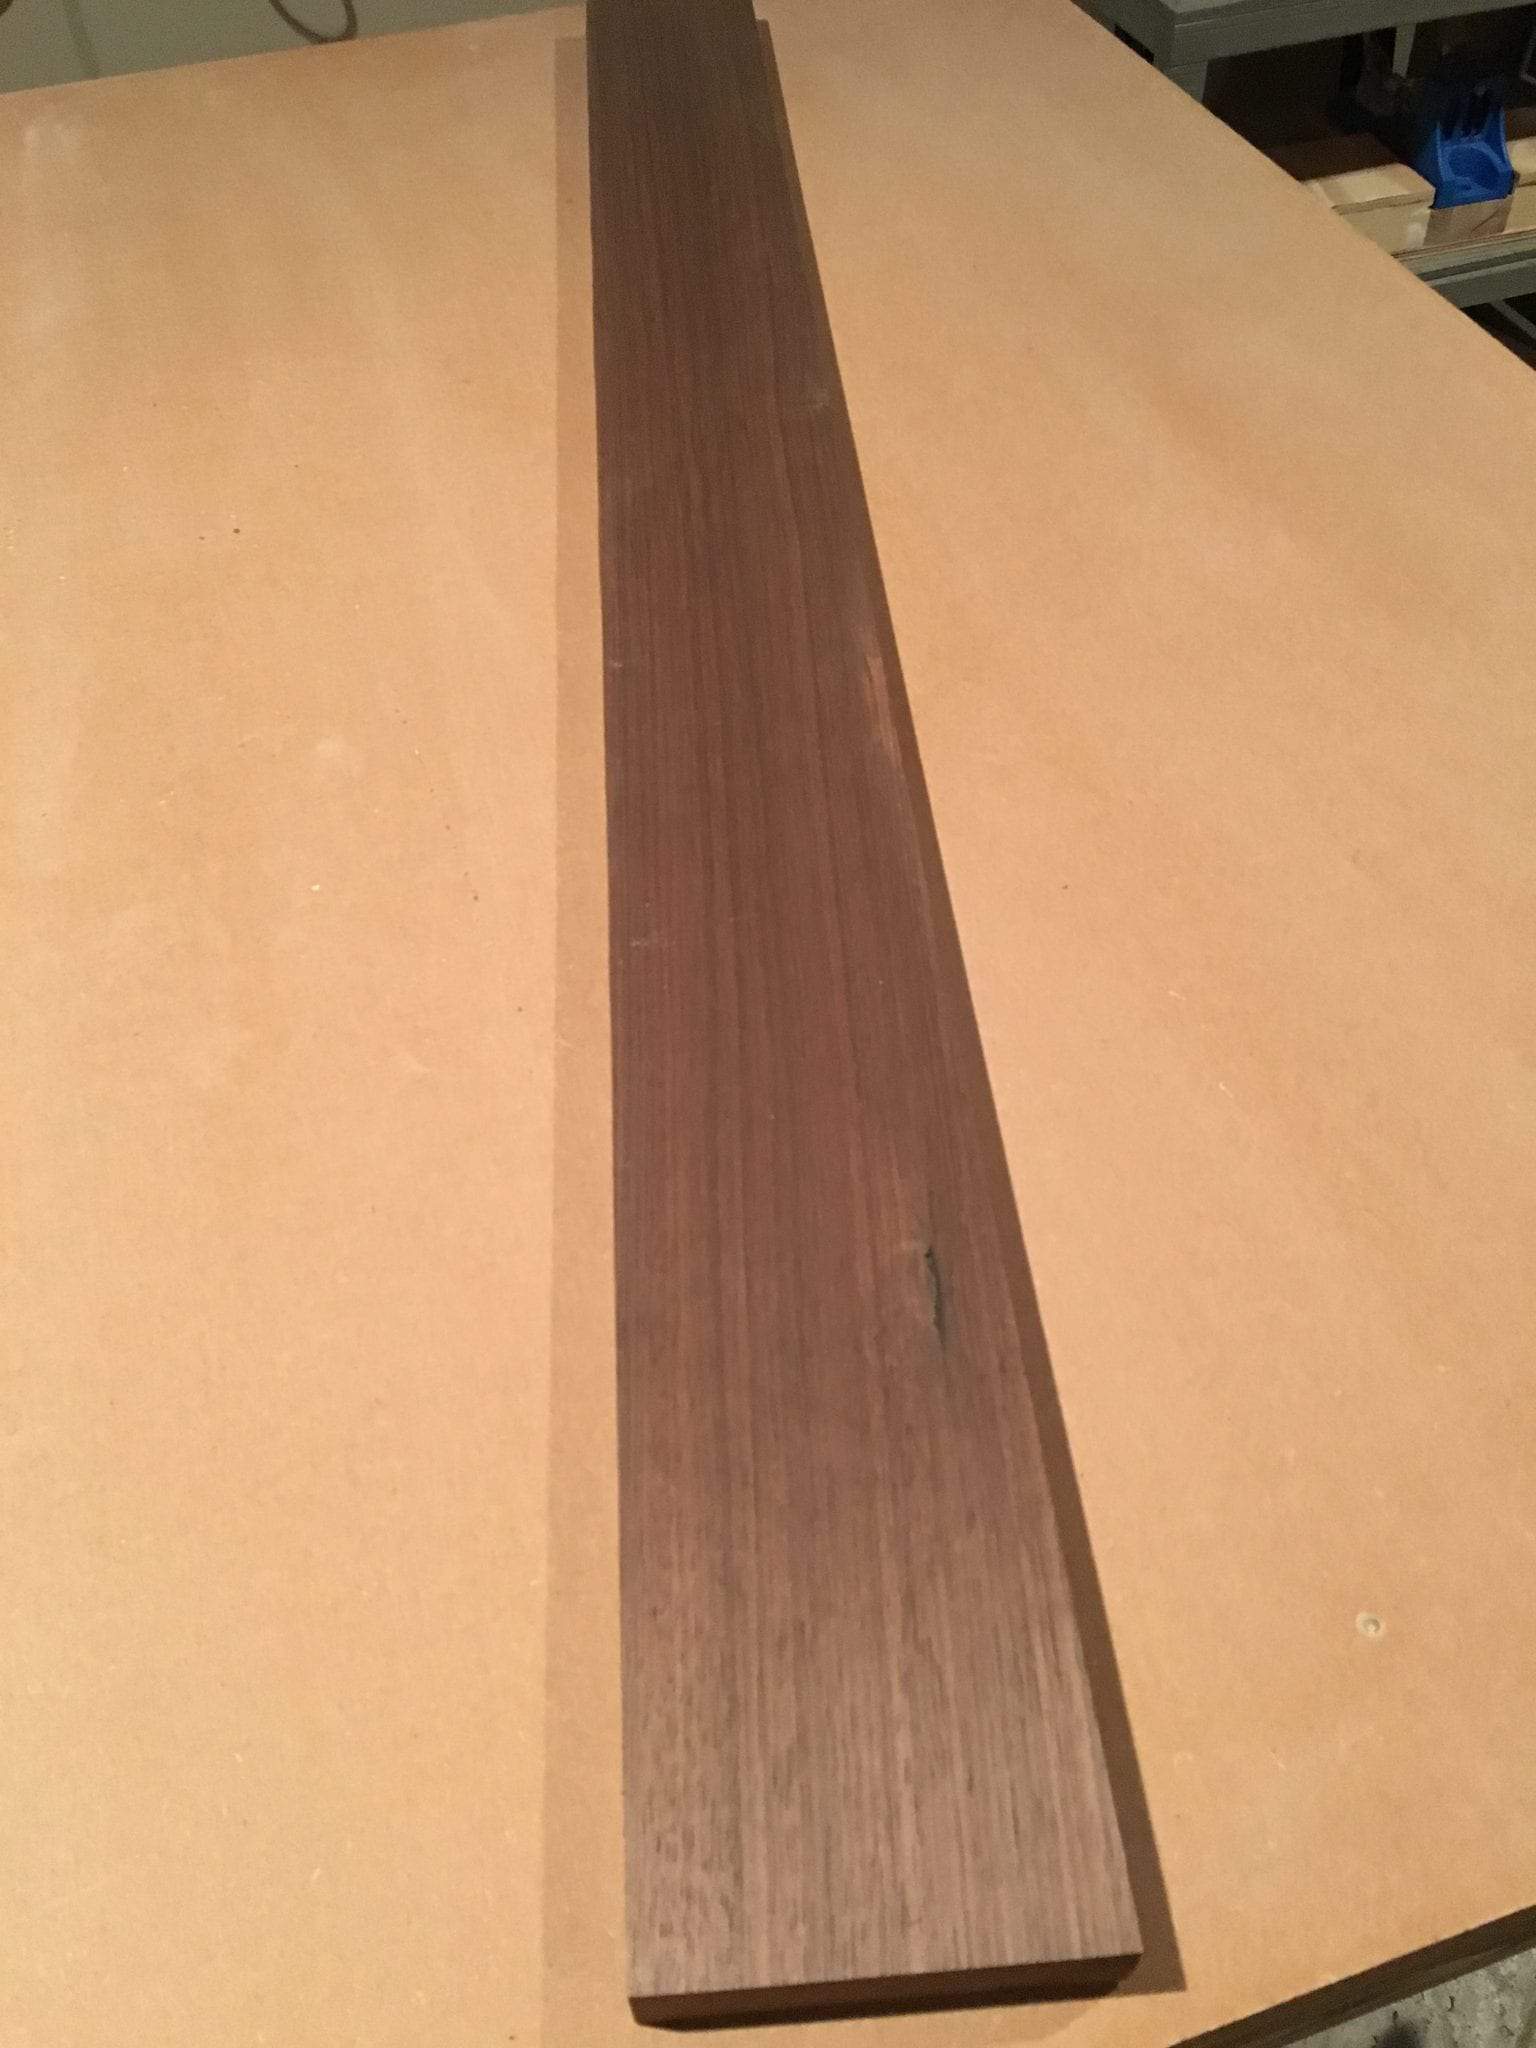
 This is cut from a 84”X6”X 1” piece of Peruvian Walnut I found in a rough cut bin at a lumber yard for $16.00. As you can see it is very rough shape and I would have had to walk away before. I priced a pre-milled piece of the same size at $64.00. These boards are for my basement bar top. I purchased enough to do my 84” X 30” top for $115 or about the same price as comparable pieces of oak at the big box stores. That much milled 1” thick Peruvian Walnut would have cost well over $400 — so the planer has already paid for itself. In this post we are going to go from this…
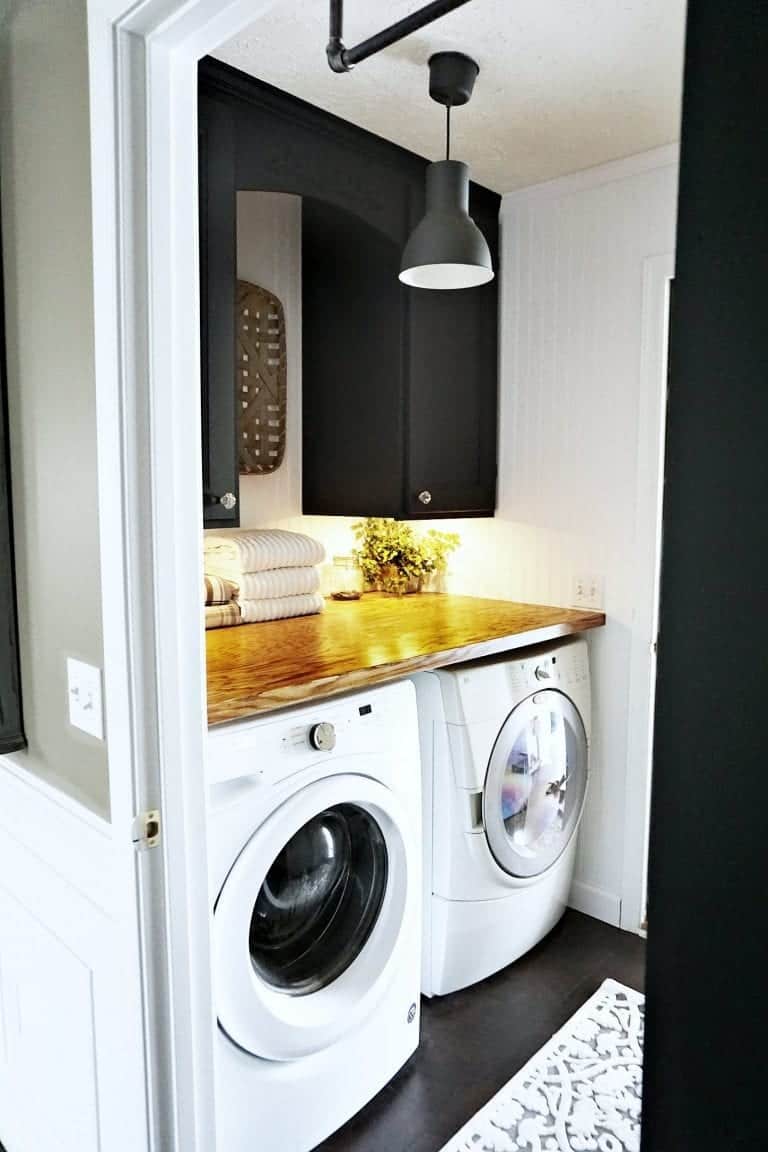
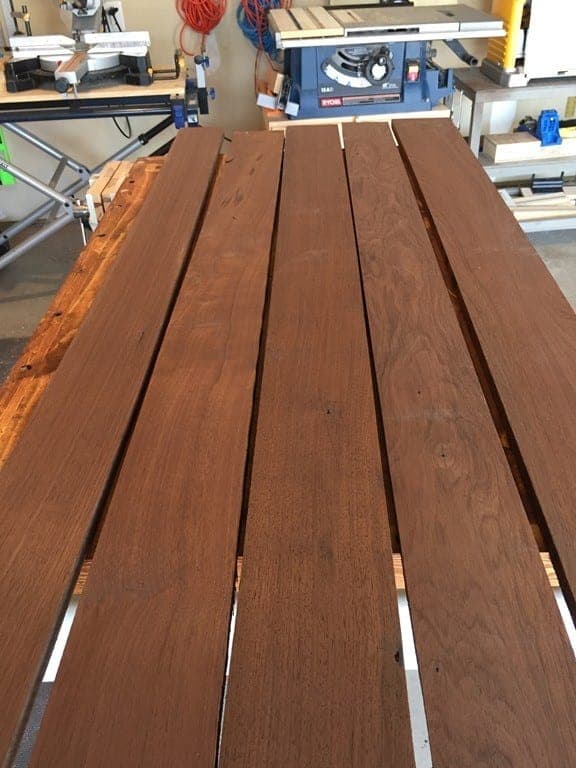
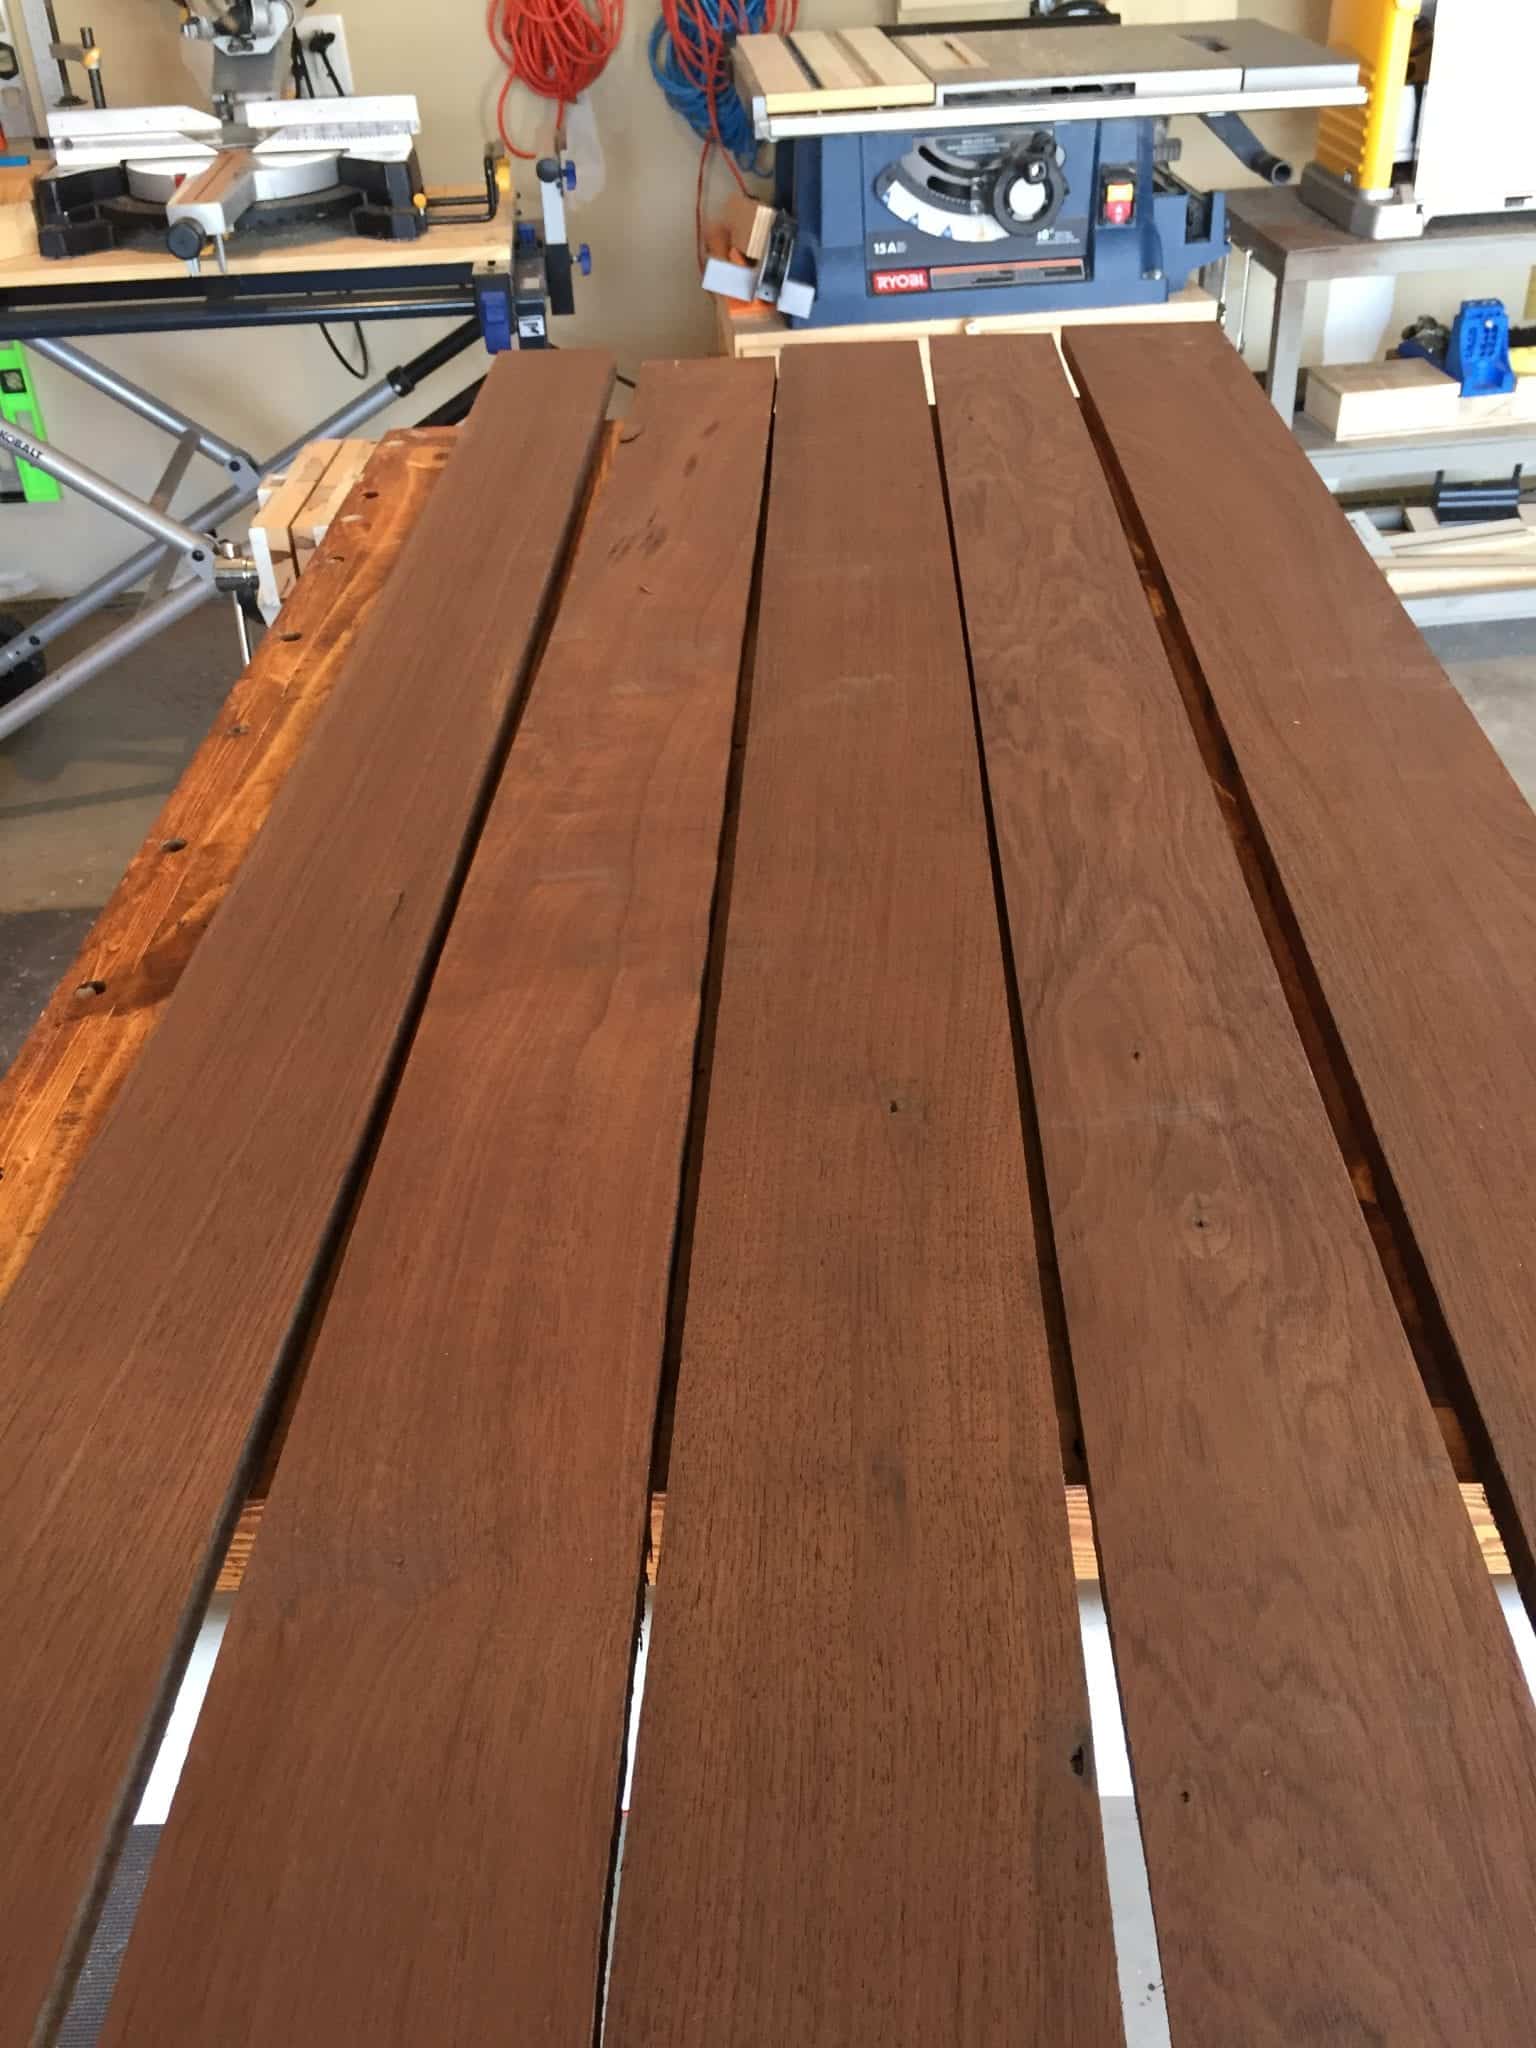
to this – in about 5 minutes.
The first step is to run it through the planer, taking a series of very light cuts.The harder the wood the lighter the cut. If you are planing multiple boards, you will want to run them all through at the same time so that all boards end up the exact same thickness.
Start by placing raising the blade and placing the board in the planer. Use the crank to lower the blade until it just touches the board. Align the zero on the card at the base of the crank with the arrow. The crank provides very precise adjustment capabilities. One full turn equal 1/16th”, each quarter turn represents 1/64th.
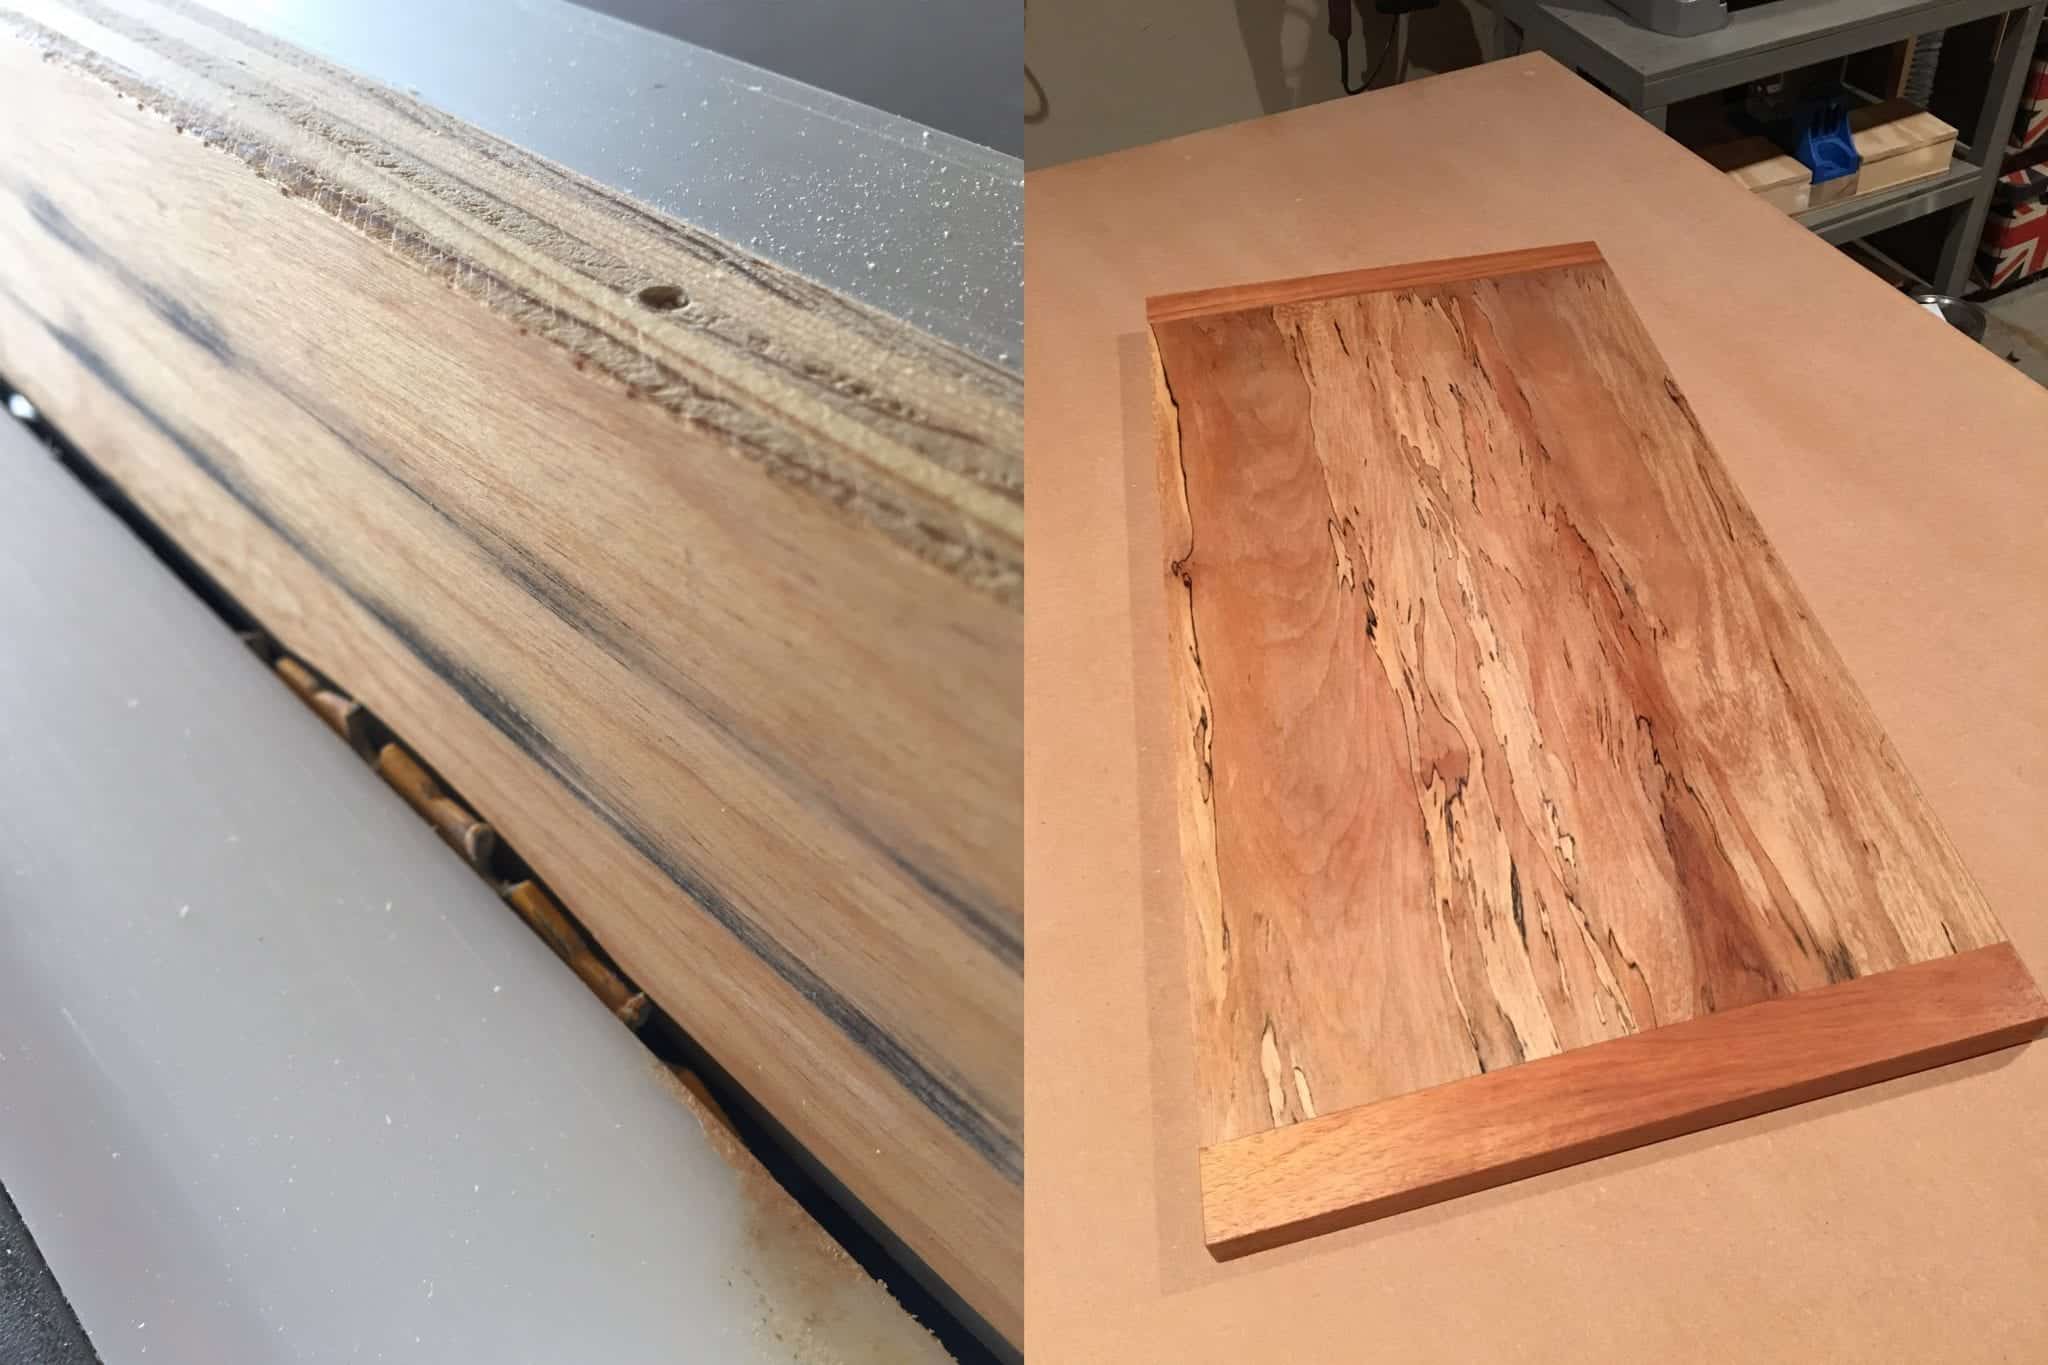
I’ve already done one side of the board, here you will see the just a couple of passes and it goes from nasty to beautiful. The first pass took nothing off, each of the next two took a 32nd.
Now for the edges. Here is a very simple jig to assure perfectly straight edges. For this I purchased a 48” metal ruler for a few bucks. Attach FastCap doublestick tape to the backside of the ruler. I like Fastcap because it very strong but can be removed without leaving any residue. Press the ruler onto one edge of your board slightly overhanging the edge. Don’t forget to save the backing tape.
Place the board with the attached ruler against the rip fence and set the fence to cut off the minimum you need to cut the entire length of the board. If your board is extremely uneven this may take a couple of passes to make sure the blade has touched the entire length. You now have one perfectly straight edge. Remove the ruler and replace the backing tape and your jig is ready to use again another day. I have several of these, with a 72″ a 24″ and a 48″ you can combine them to straighten just about any board length.
Flip the board and place your newly straight edge against the fence set the fence to your desired width and run it through.
Congratulations! After just a few minutes, you have a board that is ready to be used in your project, both edges and both faces are straight, square and parallel and you have a beautiful finished face on your board.
Where else have you used it? you ask…
Here are some other projects where the planer has already proven invaluable.
This will be the top to an end table I’m working on. This is made from a rough two pieces rough cut of Sycamore and the breadboards are Walnut. Zero sanding.
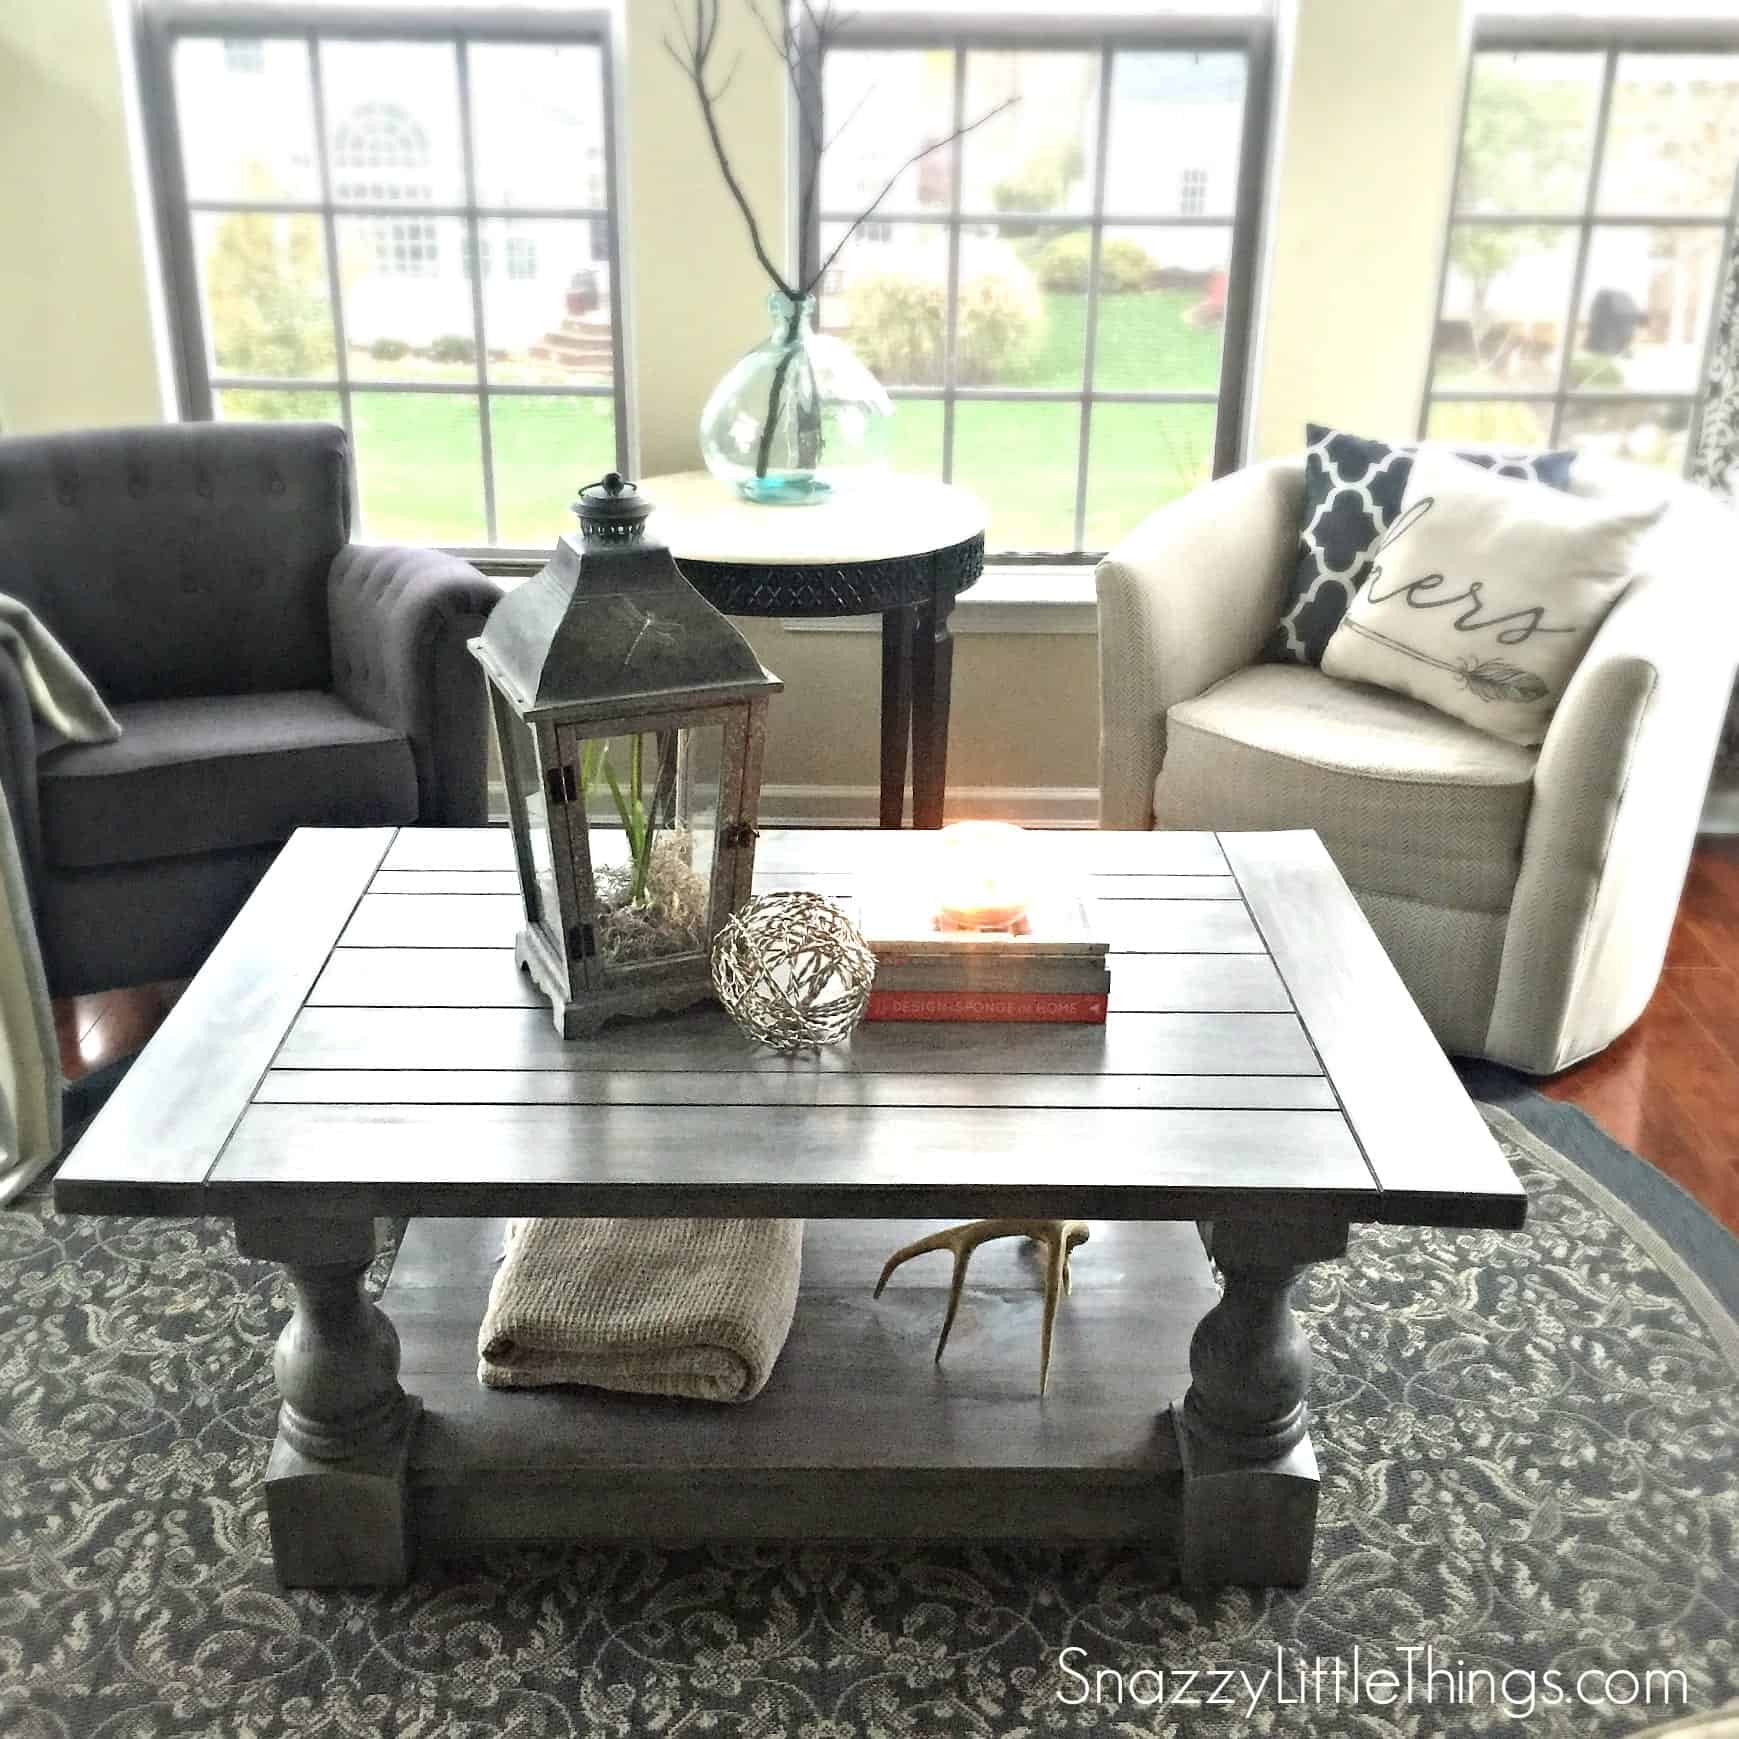
This is the coffee table we made for our living room. The top is made from terrific pieces of pine I found at a lumber yard and planed down to a great finish.
So there it is, the tool that has changed everything for us. I am like a kid in a candy shop with the new design options that are open to us because of this outstanding tool and our friends at Rockler Woodworking.