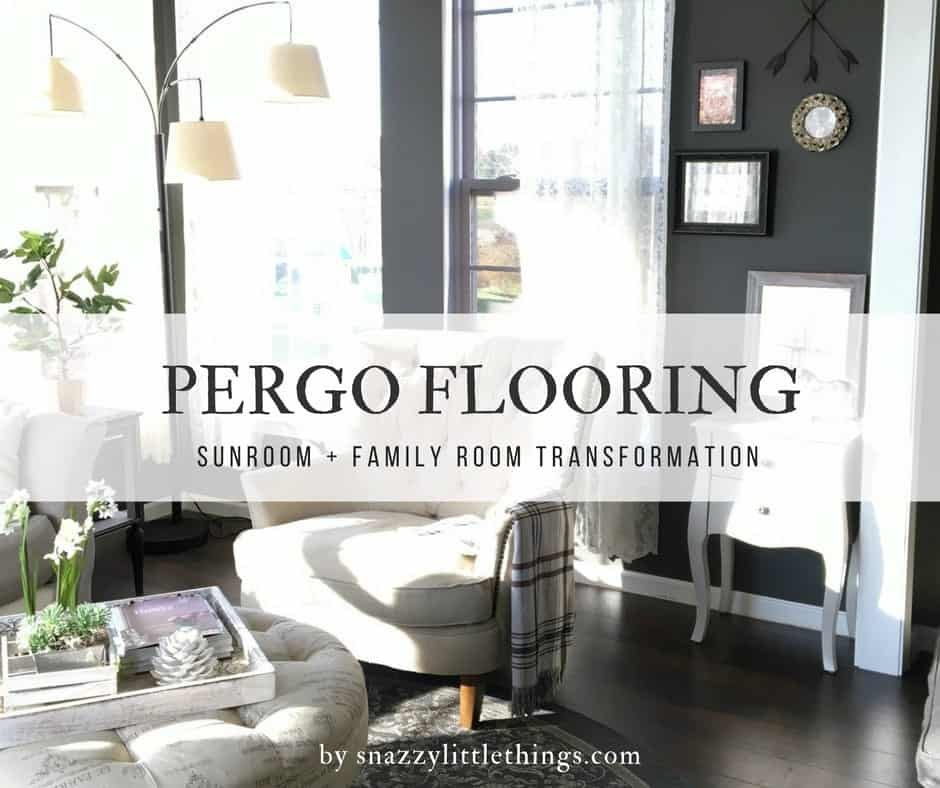
Pergo Reveal: The Living Areas
I hope you’re enjoying our Pergo flooring before and after shots! Today I’m sharing the main living areas of our home: the sunroom and family room.
If you just found my blog, welcome! We’ve replaced our entire first floor with the Pergo Outlast+ collection in the color, Molasses Maple. We’ve already completed several rooms! You can catch up on the full series of posts here.
Our goal is to have one, continuous floor with no thresholds. This means that there are no trim pieces at the doorways. Which also means that no room is really ever finished until the whole house is done. Translation: we often had unfinished, staggered edges of flooring between rooms until we could start the project again. Life happens!
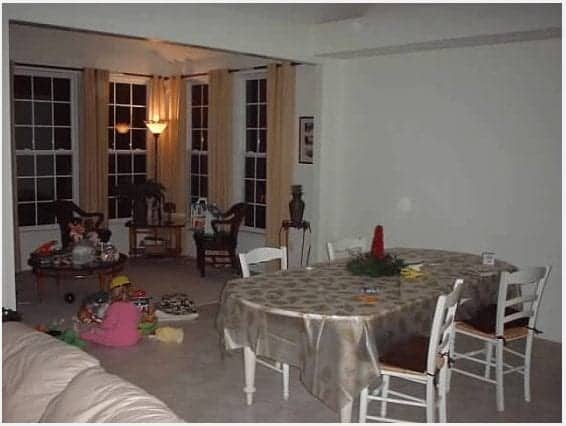
The Sunroom
before + after
This phase of the reveal was all about survival. With the holidays coming, I’ve been hastily snapping “after” photos and giving no thought whatsoever to decorating. Maybe next year I’ll share a holiday home tour…but this year, I’ll do a live walkthrough on Facebook showing you the new floors.
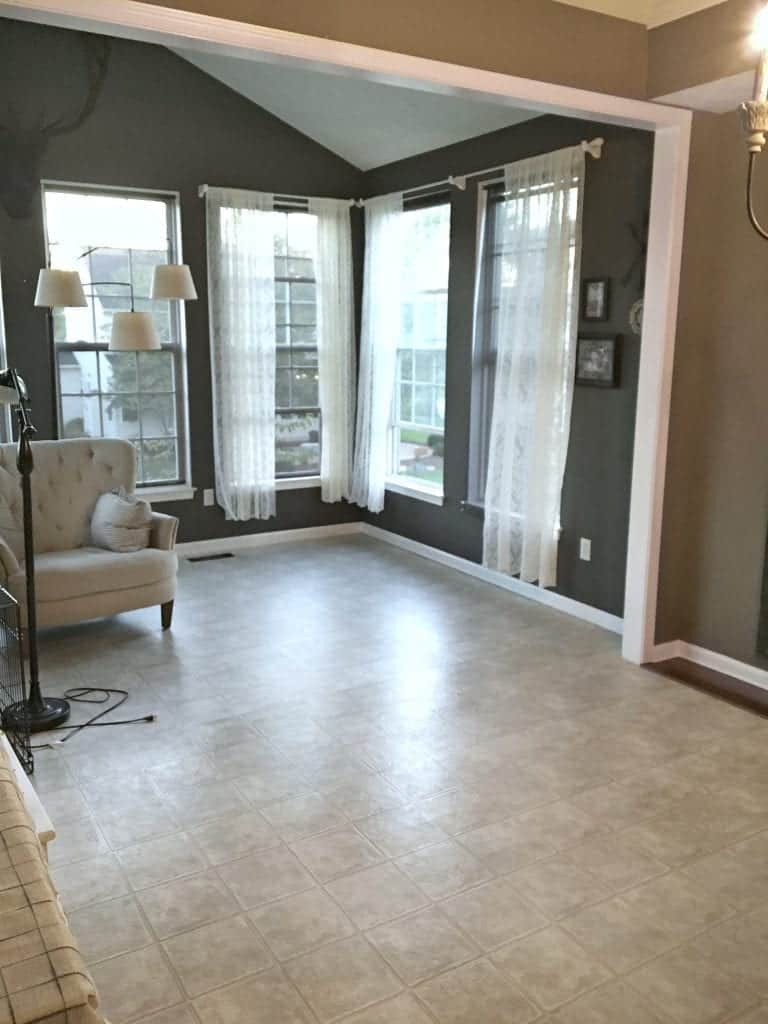
Sunroom, before: (click each image for a larger view)
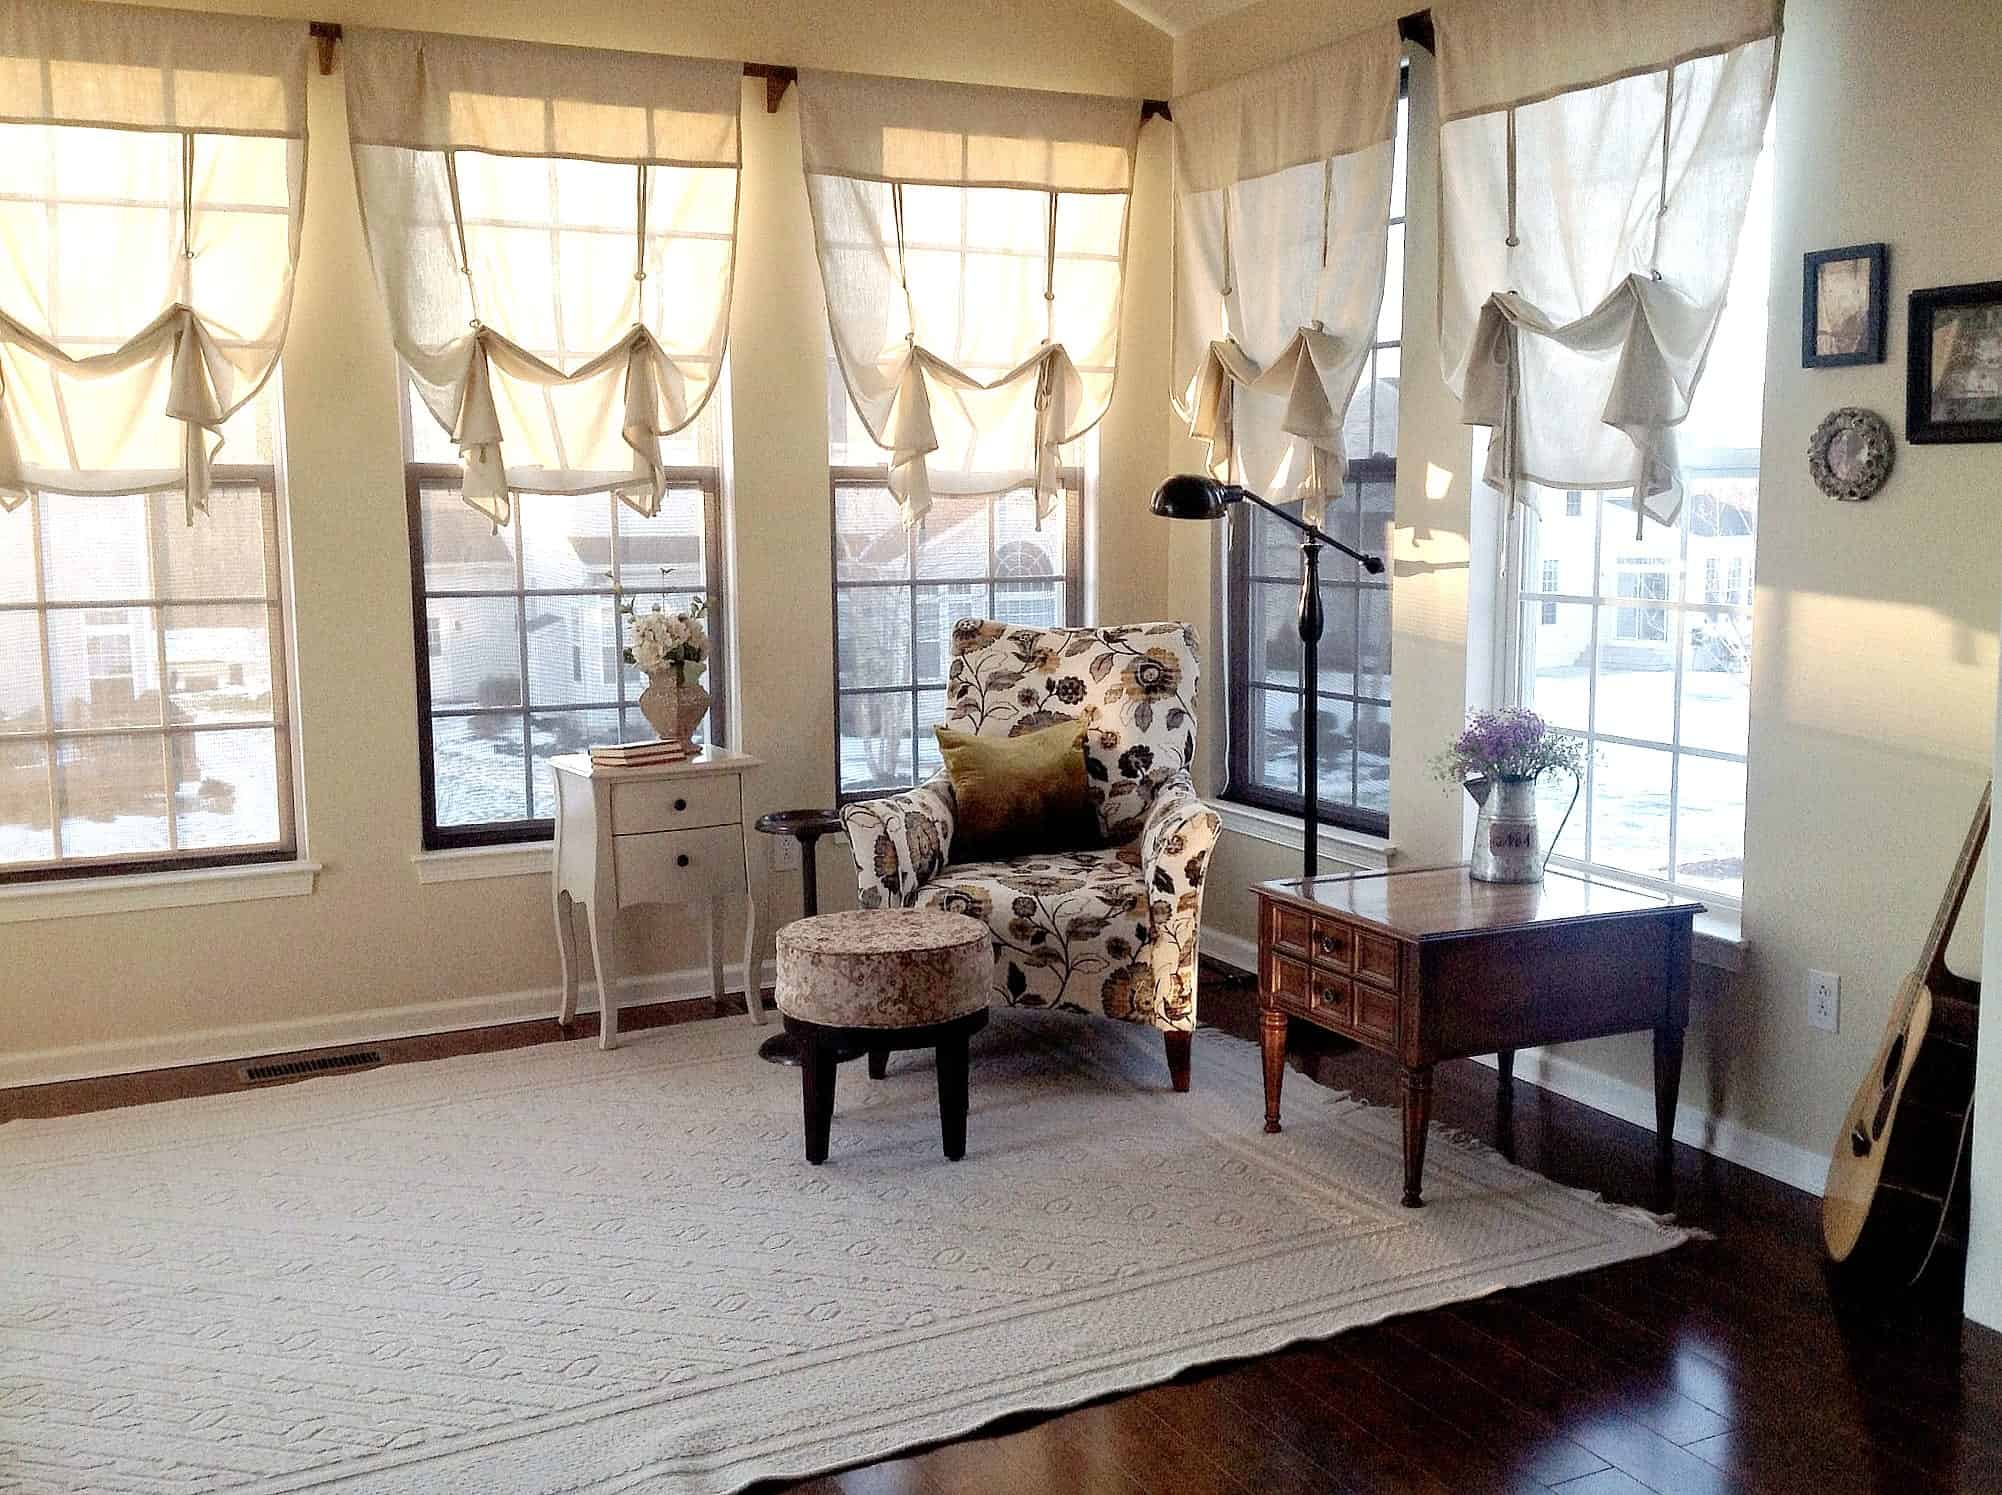
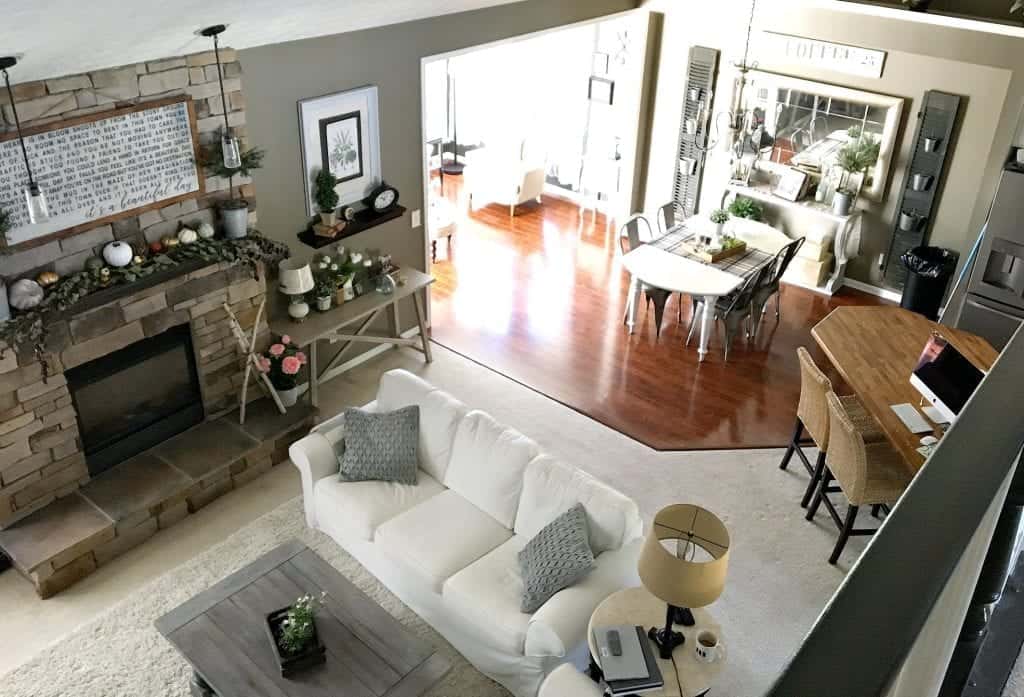
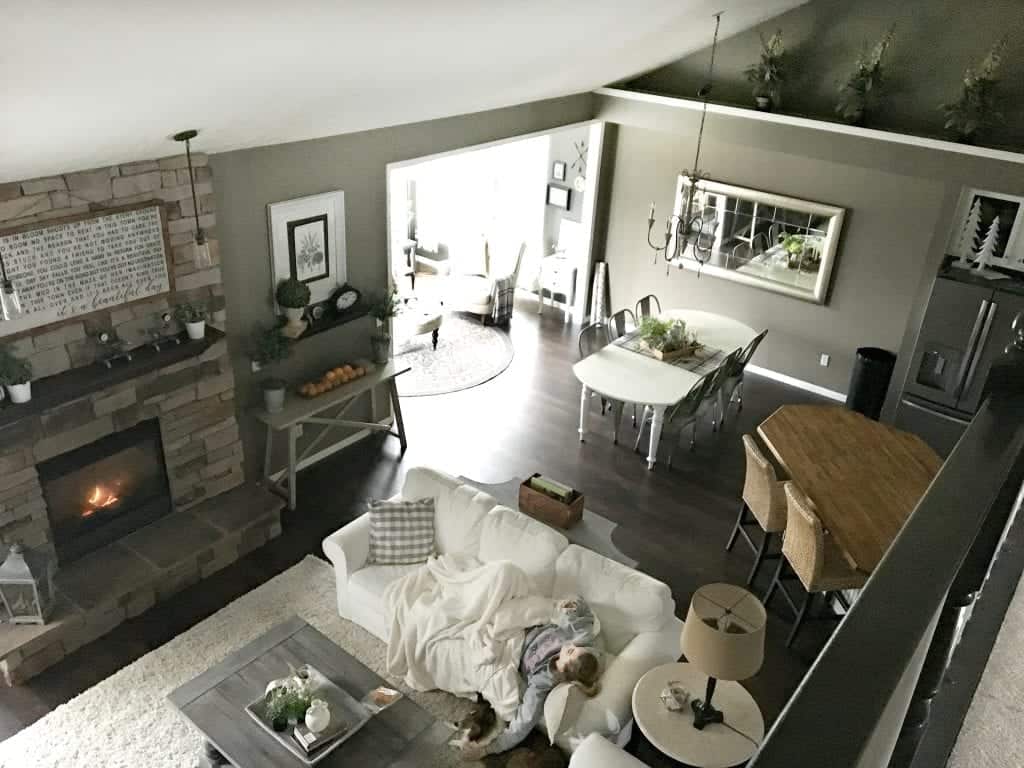
Drumroll, please…the sunroom, after!
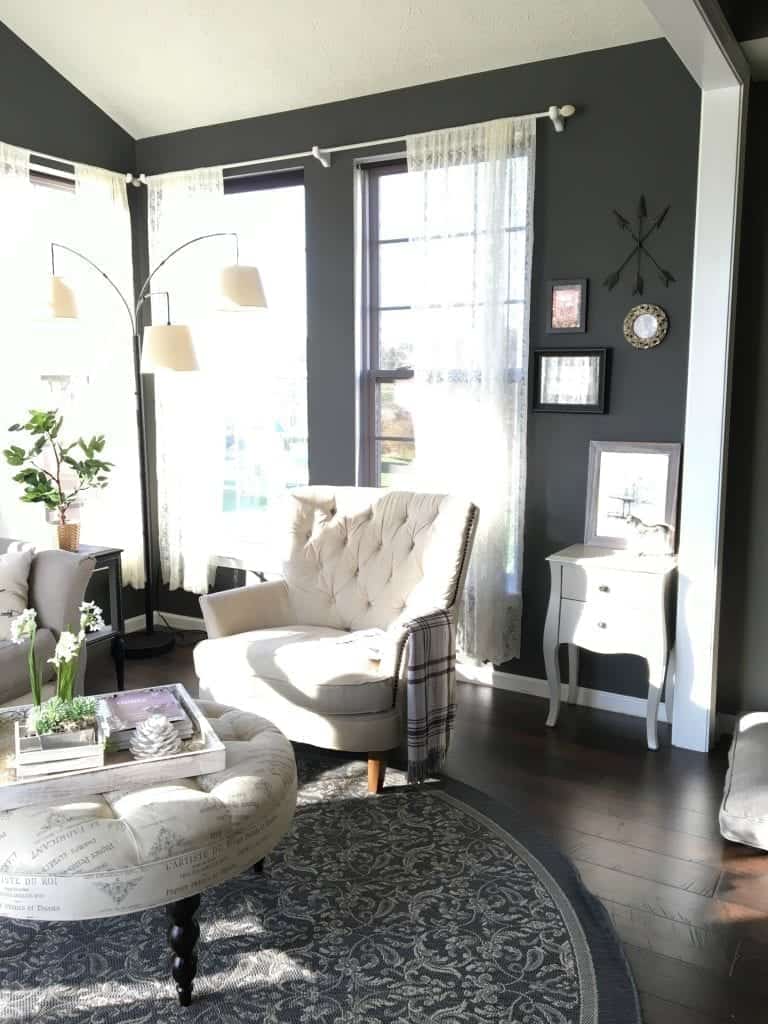
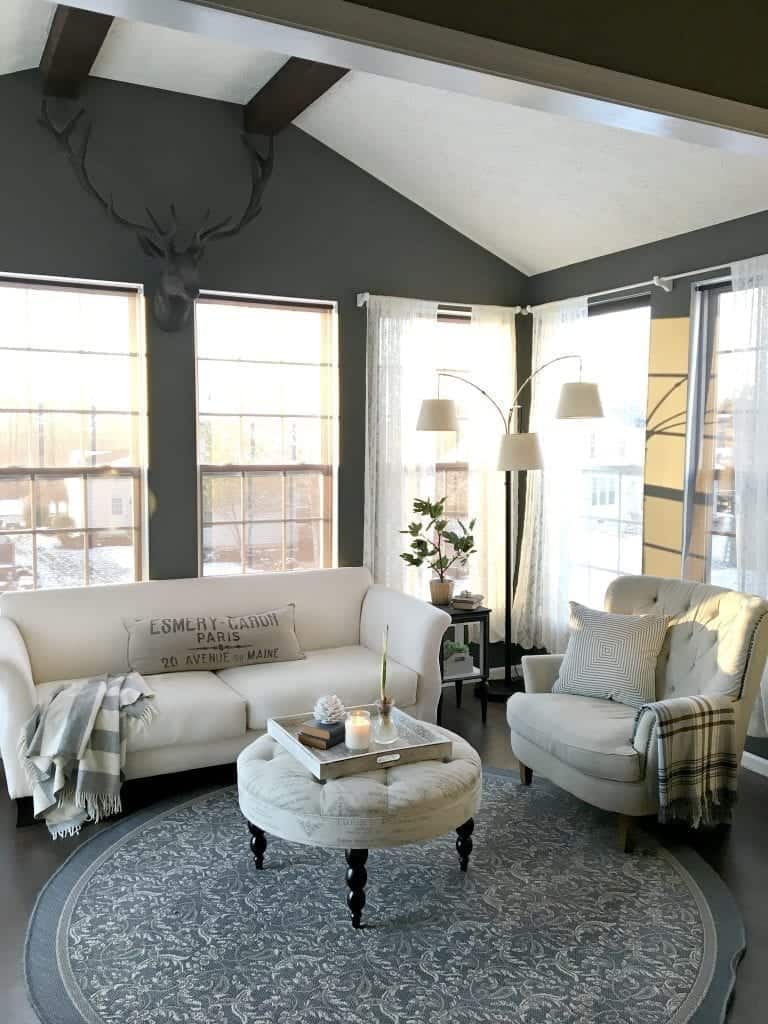
In this “after” I was glad to have a room functioning normally – even if only for a moment. Hopefully with the rug in place, you can still appreciate the dramatic transformation! Without a doubt this is the most lived-in and photographed room in our house, so I promise many more photos in the future :) — in fact, we are putting our tree up immediately after this post.
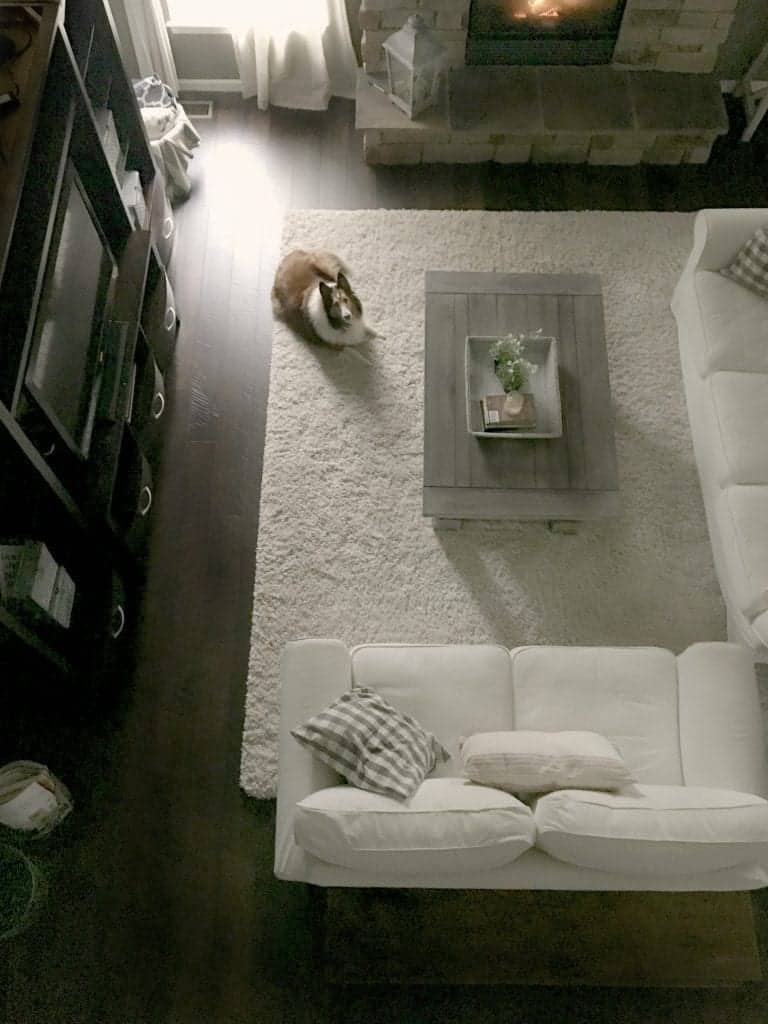
The sunroom gets a lot of Buddy-traffic, so we grateful for the benefits Pergo Outlast+. This is where Buddy’s food and water is located along with his dog bed. This room is also his in-and-out access to the outside. The cheap laminate from before had the most water damage in this room due to snow being tracked inside. Any drips from Buddy’s bowl also resulted in damage to the cherry laminate as well.
I’m pretty sure this won’t be a challenge for our new Pergo! If I ever build a house again, I absolutely will not skimp on flooring!!!
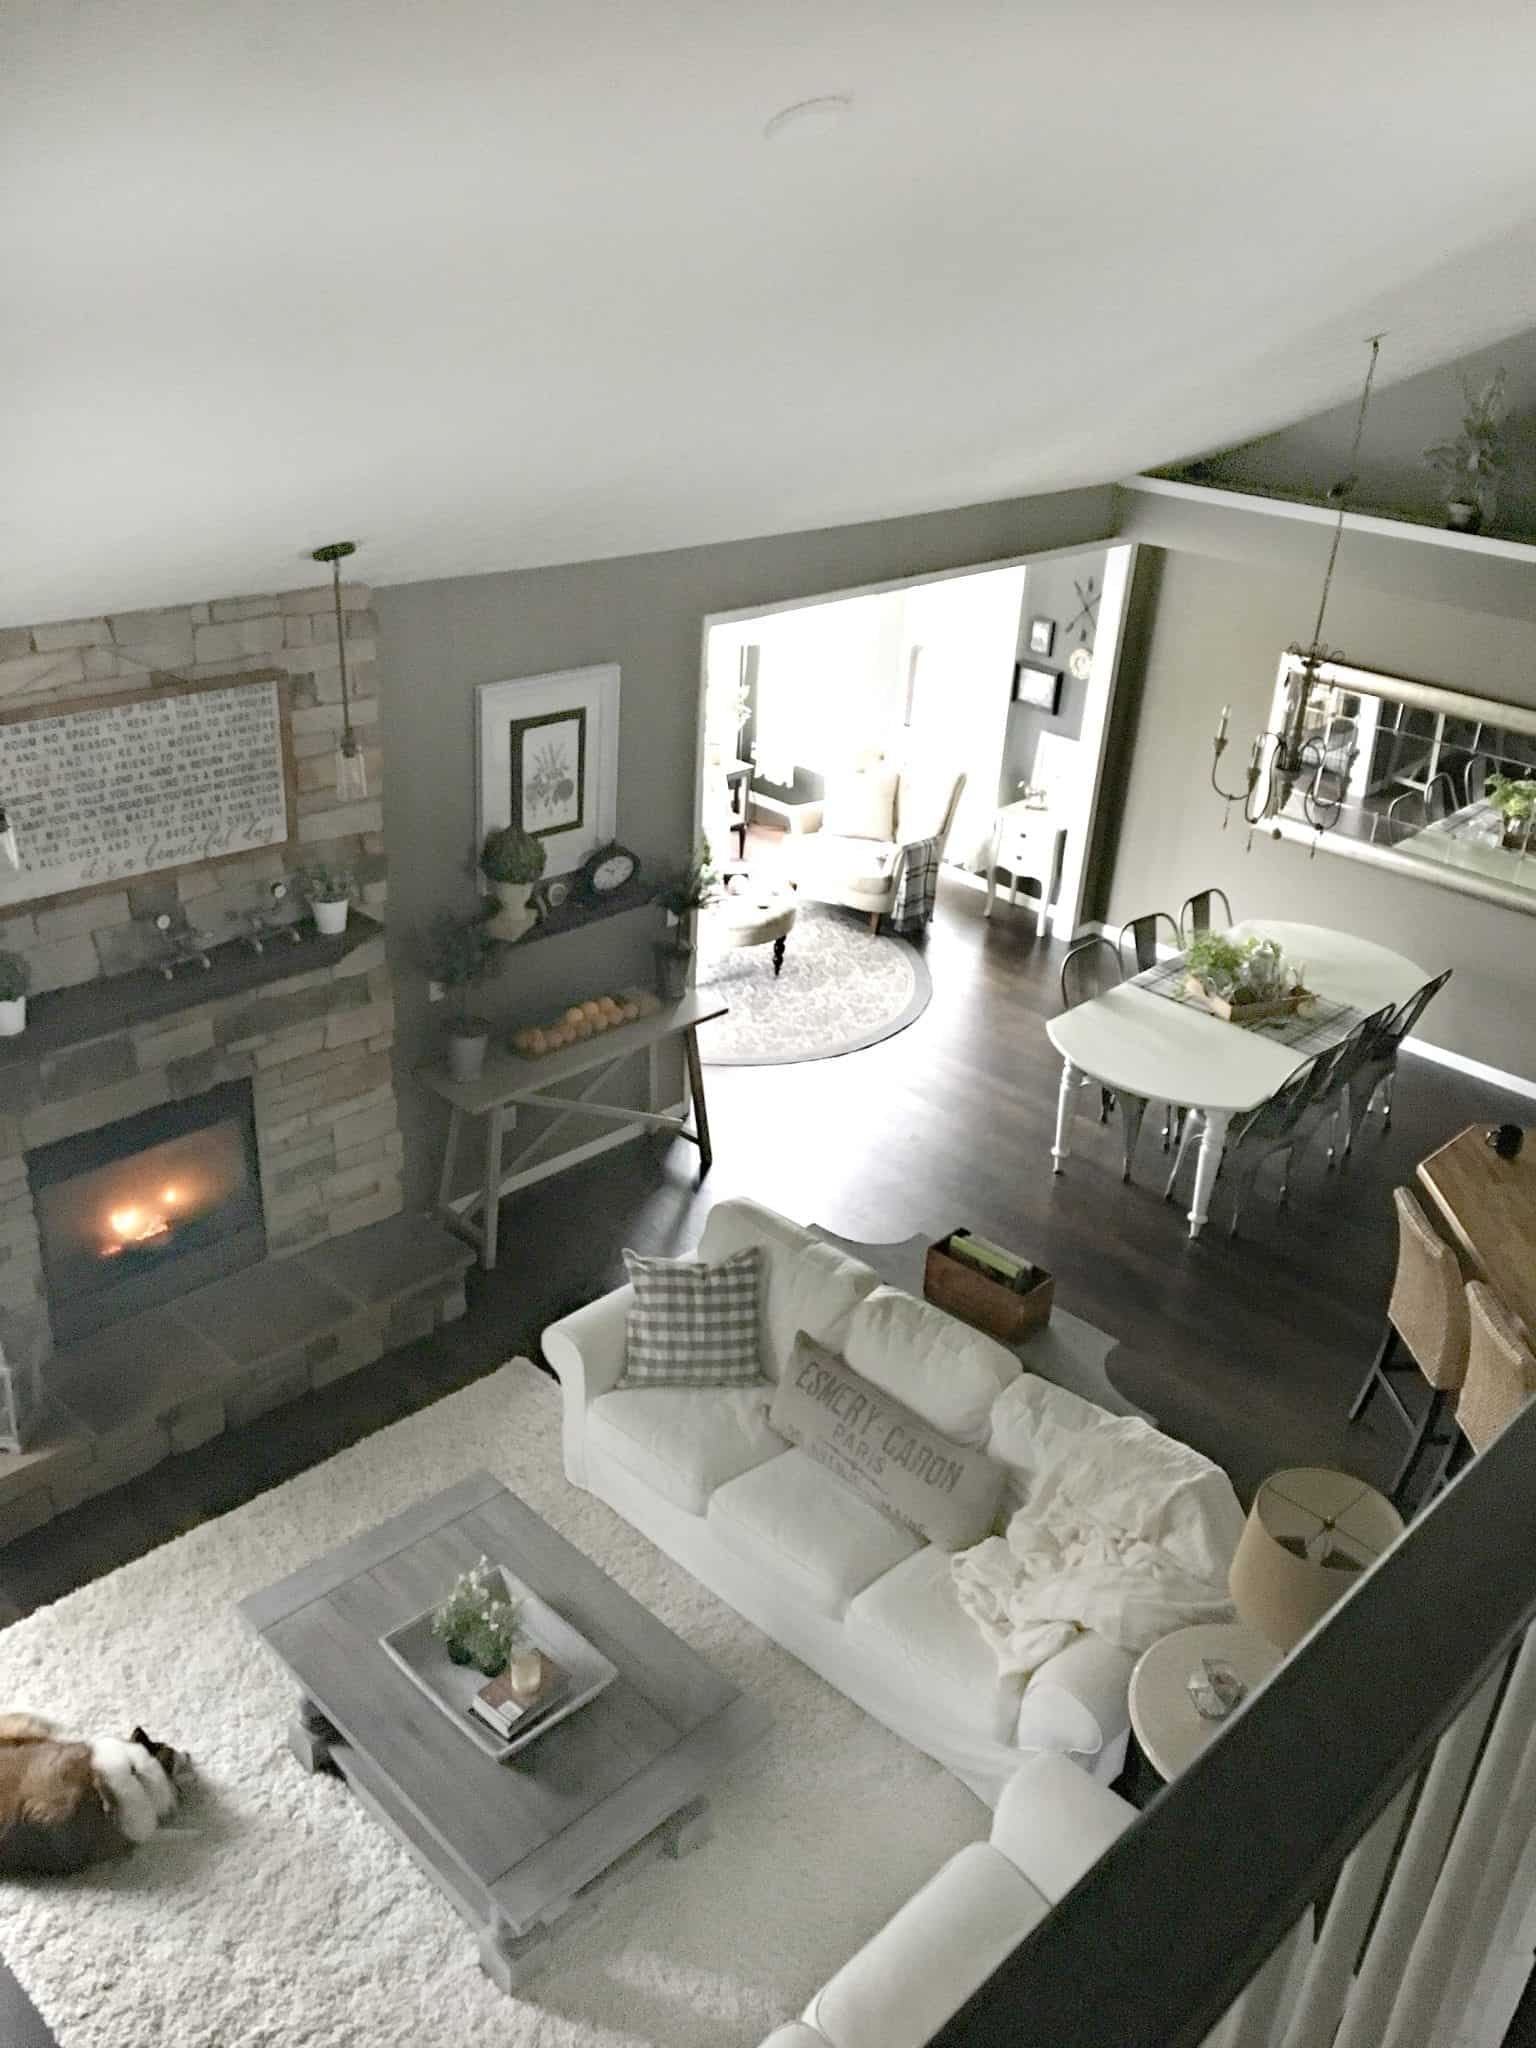
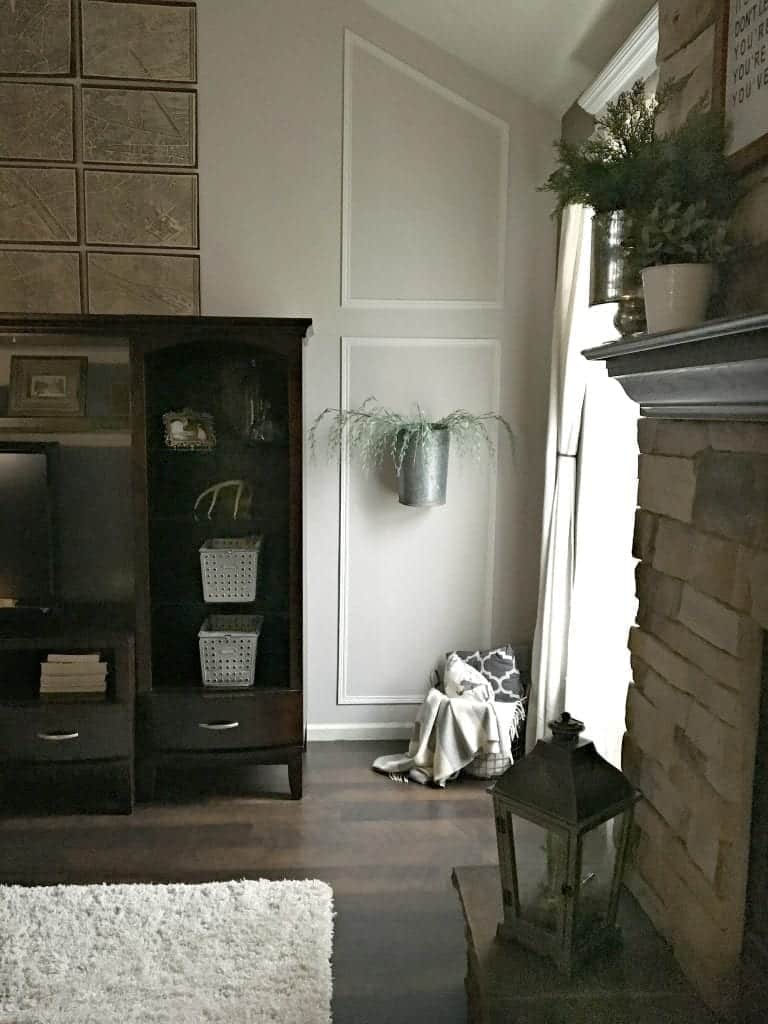
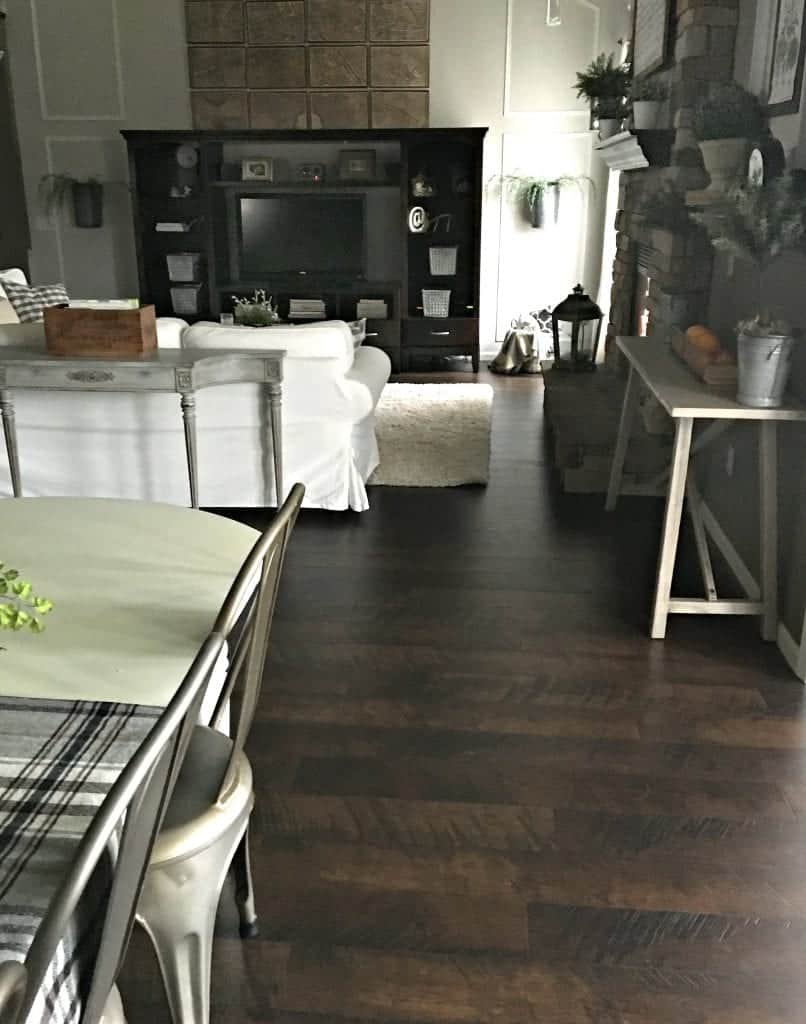
Family Room
before + after progression
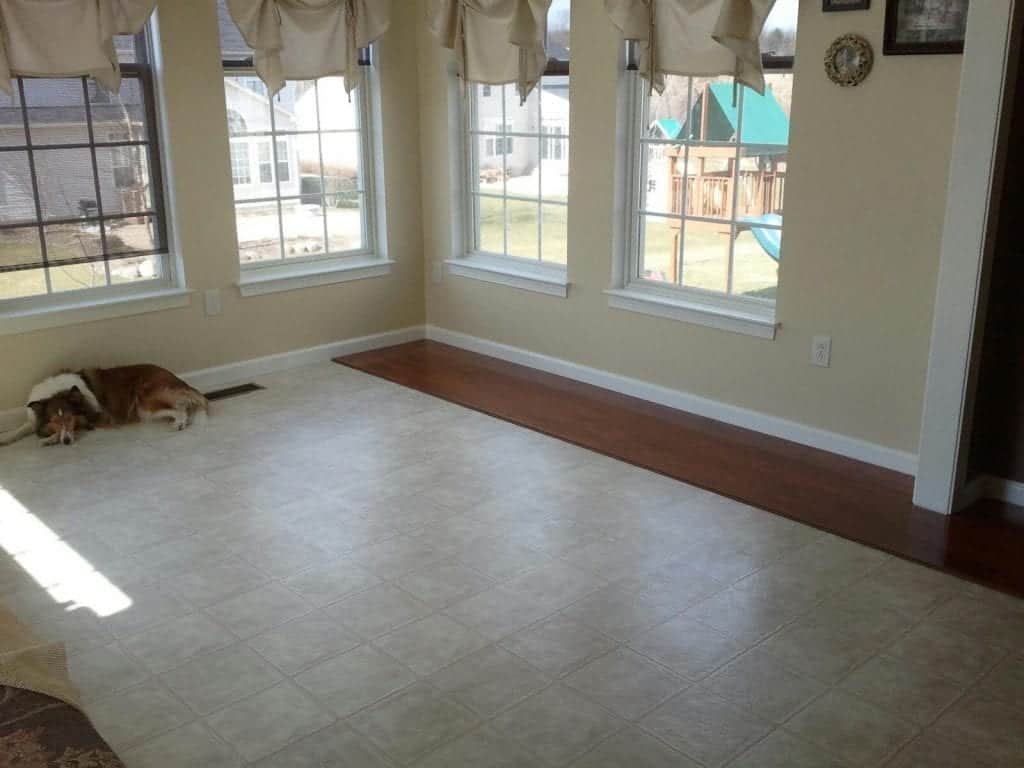
Here is where we started…

I think we might need to save some remnant old carpet for Buddy to do his business on! After all, he’s the “inspiration” for this project.
I have a very strong urge to declutter all of my tabletops and cabinets. I’m sure that won’t last long :)
I’ll be popping in with live video updates, so be sure to follow me on all of my social media channels by clicking the “let’s connect” buttons under my picture on the right. I’m planning a Facebook Live, a YouTube walkthrough of my house and Instagram video to come!
***
Be sure to learn more about Pergo’s new Outlast+ line on their social media channels:


What a fantastic transformation!! PLEASE share details on your vintage grain sack look sofa pillow and most important, those beams! We are going to be adding beams to our great room (which sadly does not have the gorgeous tall ceiling you have but I’ve wanted them in every house we’ve lived in so beams it is! The tough part is finding an economical avenue since even “Faux” beams I’ve researched are expensive when more than one of any length is needed. My husband can build most anything so I thought we could make/distress our own but I’m having trouble convincing him that they look authentic enough for his keen eye. I need to show him some great photos of how some have turned out. Please share details on yours as they are gorgeous.