Master Closet Makeover
Our master closet was a big selling point when we sold our previous house. If nothing else, it looked glamorous and creative.
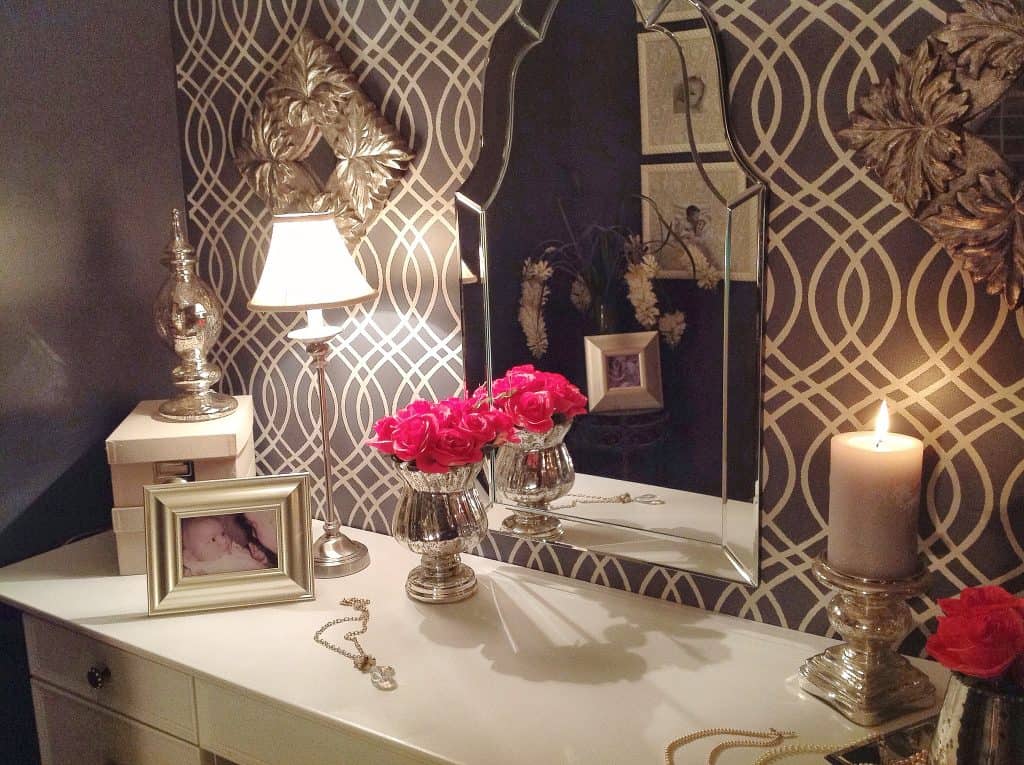
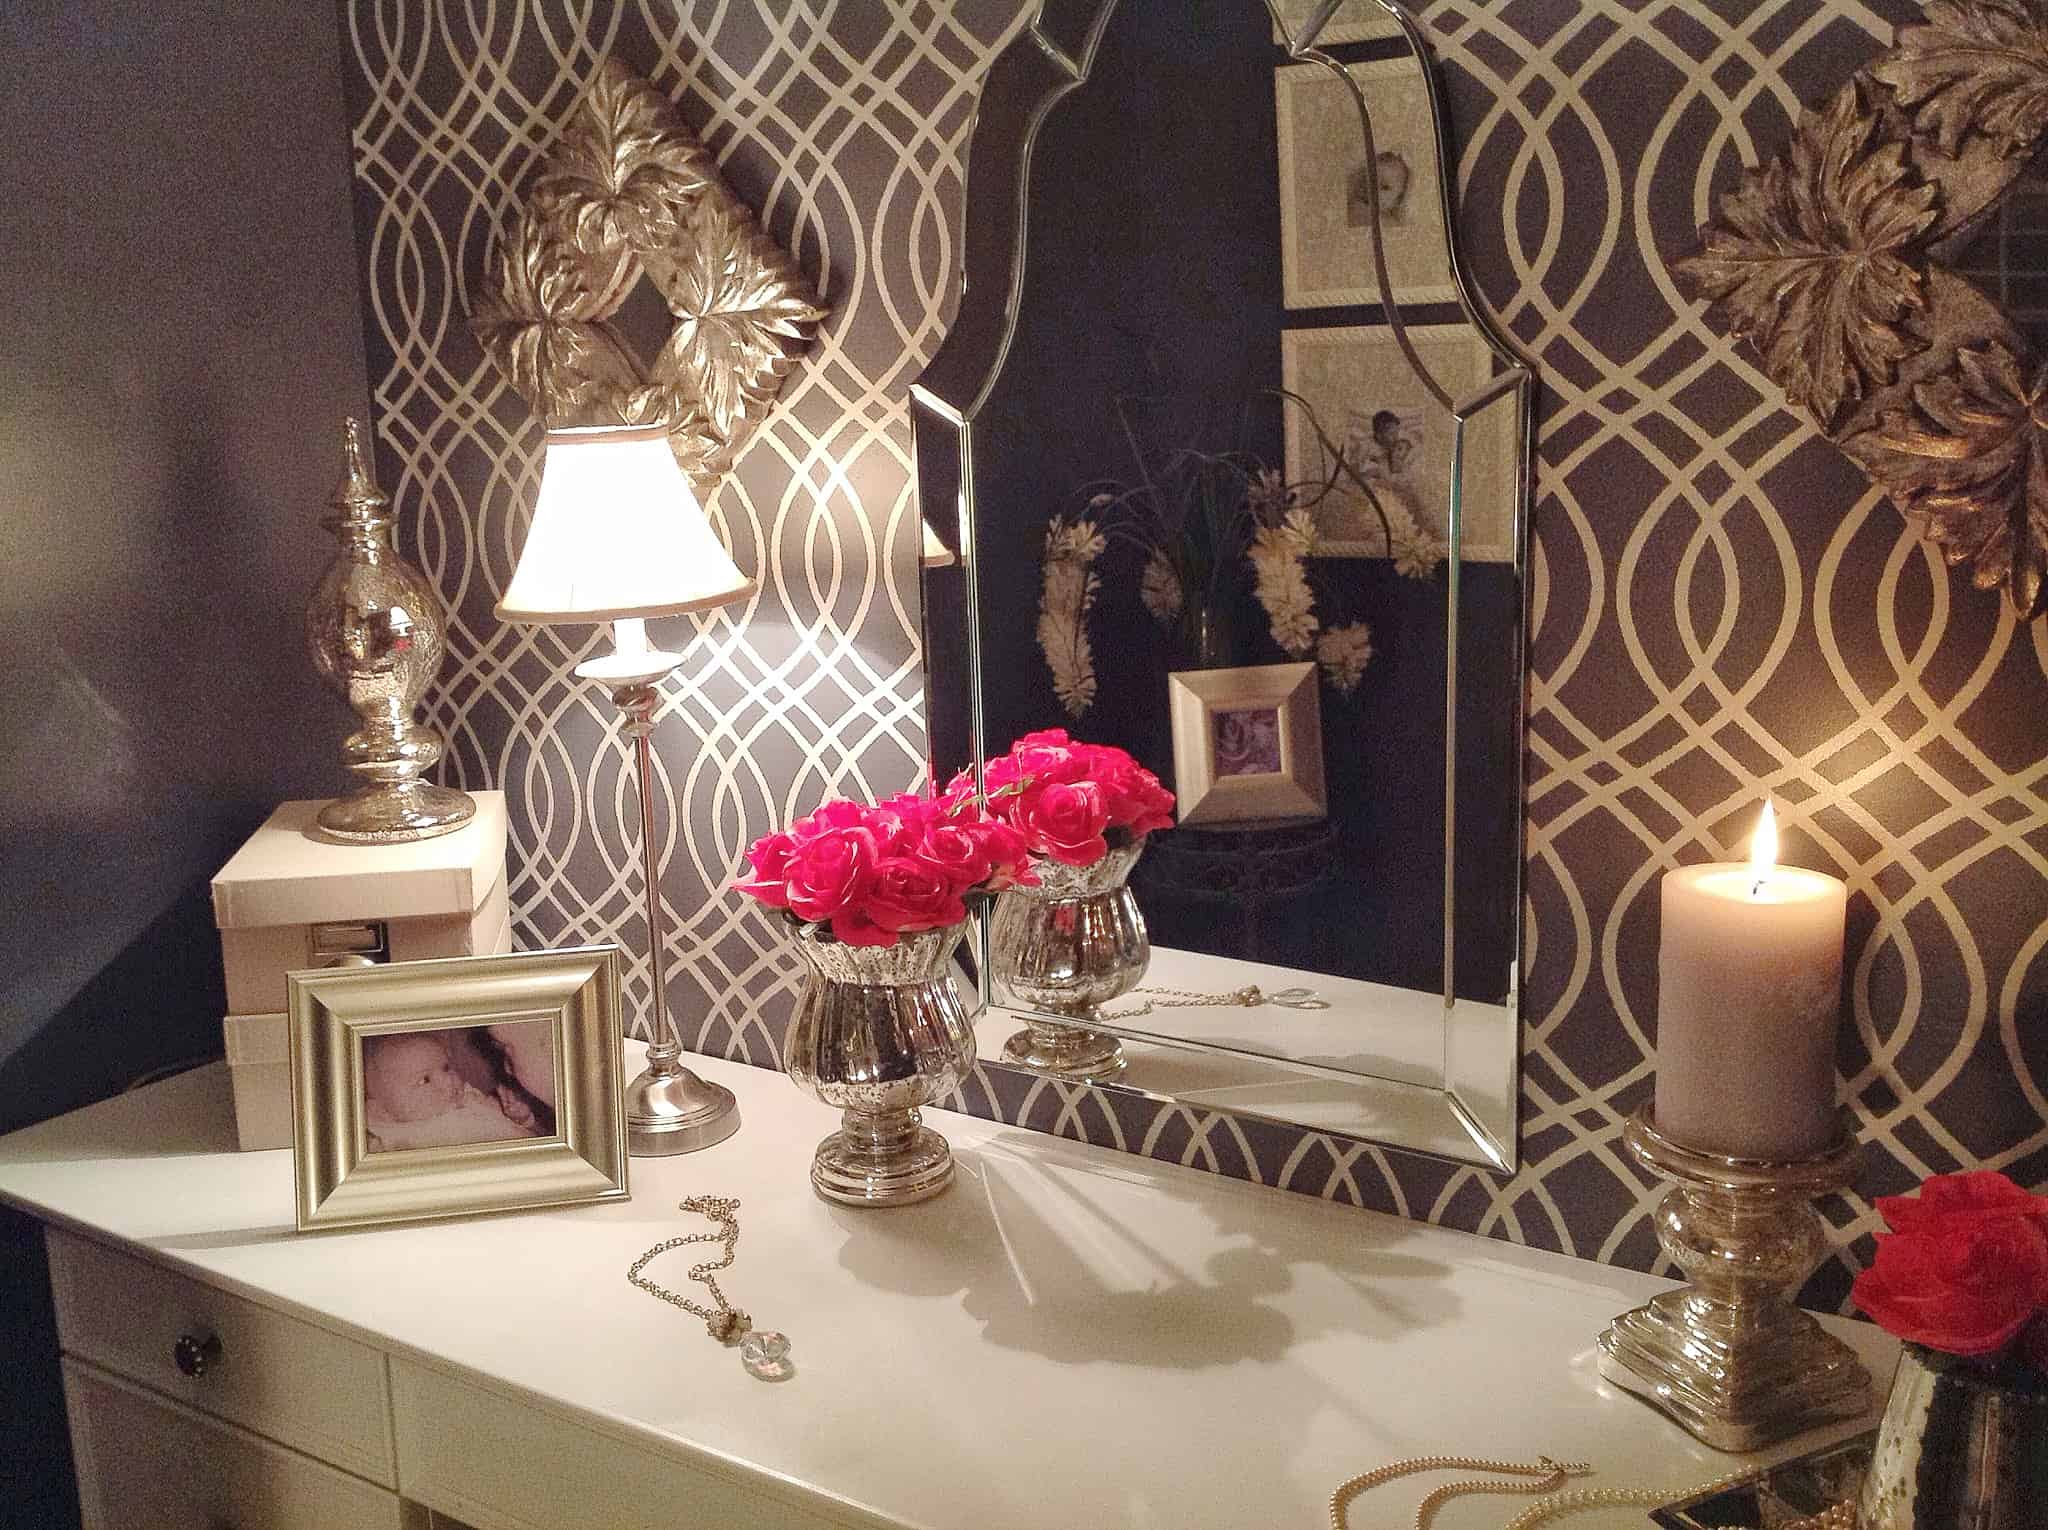
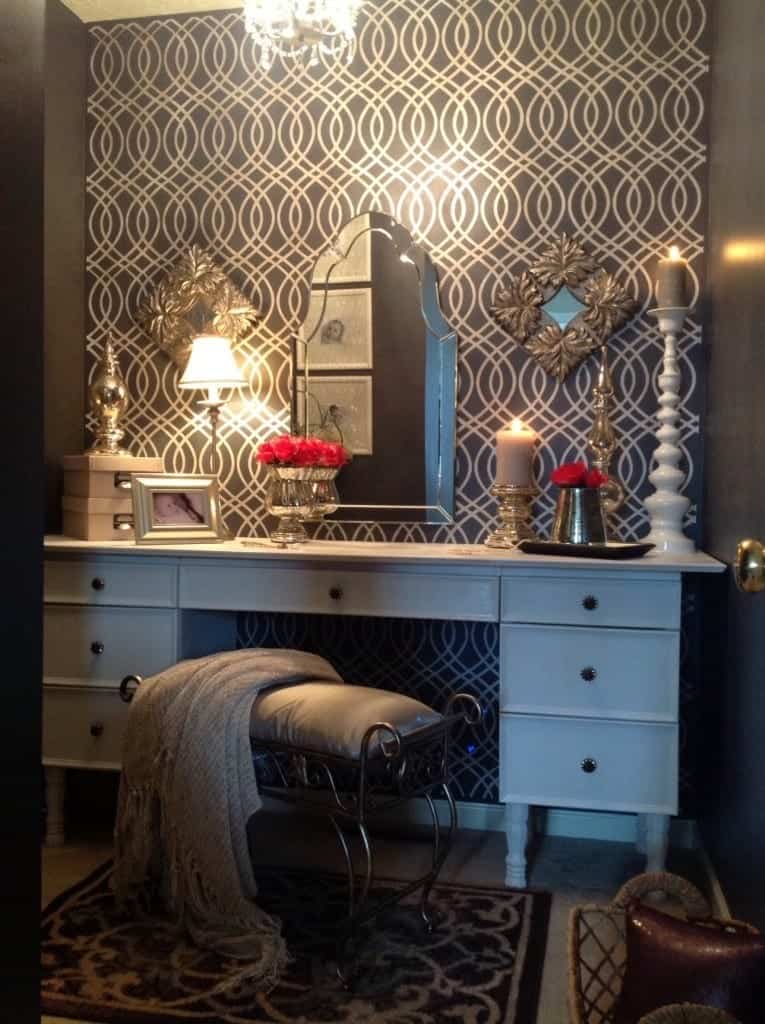
I was inspired by the pattern of a stencil I had purchased to decorate with a twist of Old Hollywood Glam. I’ve always loved the art deco, glamorous look, but I don’t typically decorate that way. Because this room is separate from the rest of the house, I decided to have a little fun with it and dive in head first into glammy motif.
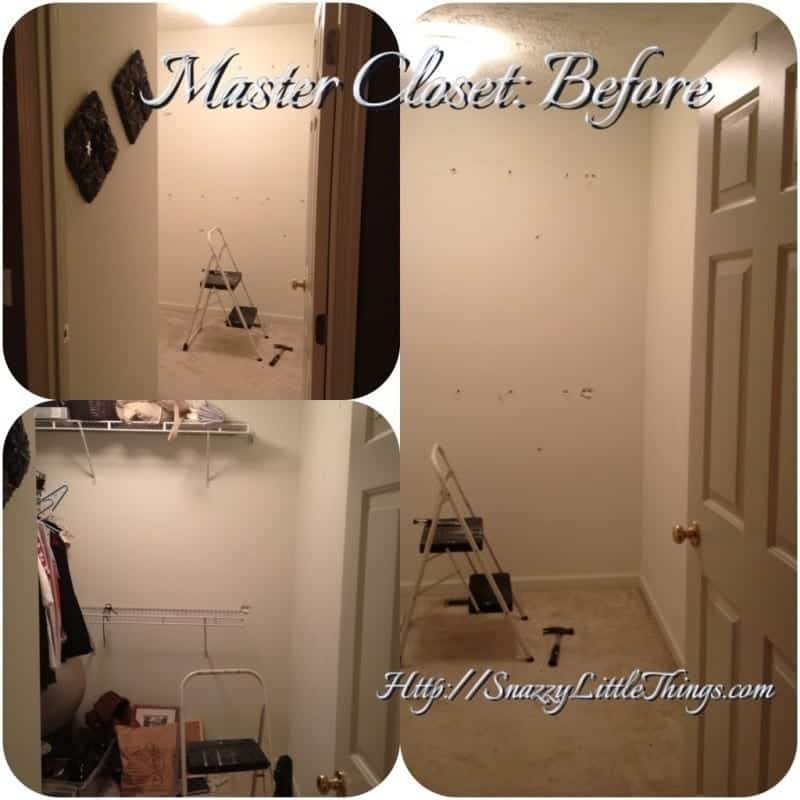
For whatever reason this master bedroom arrangement never quite worked for us. Below is a picture of my closet (before). Now that we moved, we love our current master bedroom setup and realized just how tiny this previous master bedroom was. Be sure to subscribe to follow our remodels in our new house!
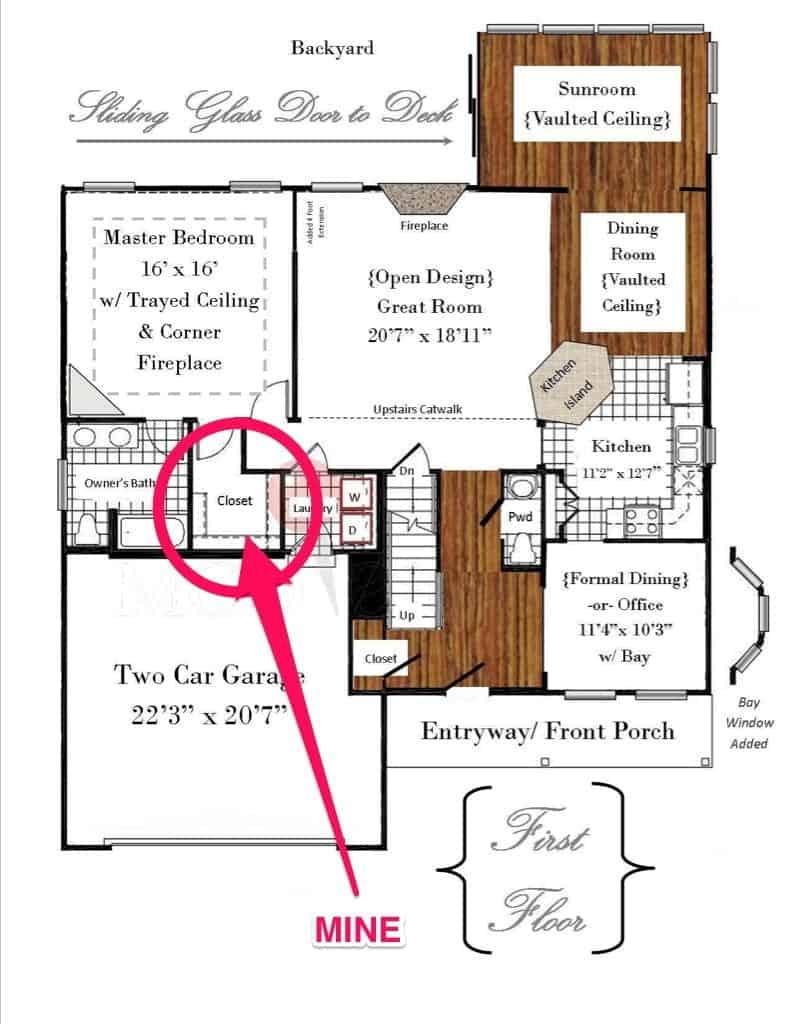
The closet was often overflowing and served as a dumping ground for unfolded laundry. I’d also call this my “private office” and would hide in there for work conference calls. It was the only room that was truly MINE for a long time.
There are no windows in this space and we had to add lighting. I always felt the master got the short straw in terms of floor space since the rest of the house was open concept.
Why transform this into a dressing room? The positives:
- This room solved a number of privacy issues in our house.
- The bathroom vanity is now clean – all of my beauty products have been moved. Major convenience!
- At 3:00 when my kids come bursting through the door after school, this was my hiding place! I conducted business calls here during the day if total privacy was needed.
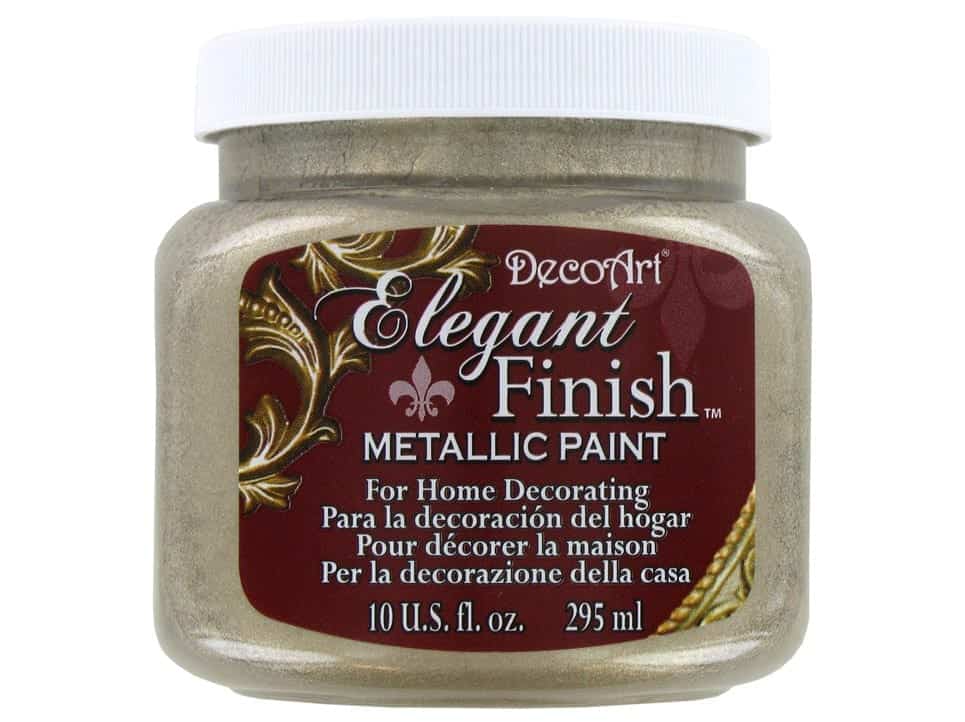
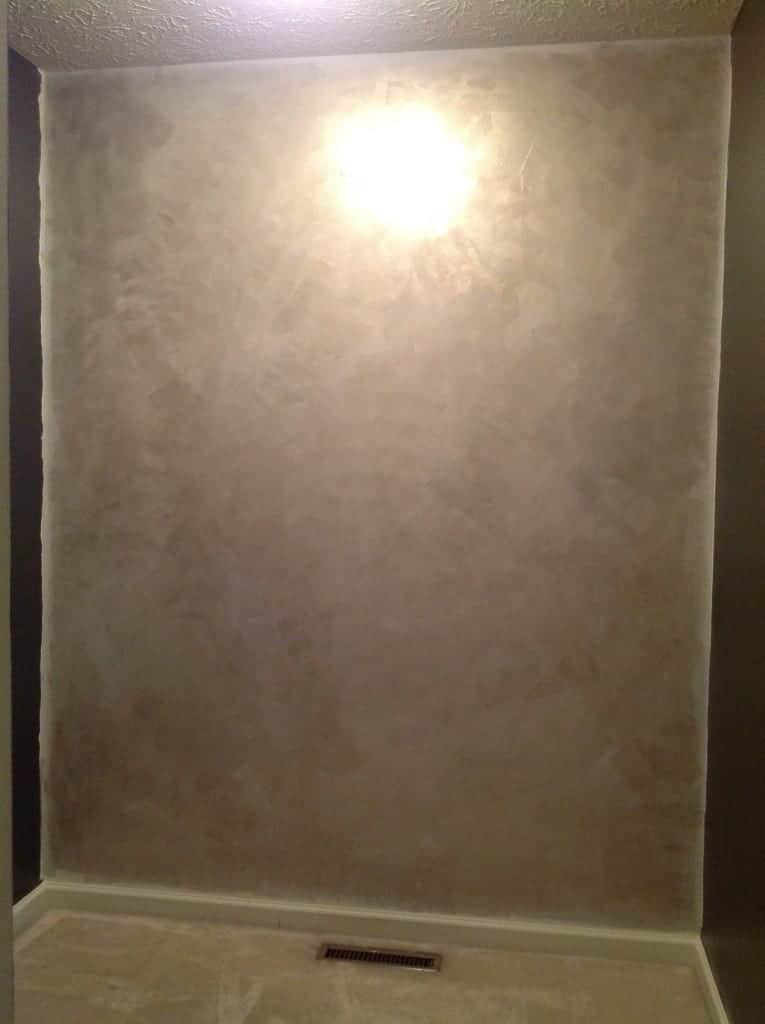
For a shimmery, Old Hollywood glam base coat, I applied this. Not your typical wall paint, eh?
Then I decided to use a brush in a criss-cross pattern to achieve a brushed metal effect, which is exactly what I wanted. (Old Hollywood Glam…ya see?)
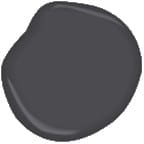
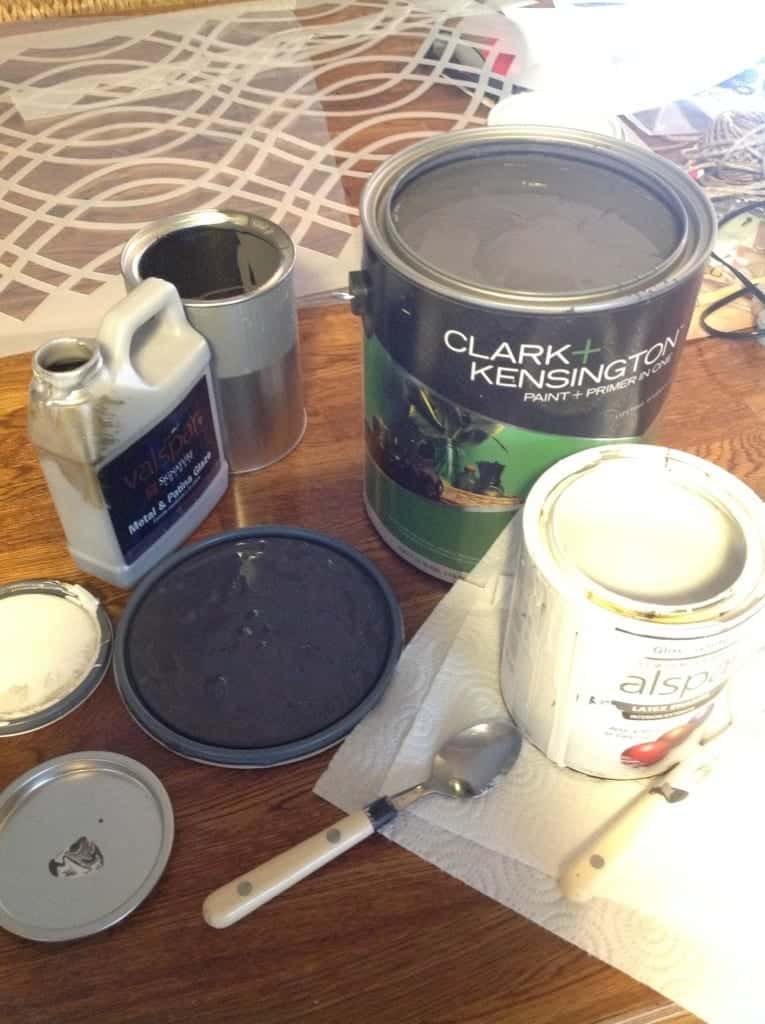
I chose Benjamin Moore’s “Day’s End” for the dark coat.
Shimmer…just what I wanted.
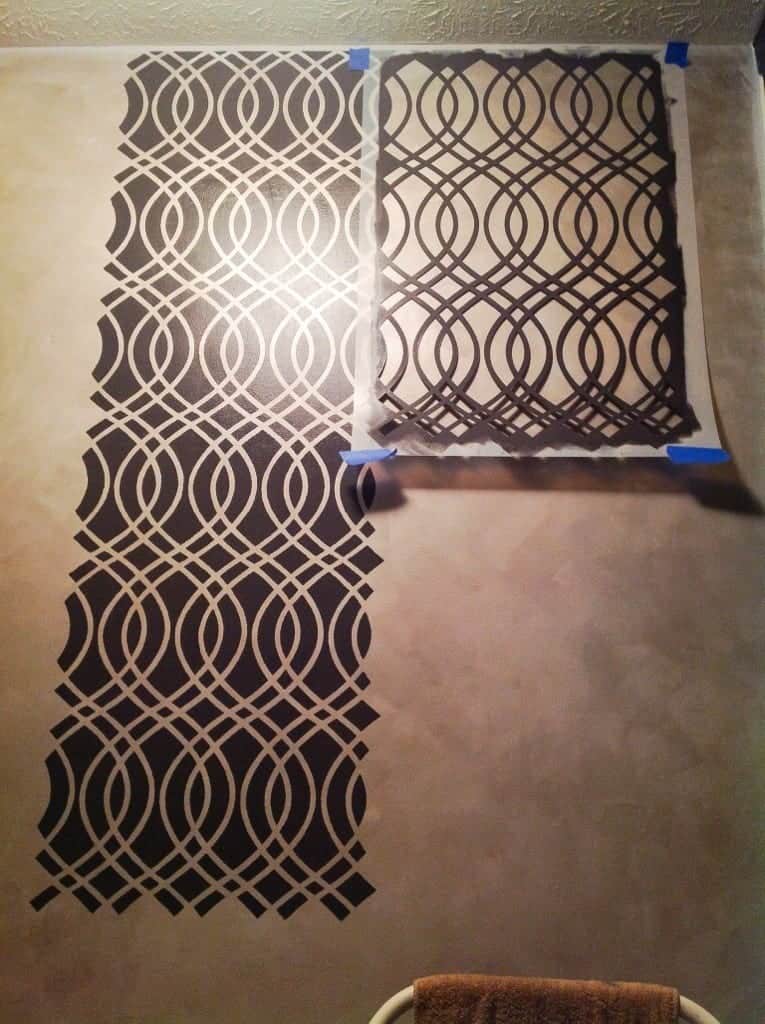
Dead center is where you start to stencil, then you work right and left until the wall is filled.
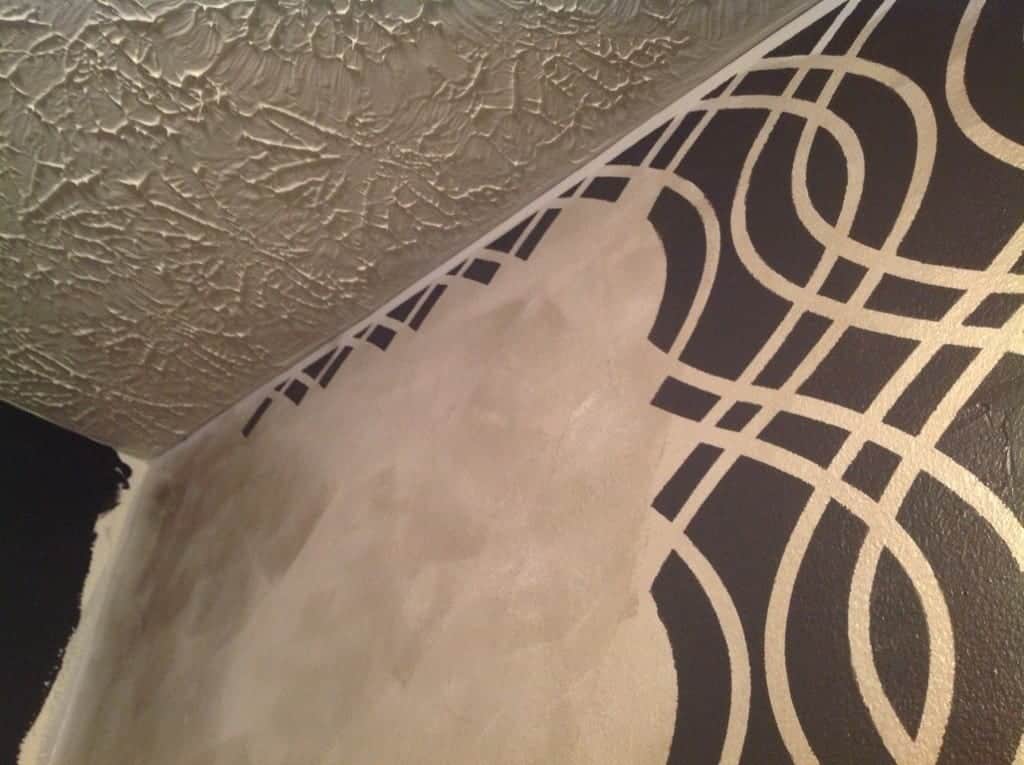
How to get close to the ceiling:
The Teardrop Trellis stencil kit comes with an edge stencil to get closer to the ceiling I filled the white space at the top later with the dark paint which I’ll show you below.
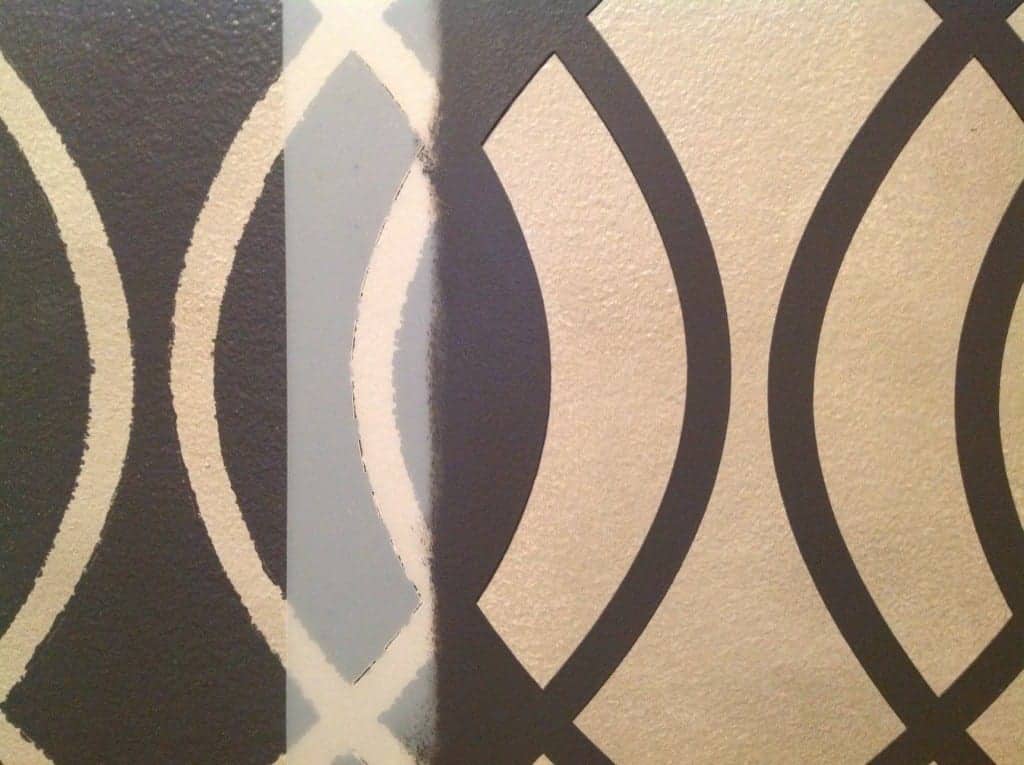
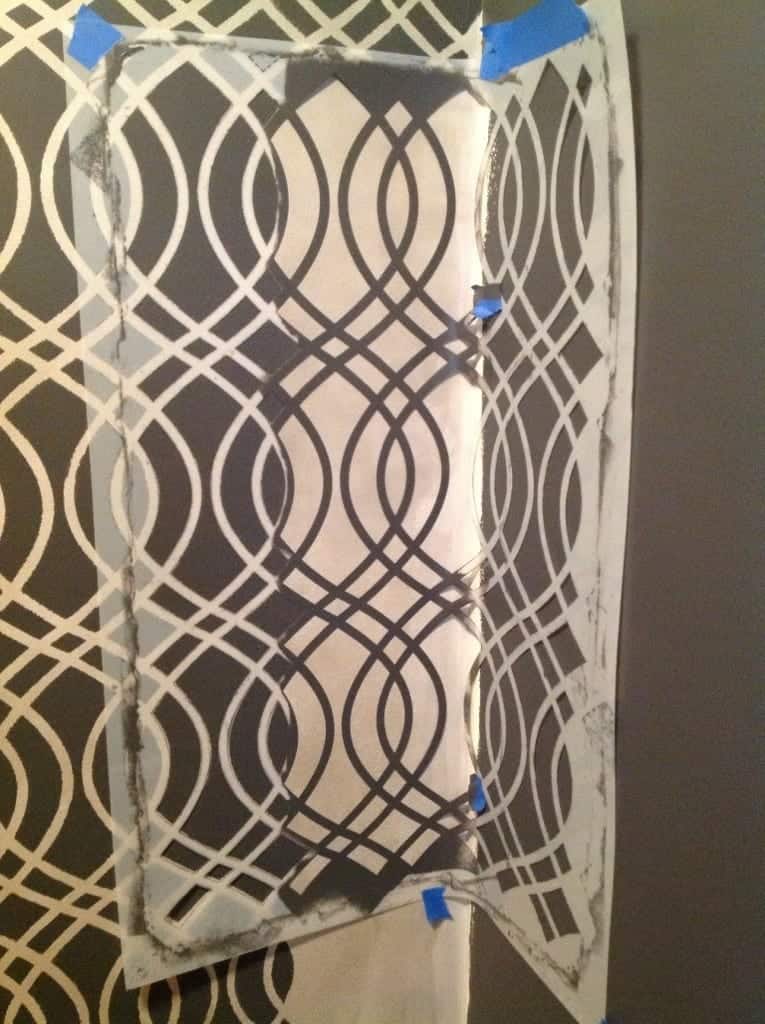
How to line up the stencil:
BELOW: See those “slits” in the stencil design? Those help you line up the stencil design perfectly with the next application.
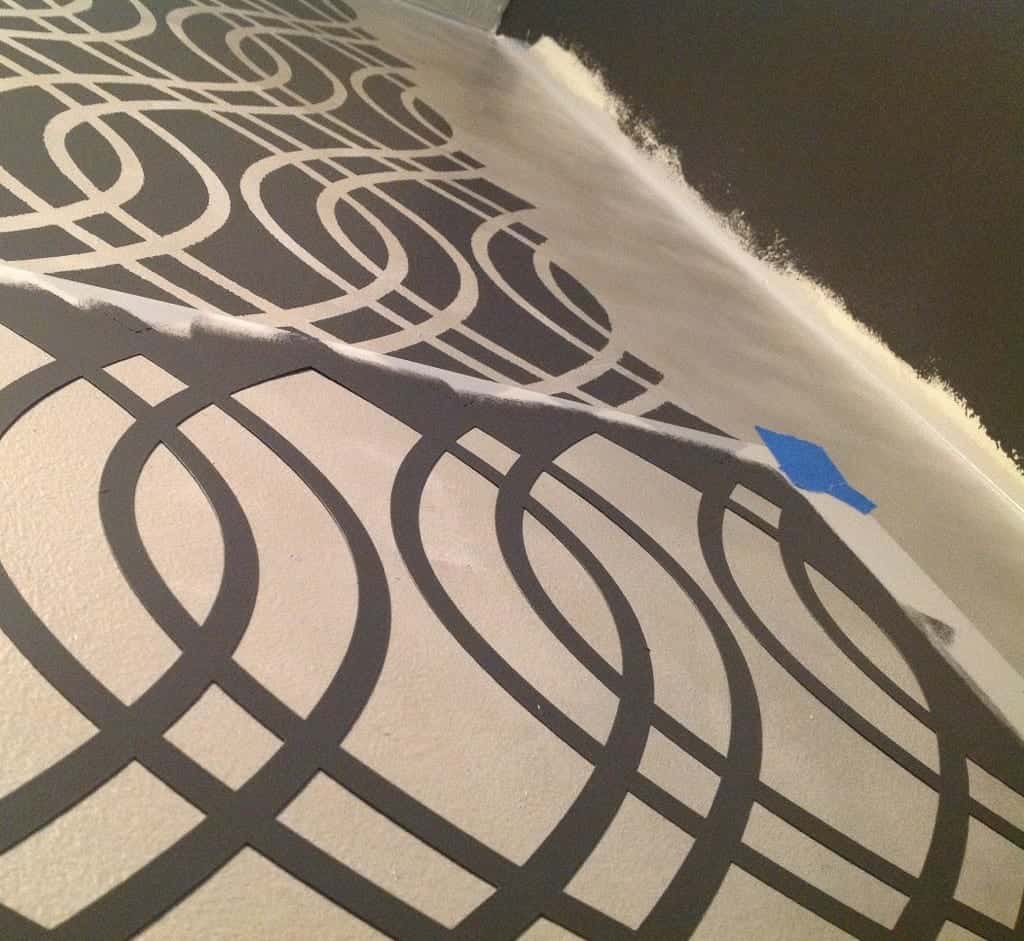
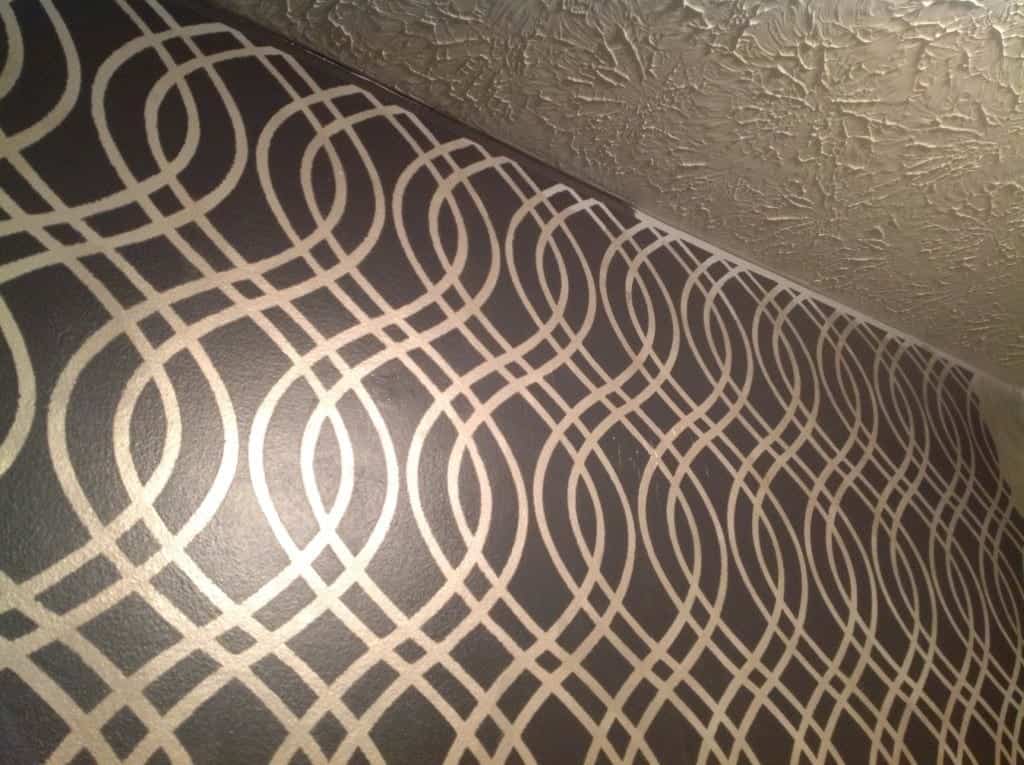
Here, I’m filling in that white space at the ceiling. Eventually you do this all around the entire perimeter of the wall to give a nice crisp edge. See what I mean? It gives it a finished look.
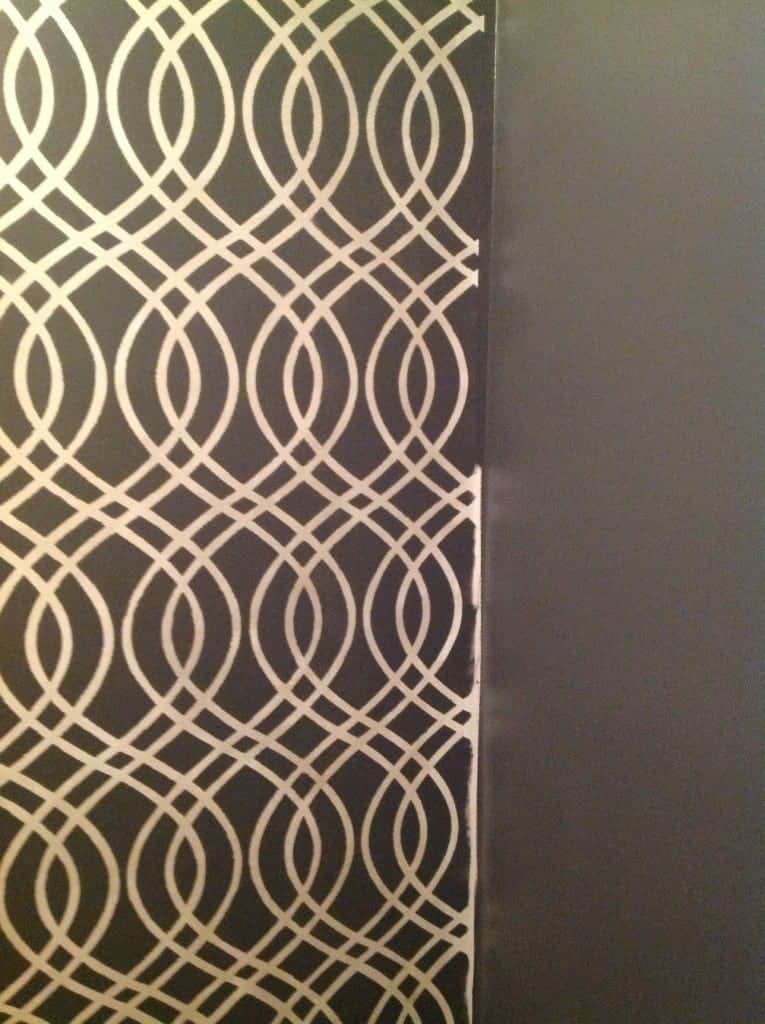
Corners:
Push your stencil into the corners and roll. That’s how you stencil a corner. It applies surprisingly well.
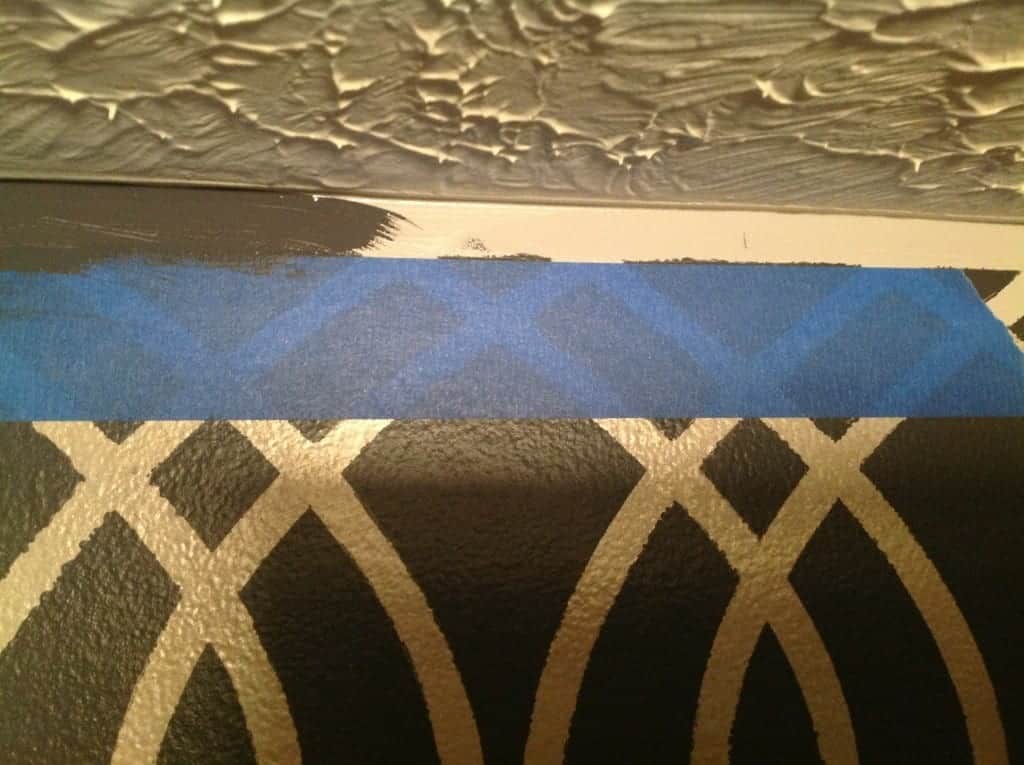
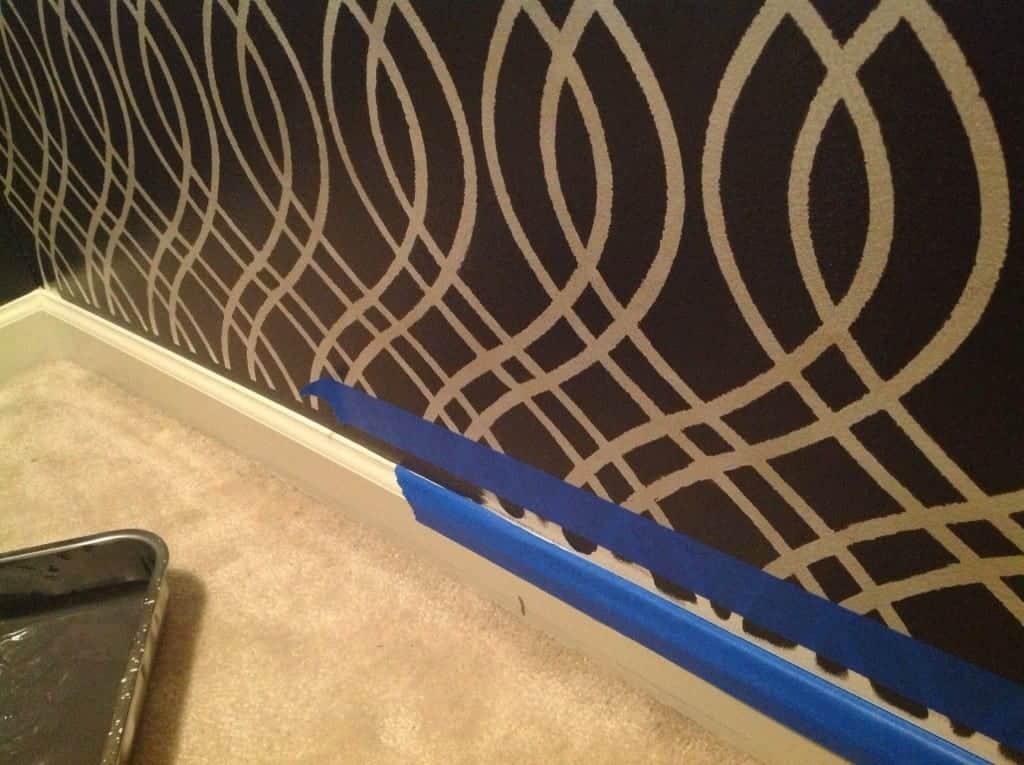
Once dry, I applied a line of tape where the stencil design stops and filled in with a clean line of paint.
I shopped my home to decorate this space:
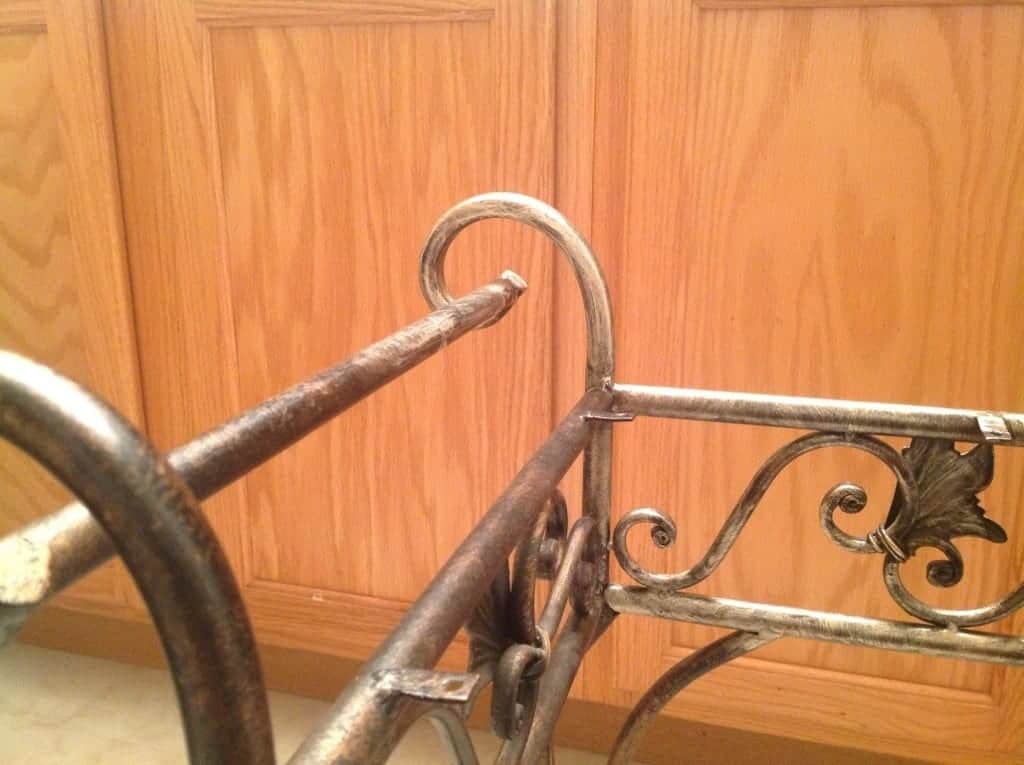
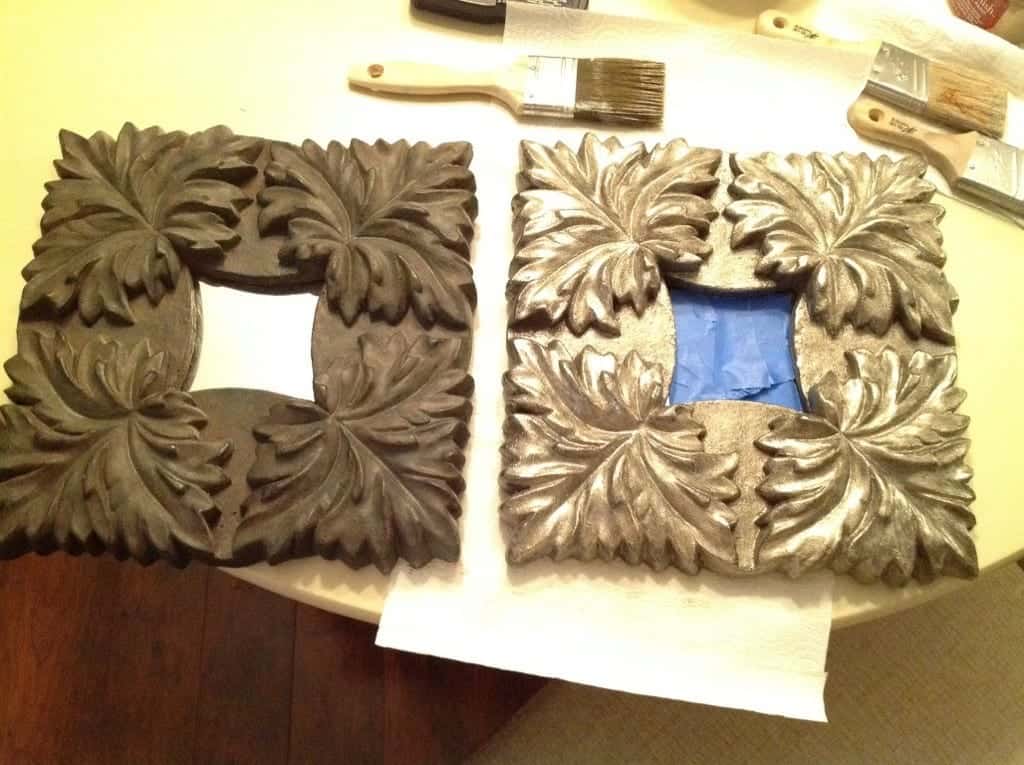
With the stenciling done, I altered a few items around my house for my glamour dressing room using the DecoArt Paint.
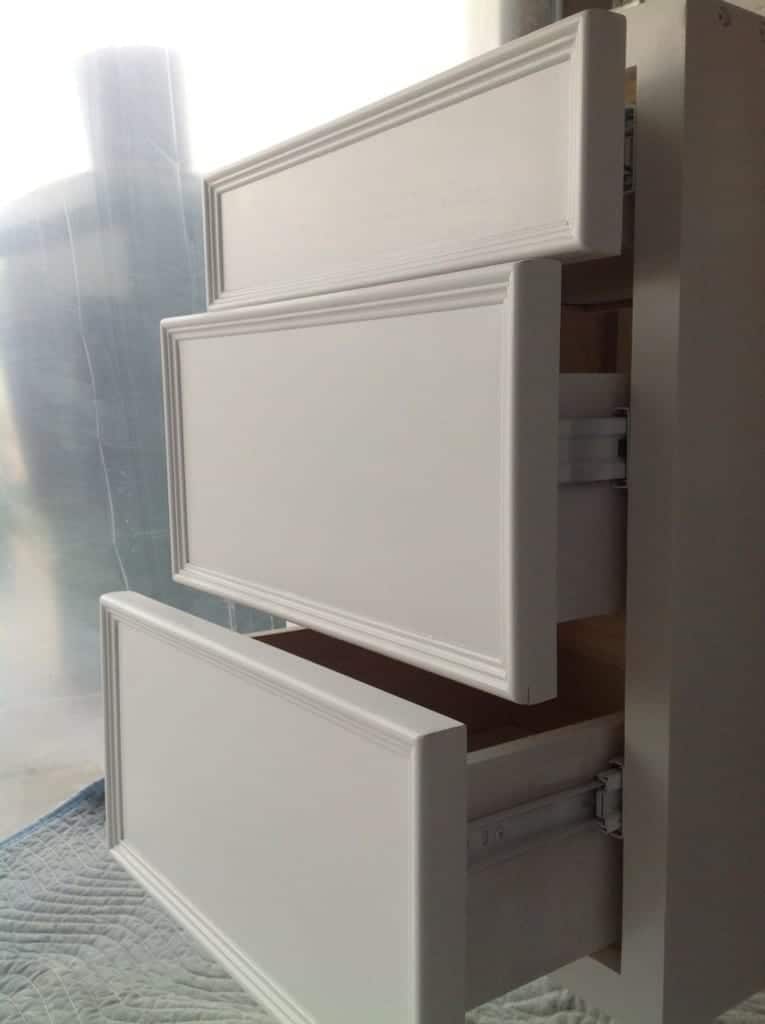
Mr. Snazzy built a CUSTOM vanity. I’m so proud and thankful for his handiwork. We used autobody spray paint on poplar wood to ensure that the paint was heavy duty. Lots of coats give it a hi-gloss finish.
I’m so excited about this project and loved sharing, hopefully you found the photos of the process helpful.


Jeanette, this is gorgeous! Love how the stenciling turned out. Thanks for the explanation and visuals of trimming the edges and corners. You have inspired me to finally tackle my dining room wall!
Thanks Katie. I’m glad this helped illustrate the process. I should also mention I’m editing this post today to talk about drying time and cleaning the stencil between coats. Thanks for following along :)
Great tutorial! I am saving this in my “file of things to do” when I get time! Looks beautiful and you know I am a fan of the metallics!
Thanks for stopping by, and yes, I love ALL of your pieces that you crank out. You’re a machine!
The stencil is gorgeous!! I love the colors you used!! Can’t wait to see the rest of the room!!
Thanks Sherri for stopping by. I am still working on the mess that comes from emptying a closet, but I can’t wait to show the new built in IKEA closets sometime next week.
Wow, this is amazing! I love the dark paint with the stencil, it came out perfect :-)
Thanks you Jessica…I have always wanted the dark-on-light stenciling in my house. I appreciate the kind words, thanks for stopping by.
This is absolutely stunning! Very glamorous and old Hollywood! Love it!!~~Angela
Angela, thank you…this room is so unlike the rest of my house which is more of an industrial motif, but it is a private room for me, so I had a lot of fun creating it. I appreciate you stopping by!
Absolutely gorgeous! Stop by House on the Way tomorrow to see it featured at the Twirl & Take a Bow Party! Plus, it will be featured on 5 other blogs too! Have a great day!
Leslie
Awww thanks SO much for the feature, Leslie (and your team of bloggers). So glad to have met you Leslie. Love your blog. Thanks again.
WOW this looks great! Love it!
Thank you Marie, I am still getting used to being this spoiled and I still tend to stand at the bathroom vanity getting ready. Eventually I will move into the room completely :)
Jeanette, this is amazing! I’m just reading with my mouth open!!! Pinning!
Thanks so much for linking up to Twirl & Take a Bow-looking forward to seeing what you have for us at the party coming up tomorrow! xo
Robin, my heart jumped when I saw you visited…I love your blog and often I’m hopping over there for inspiration. Your backyard makeover is mind boggling. I am very inspired. I remember reading about your potting table, and I ended up running out and picking up a chippy old table just so I could have one this summer. I have a lot of work to do as far as vignettes and staging my house, and your blog is eye candy for someone like me. Thanks for visiting, so excited that you stopped by.
you’ve inspired me to break down and use a stencil. thanks so much for all the how-to’s and tips. which color of the decoart did you use? how much was needed to cover the walls? i have used modern masters metallic on furniture in the past but will try this brand out too!
Sophia, I’m so glad! I used the color “champagne” from DecoArt, and I only used about a quarter of the pint. It goes a long way and dries really fast! I really want to try Modern Masters paints…so excited to create my own craft room and start stocking up on new paints. I want to take my projects up a notch and maybe start selling furniture too. Thanks for stopping by :)
WOW I wish I had a closet this big and I wish it looked like this, that is gorgeous :)
Beautiful! I have a closet that is on my list to Snazzy up!
Thanks DeDe!
WOW, I love it!! That stencil work is gorgeous, I think you may have inspired me to use one in my bedroom makeover… :)
Woo hoo! You will love it. :) thank you for stopping by!
I am in love with this Glam closet makeover! You are right… our styles are so similar!! Gorgeous!
Very cool! Your stenciling is gorgeous! Your new space is lovely!