Antler Pillow Covers with Cricut Easypress
This is a sponsored conversation written by me on behalf of Cricut. The opinions and text are all mine.
This is my second official post as a Cricut brand ambassador! Follow along with all of my Cricut Easypress and Explore Air 2 projects here.
This week I had a lot of fun experimenting with my new Cricut EasyPress heat transfer tool. If you run a business selling handmade items, you will love how the Cricut “suite” of products work in synchronicity to make your designs come to life. Holiday crafting is in full swing for makers (like us), so that’s been my focus this week.
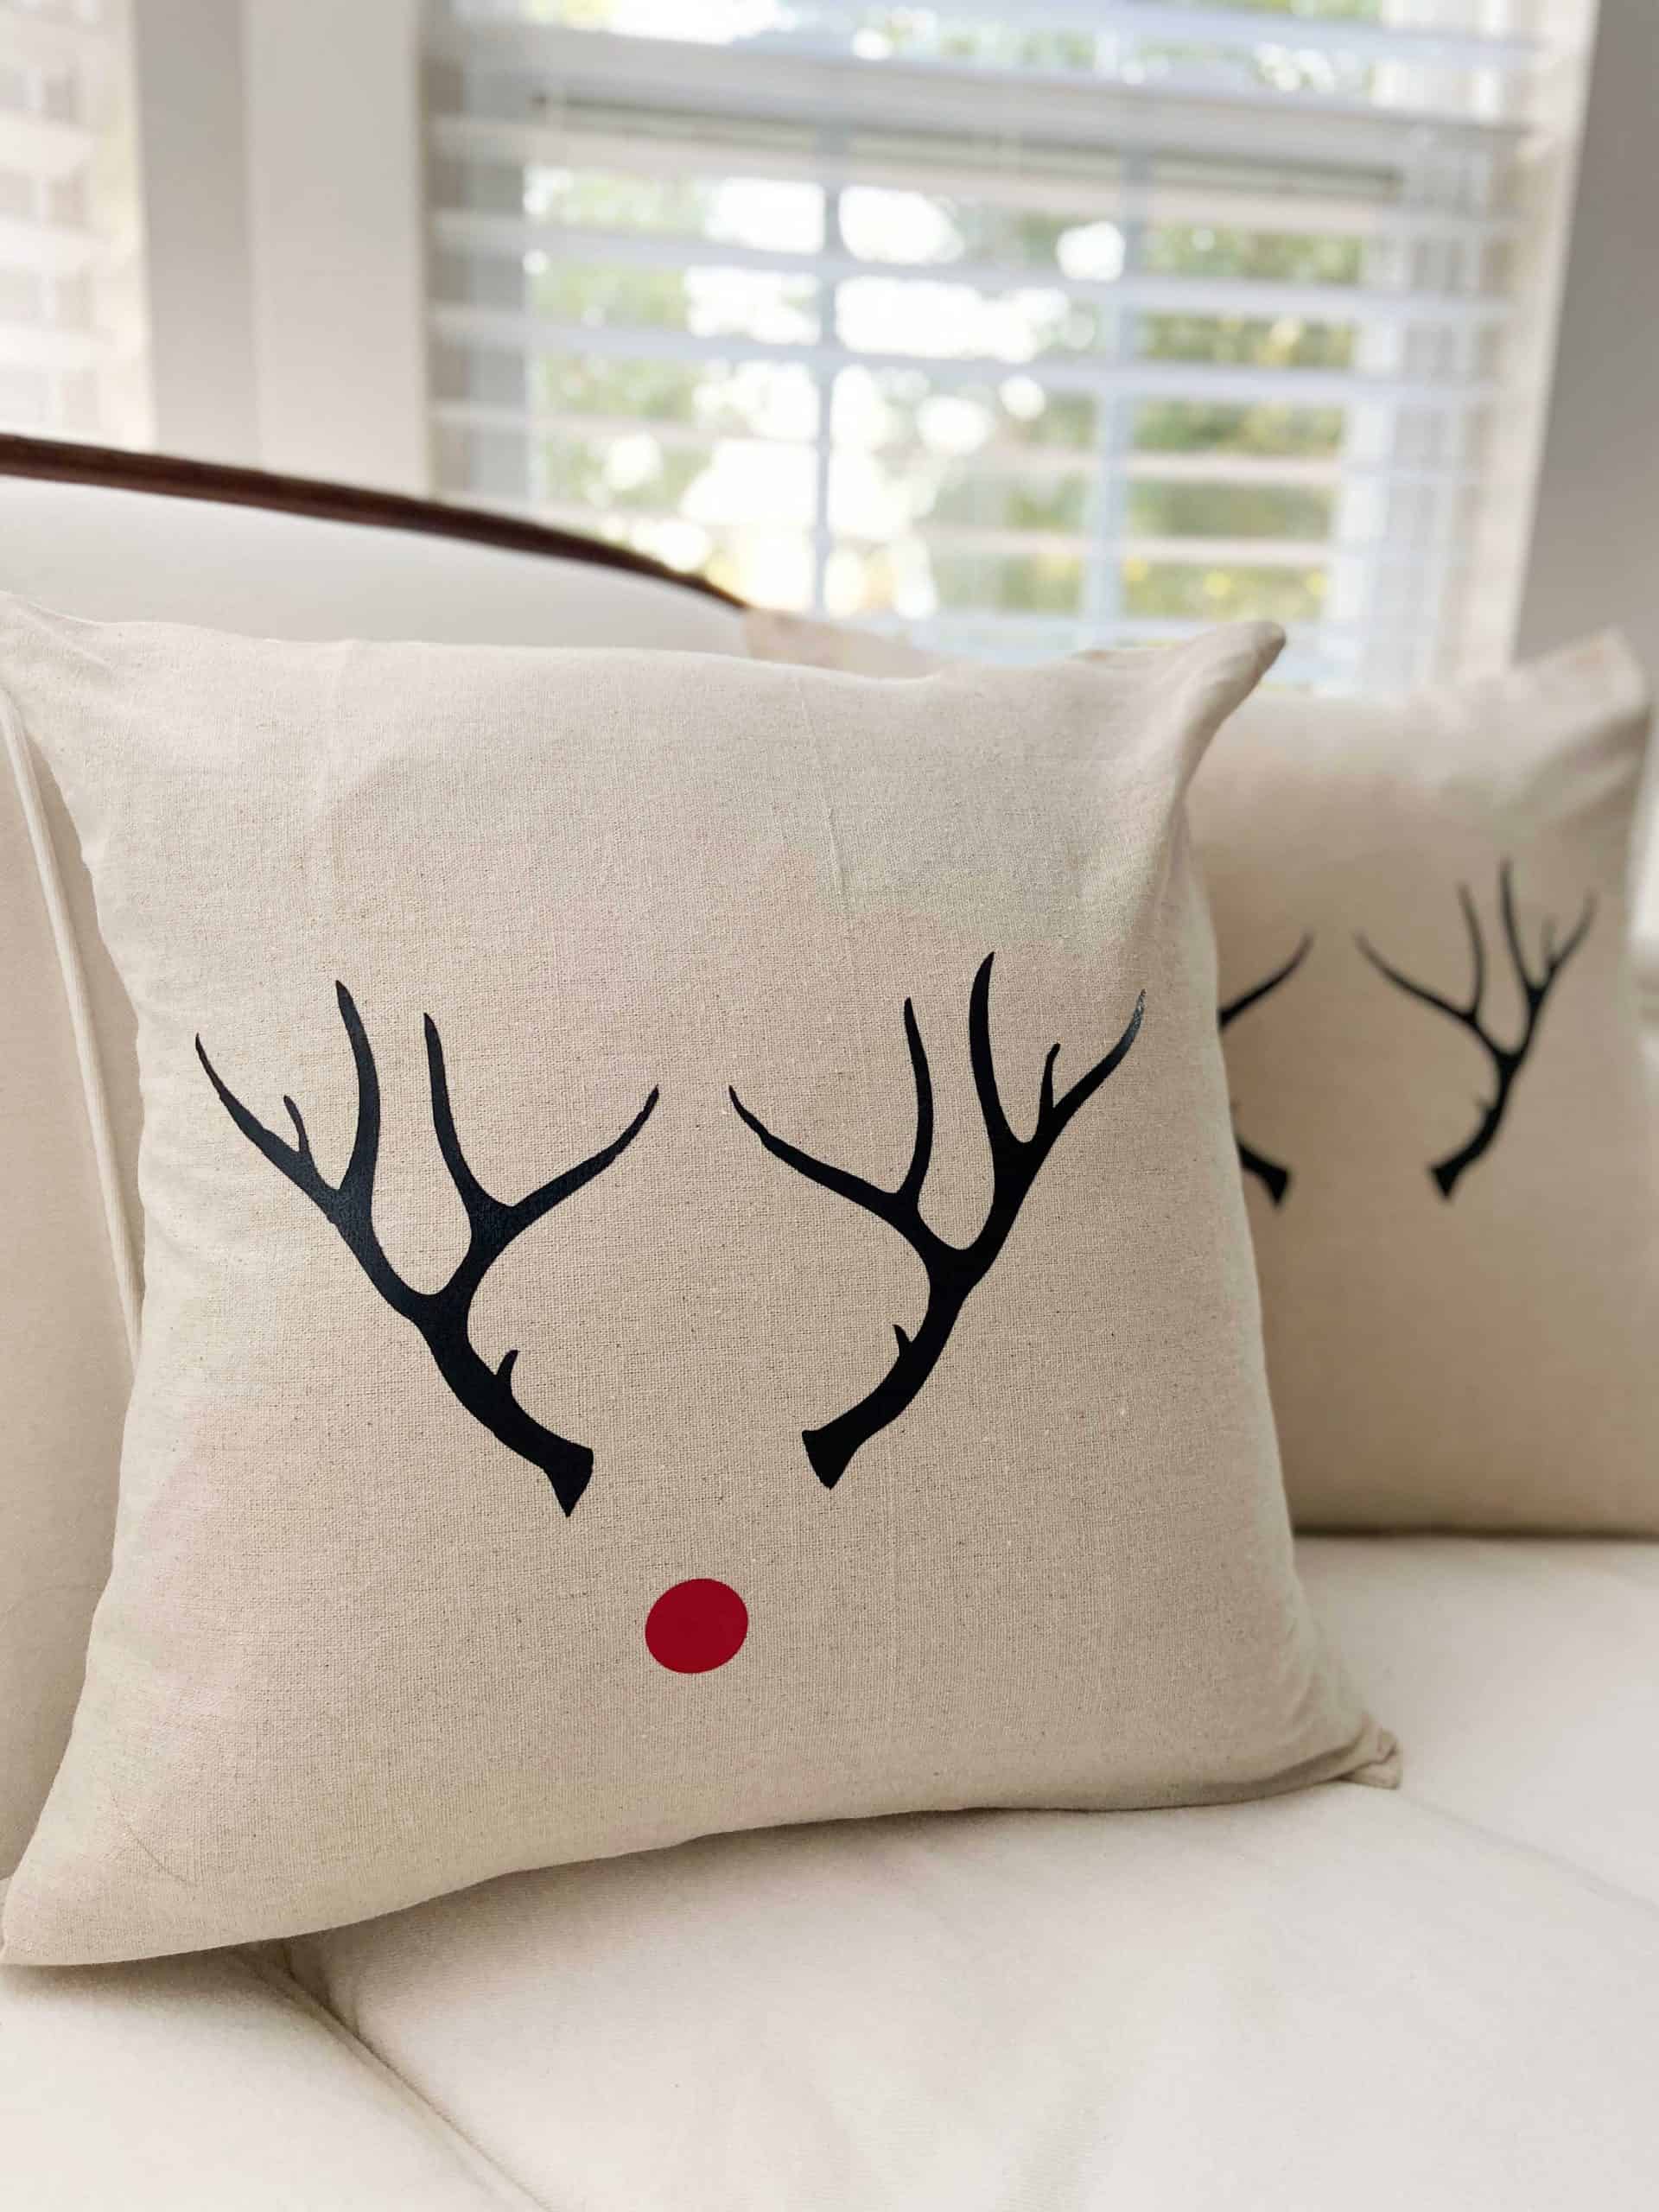
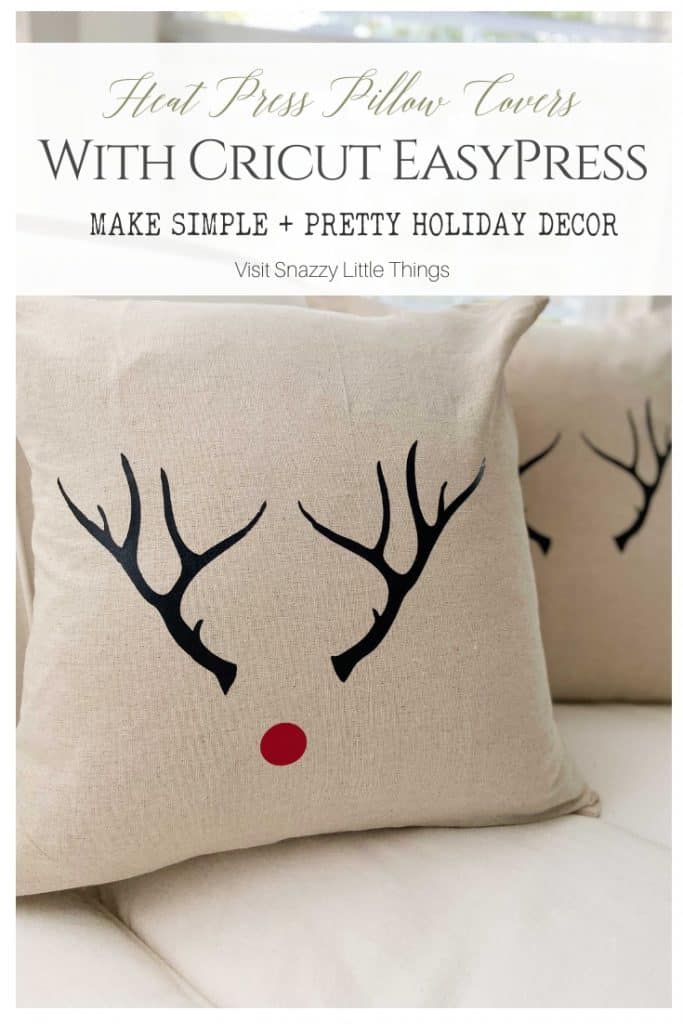
Antler Pillow Cover with EasyPress
For my first EasyPress tutorial, I’m starting with a basic iron (or heat transfer vinyl) and the Cricut EasyPress. We will also cut the design using the Cricut Explore Air 2.
The Cricut EasyPress is an evenly distributed heat tool (like an iron) that delivers professional results on a variety of projects. They even offer infusible ink where you can use the Cricut to draw, then transfer your ink drawing using the EasyPress.
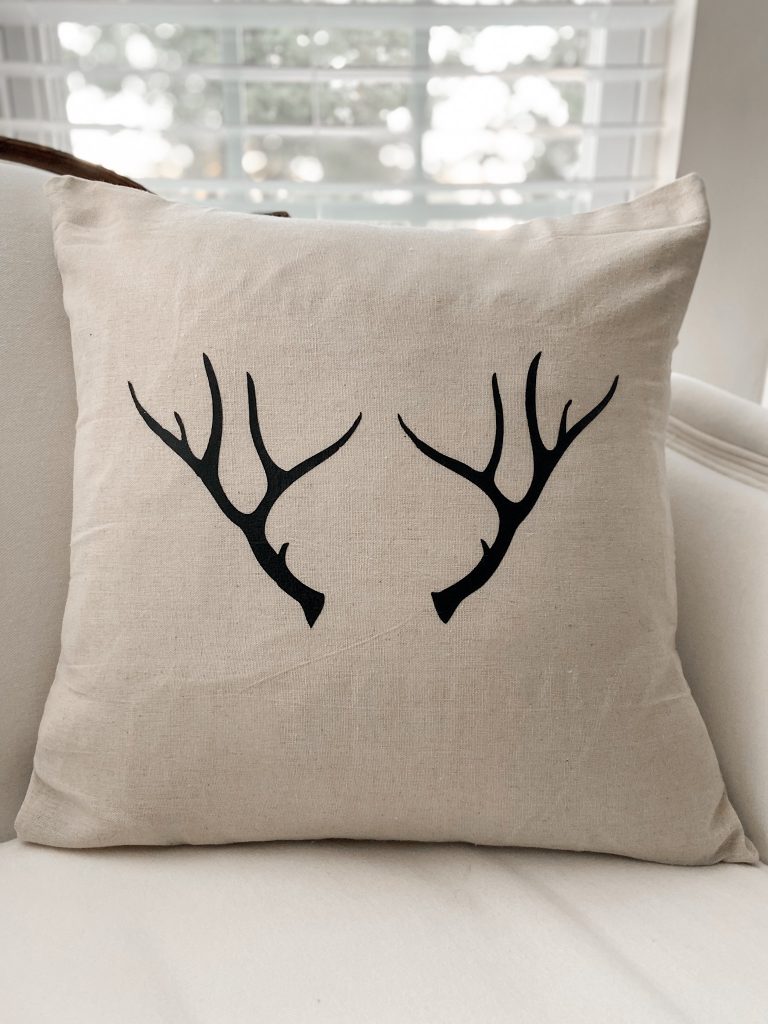
So the first step is to find a design inside of the Cricut Design Space, or download our antler design here.
Step 1: Upload your art into the Cricut Design Space. Then click (+) New to start a project. Upload your design and fit it within the cut area. It should match the size of your cut mat. To waste less vinyl, I duplicated the image for 2 pillows by right clicking my first image and then I chose “Duplicate”.
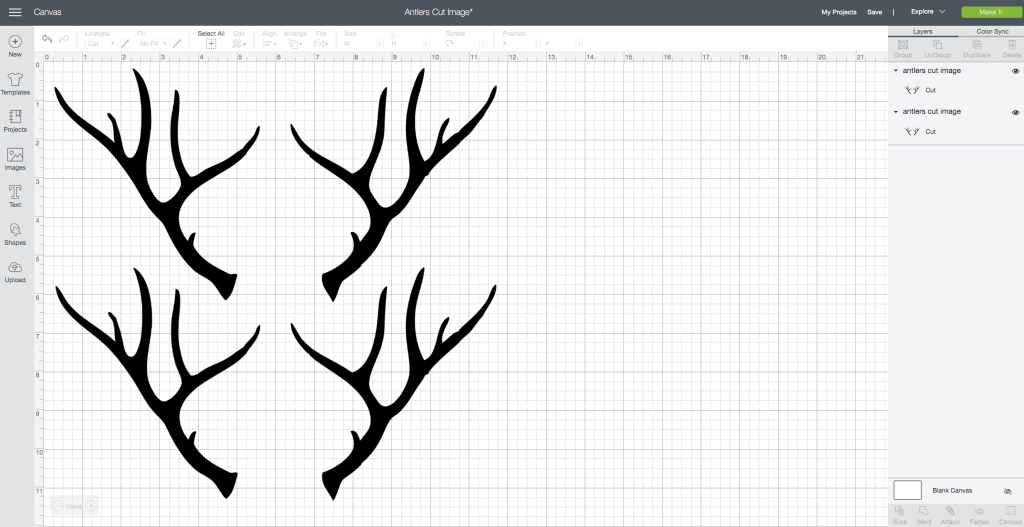
Step 2: Once you have your designs placed correctly, drag your mouse and click to highlight it. Click “attach” to secure the design in its current location.
Step 3: Time to cut your design. After you turn on your Cricut cutting machine and connect your computer, click “Make It”.
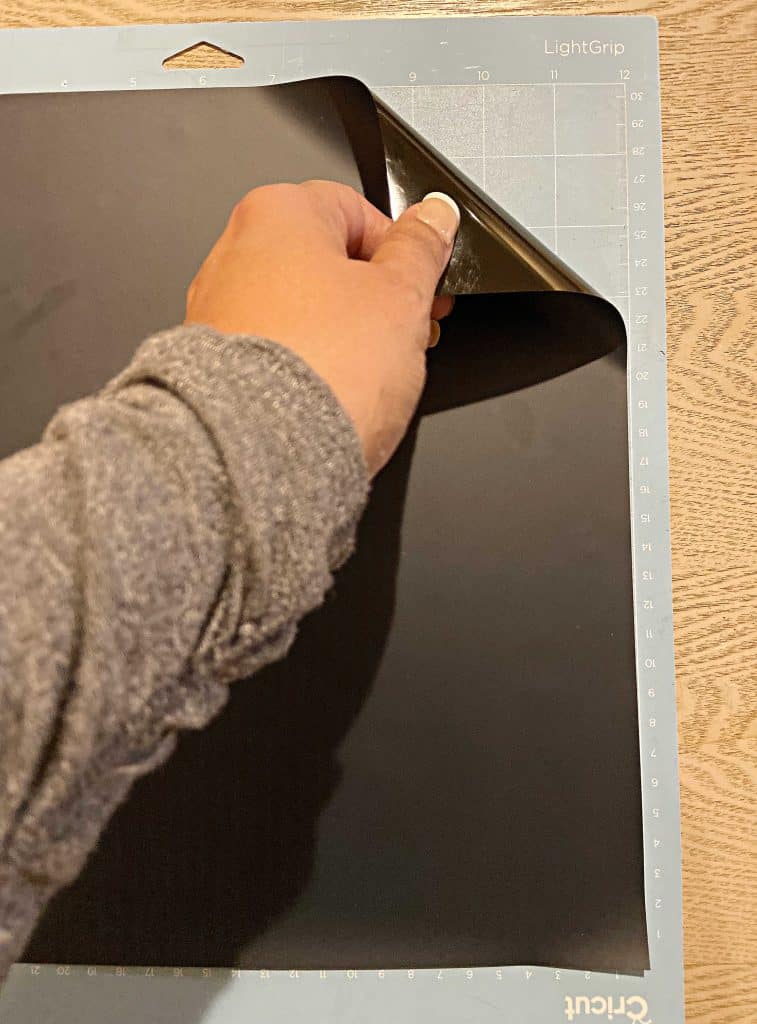
Tip! Shiny side down – be sure to place your Everyday Iron On Vinyl shiny side down onto the cut mat. Because my cut mat was losing its stick I secured the 4 corners with tape. Then I loaded the mat, and followed the instructions on the screen.
Remove the vinyl revealing your design.
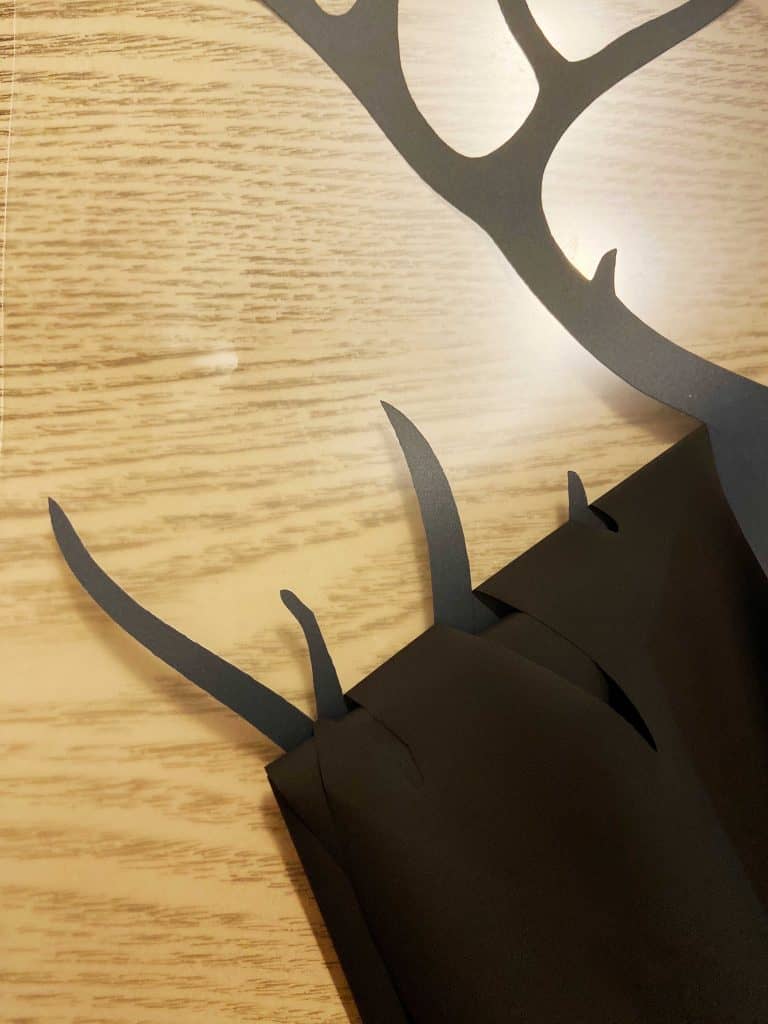
Then…you simply iron it onto your material by setting the Cricut EasyPress right onto the design (I set mine at 350 degrees for 45 seconds). It was perfect.
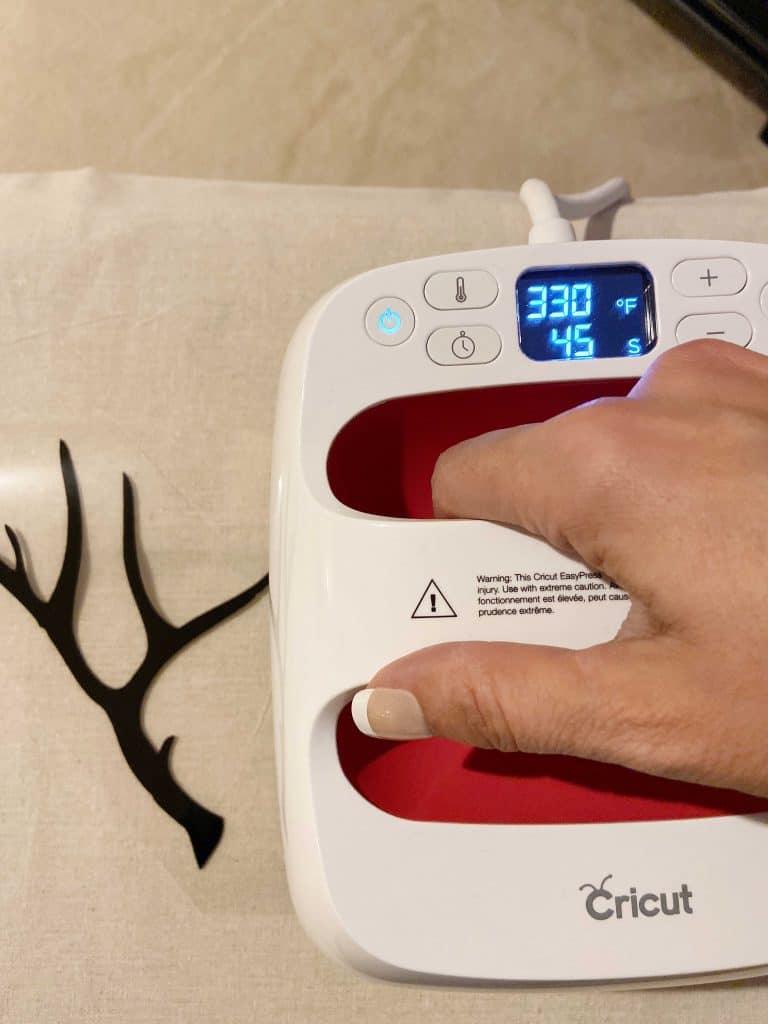
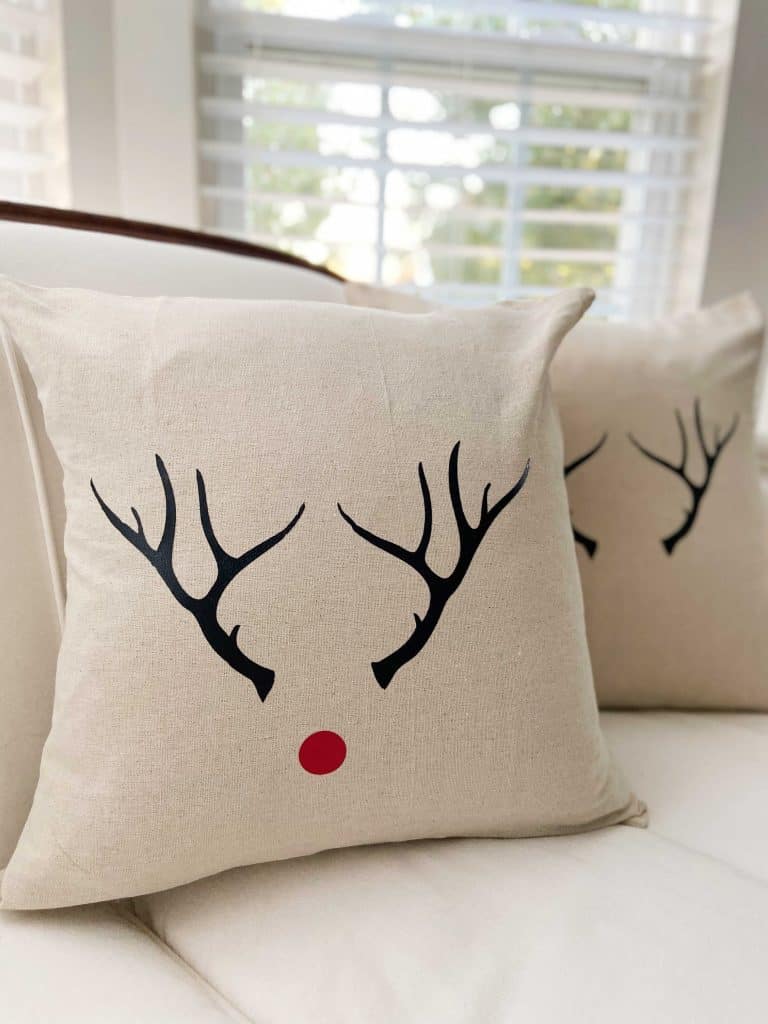
I added a red nose to one of the pillows just for the holiday pop up shop, I cut simple circles using the heat transfer vinyl. Hopefully these will sell!
What materials work with Cricut EasyPress?
- Fabrics & felt
- Painted wood
- Stained Wood
- Stretched Canvas
- Plain Canvas
- Heat Press onto paper
I’ll share more about Cricut in the coming weeks, along with a round up of all of our Cricut holiday projects. The pop up market is going to be so fun, and the Cricut has been a godsend for our holiday shop.
Be sure to follow my Facebook page + Instagram stories for a behind the scenes glimpse of what we’re working on!



This is absolutely adorable! I must make these for the holidays.
Too cute!! Where did you purchase your pillow from?