Chalk Painted Mason Jars
A simple and easy way to add small pops of subtle color is to display chalk painted Mason Jars. I’ve finally jumped on board even though I noticed chalk painted Mason jars were “en vogue” several years ago. In fact, you should visit Linda who blogs at It All Started With Paint. She may have pioneered this idea several years ago. Her chalk painted Mason jar tutorial has been the #1 post on Pinterest for several years.
Chalk Painted Mason Jars Tutorial
It doesn’t get any easier than this. Such a simple, pretty and rewarding project. As I was doing these, I was thinking how would great this would be for weddings or just adding a pop of color this spring. I almost always find Mason jars at a thrift store when I shop, you can pick them up for around fifty cents each. I decided to apply 2 coats of paint. I learned that I didn’t love only one coat, so I added a second layer…as I’ll demonstrate here.

- Mason Jars from the craft store
- 1-2 coats of your choice of chalk paint
- In this tutorial, I brushed on DecoArt “Artifact” (grey) and “Vintage” (blue)
- My opinion — spray chalk paint would probably be amazing for this project.
- A paint brush with water on-hand to dip your brush and ensure a smooth finish
- 150 grit sandpaper
- Plastic or cloth drop cloth (for drying, if you use newspaper it can peel off onto your project)
- Matte Spray Polyurethane
First Coat
After running the Mason jars through the dishwasher, I initially I applied a a single layer of chalky finish paint on the exterior of each jar. Once dry (after a short period of time) I took a very small piece of 150 grit sandpaper, and distressed various areas on the jar. I changed my mind and decided I wanted less chipiness. But for those of you that love this look, you can certainly add polyurethane spray and be done.
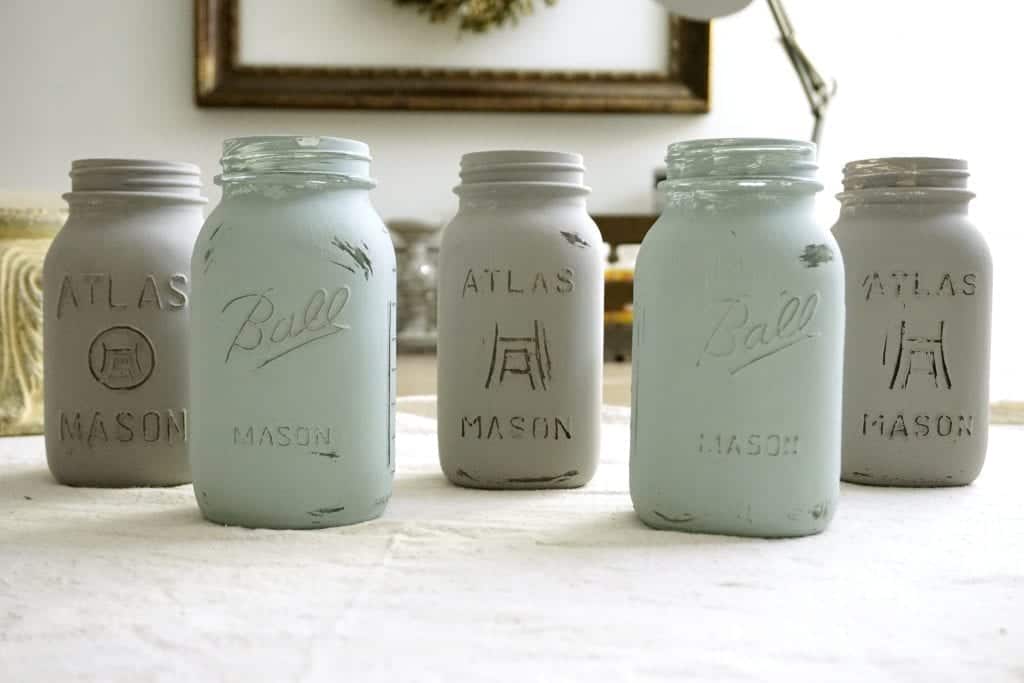
If you notice, this is how my paint looked when I didn’t dip my brush in water. So I opted for another coat of paint and hoped for a smoother finish.
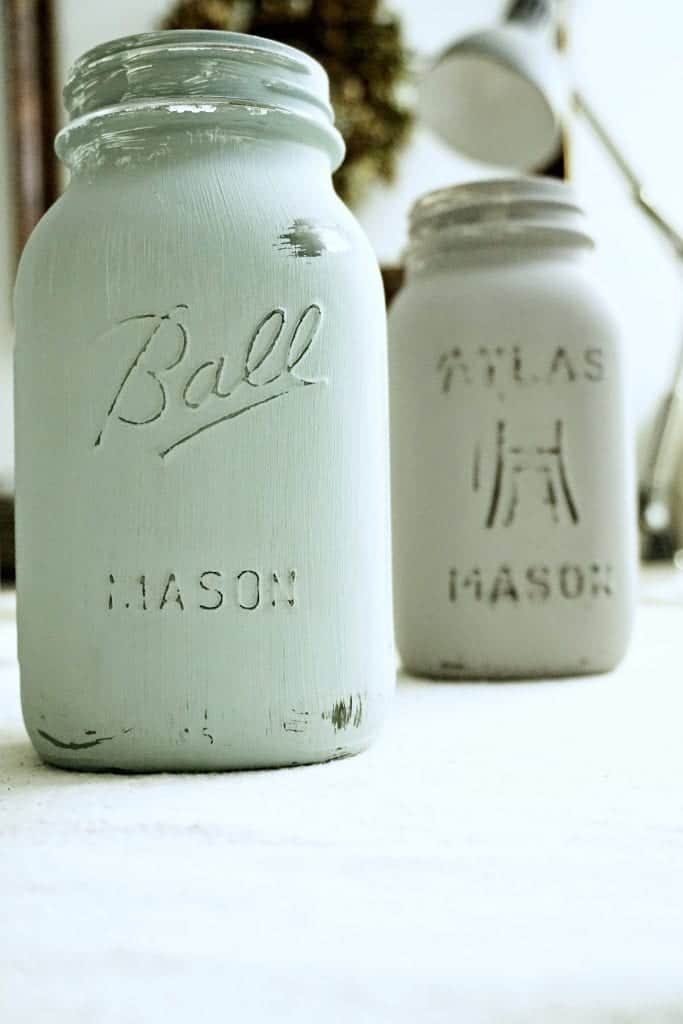
Second Coat
This time I used water (by slightly by dipping my brush) as I added coat #2. It was exactly what I wanted. Once dry, I only sanded only the letters and the rim this time with a small piece of 150 grit sandpaper. A little cleaner looking, and I loved them. 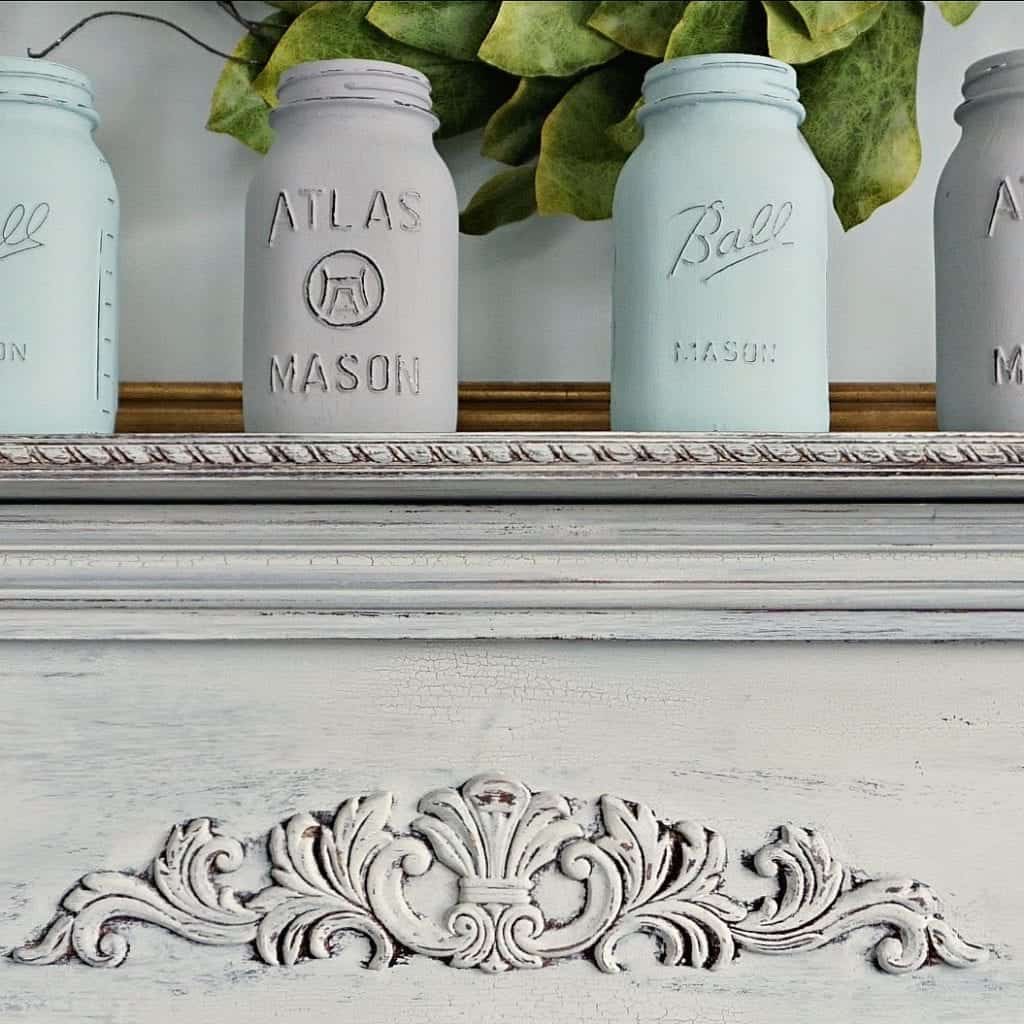
Third Coat
Final step…spray with polyurethane and you’re done!
Make Sure They’re Not Valuable
If you’re choosing Masons you find in a thrift or antique store, make sure they aren’t a valuable collectible before you paint them. I resisted the idea of chalk painted Mason jars for some time. Back when I was young, my grandfather called them “fruit jars” and his collections were extremely valuable. There are some extremely rare varieties, most have been scooped up by collectors. But still I’ve been ultra careful and research any jars I find in a thrift store.
My advice is to avoid painting any of the hand blown versions or color tinted Mason jar varieties. These are special in their own way.
Knowing this, I’ve been careful to select only jars that come from the craft store, or check online to ensure I’m not ruining collectibles. A simple way to do that is to check the numbers on the bottom of the car, and cross check online to be sure you’re not ruining a valuable piece of history.


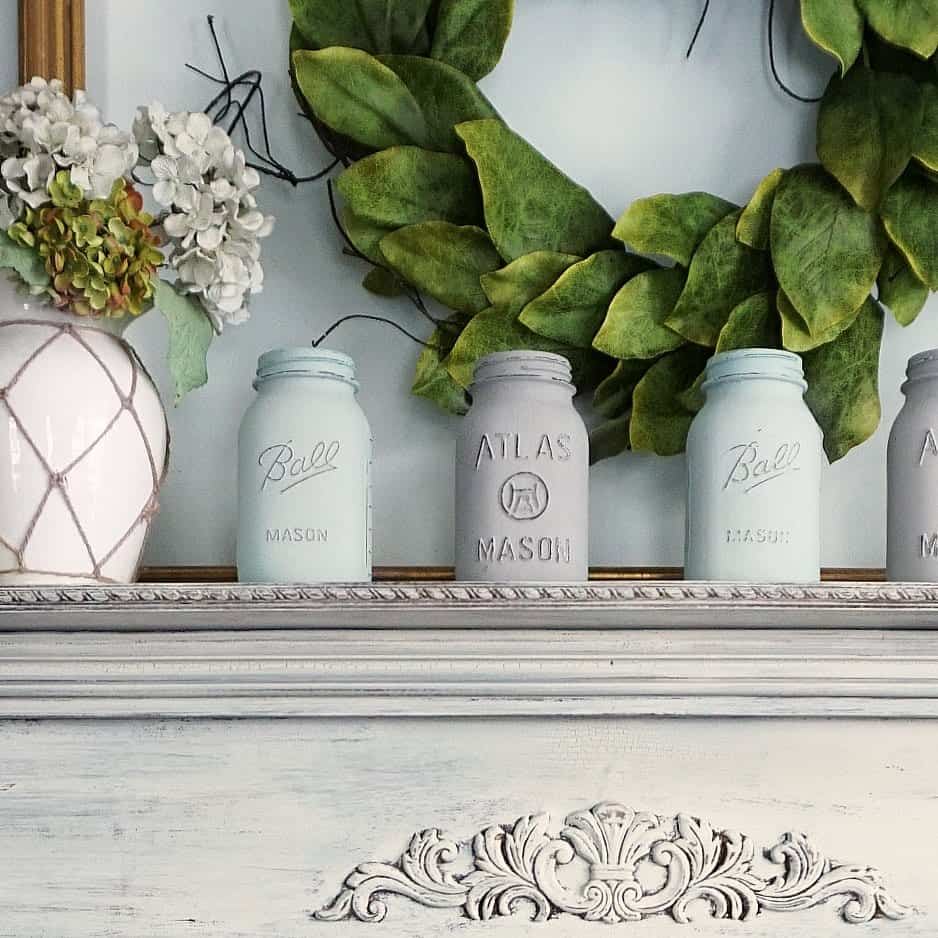


Great idea! I have a ton of different sized mason jars that I use for canning or vacuum sealing, but this project would also make them useful for faux and real greenery/flowers and decor. Thanks for posting this. I just bought a bunch of Heirloom Traditions paints for other projects so I have plenty of extra paint! Blessings!
I’m happy this inspired you :) It’s such a simple, quick project. My grandmother canned too, I don’t have a garden but I wish I did! Someday, lol! But for now I’ll just enjoy displaying Masons in pretty colors.
Your jars look great! I like the tip about doing a 2nd coat with water for a smoother finish. A fun, easy way to add a pop of color to get us through the month of February.
Thanks Jeanette!
Thanks Teresa, luckily my first coat didn’t really affect the second layer. I love foolproof, easy projects!
So cute, I want to make some of these to go in my beach decorated RV!