Driftwood Stain That’s DURABLE!
Apply a do-it-yourself driftwood finish on new pine furniture with a topcoat that is super durable and will last for years.
Weathered wood does not happen by applying layers of paint. It’s the result of being exposed to harsh environmental elements which gives the wood a natural, aged patina. So when I want to achieve an authentically weathered wood (or a driftwood) finish on new pine, I try to minimize the layers to make it look more natural.
It’s like when you apply too much makeup on your face – the more you add, the less natural it becomes. So it seems counter-intuitive to weather wood by adding layers of paint to achieve this look.
— Jeanette, Snazzy Little Things
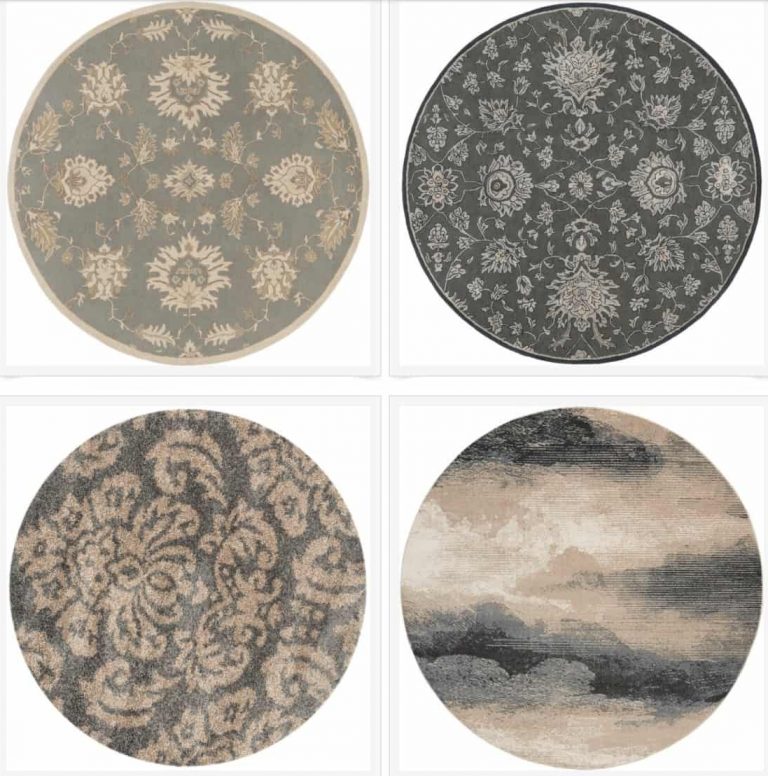
Driftwood Stain & Weathered Wood Finishes
My other driftwood tutorials can be found by clicking the images below.
Weathered Oak with White Wax 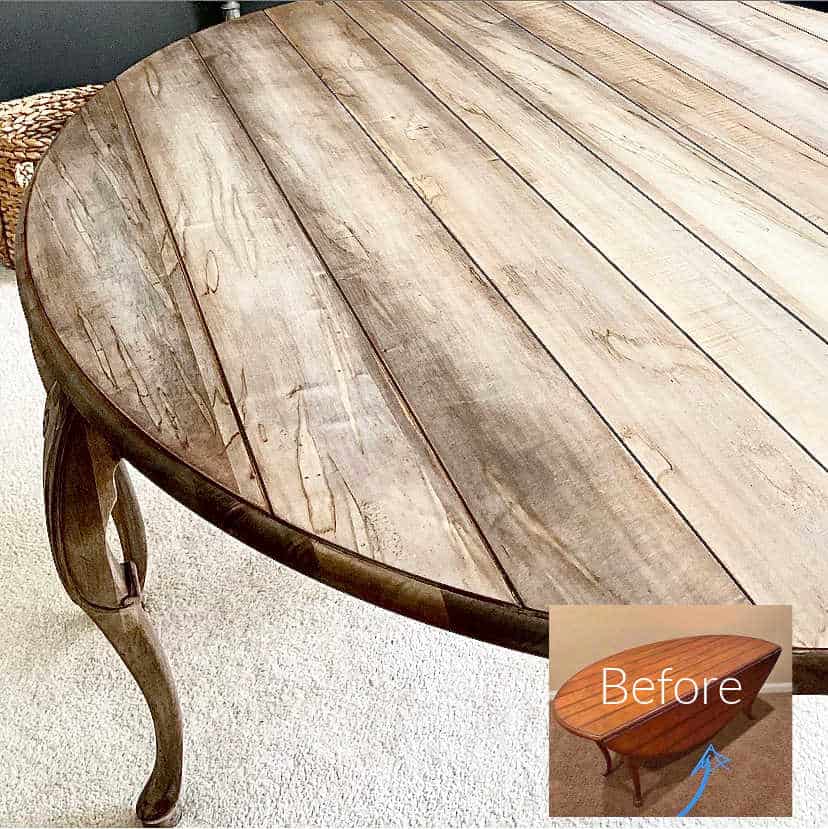
Reactive Stain on Cherry 
Farmhouse Table Makeover 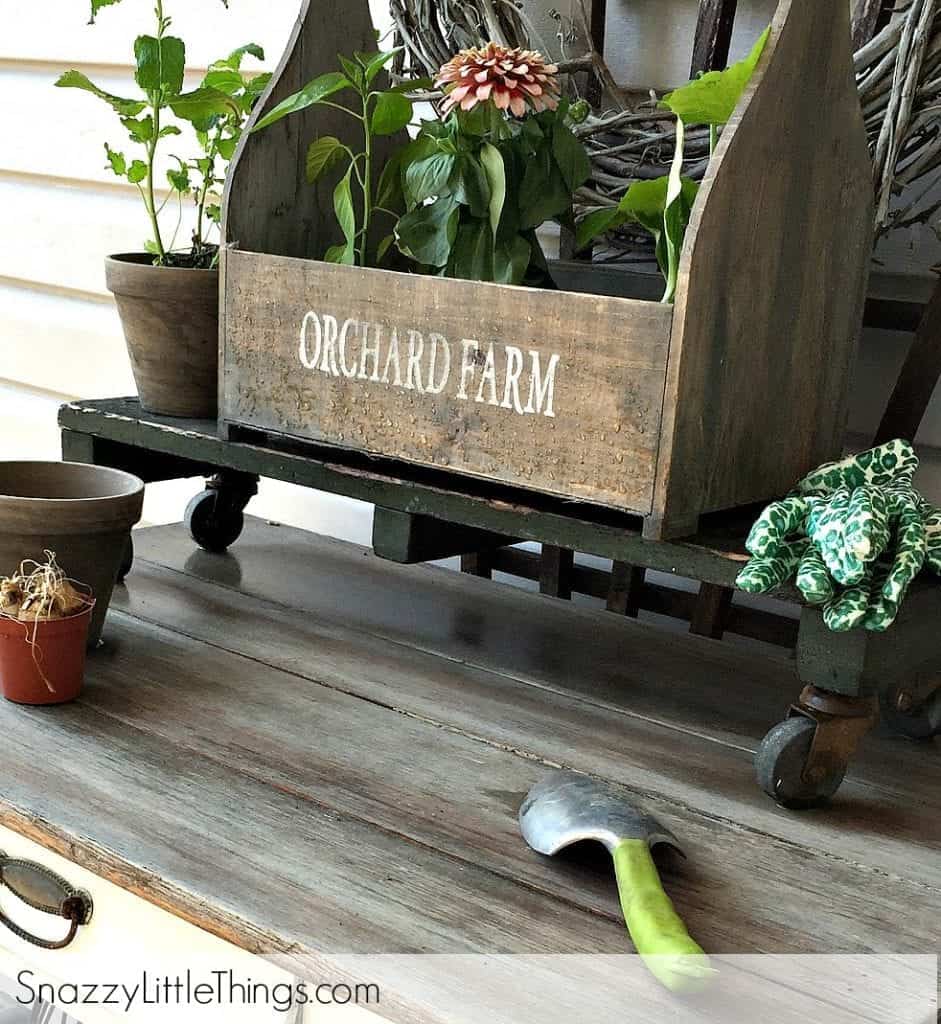
Driftwood stain on outdoor table 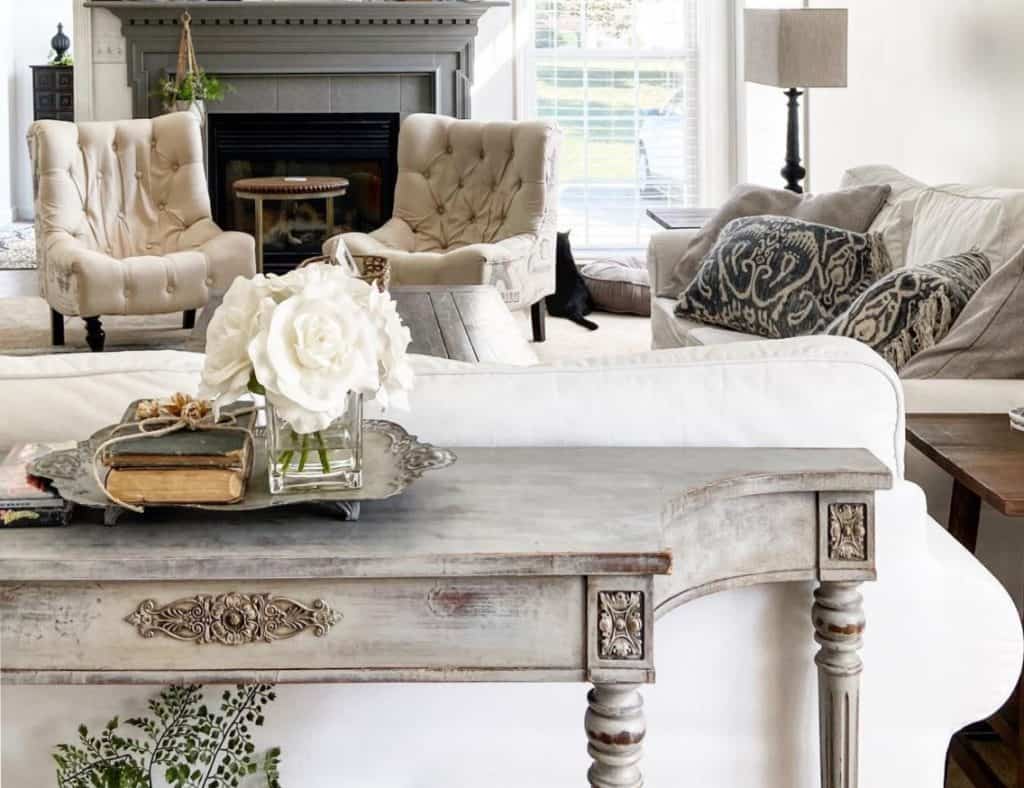
Driftwood effect using Chalk Paint 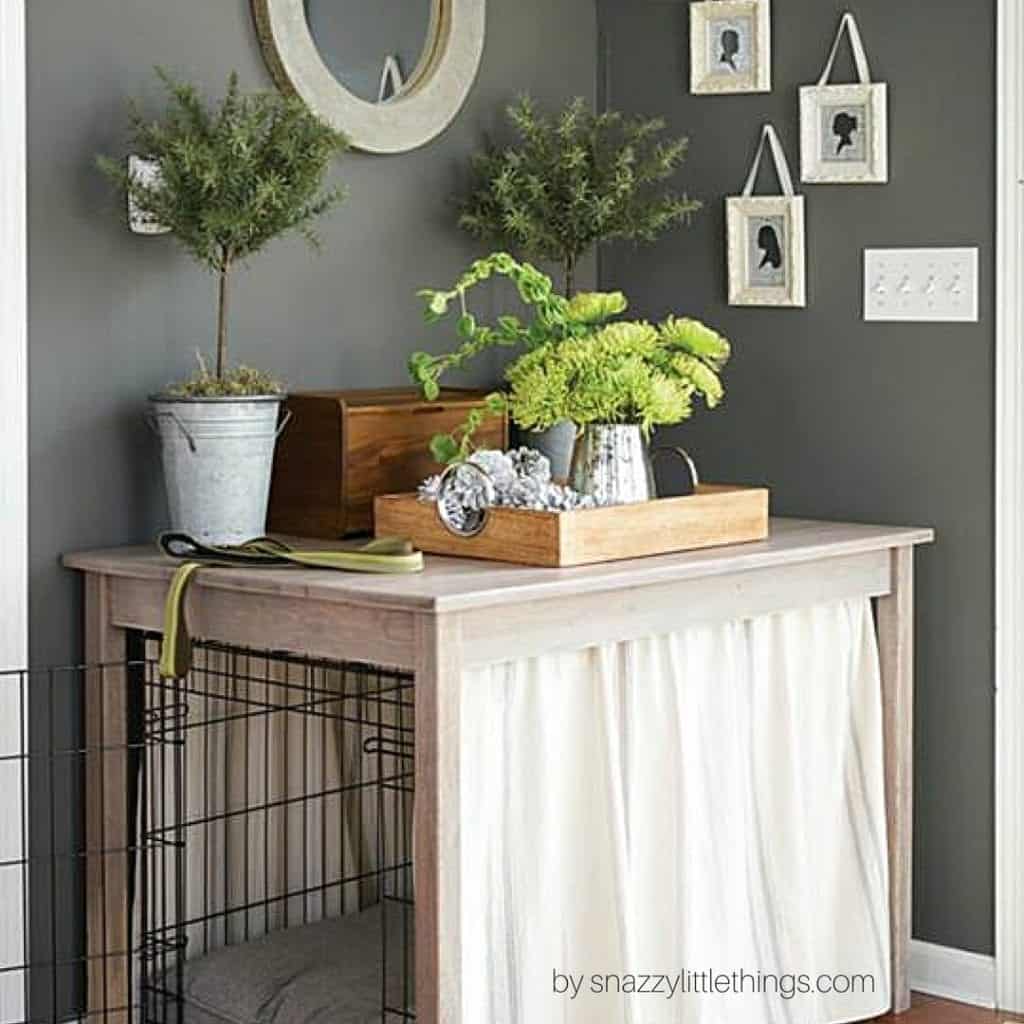
Driftwood stain on dog crate table
I have always preferred a natural wood patina on my furniture – even throughout the painted wood craze. I mix natural woods with painted throughout my house. See all of my furniture tutorials here.
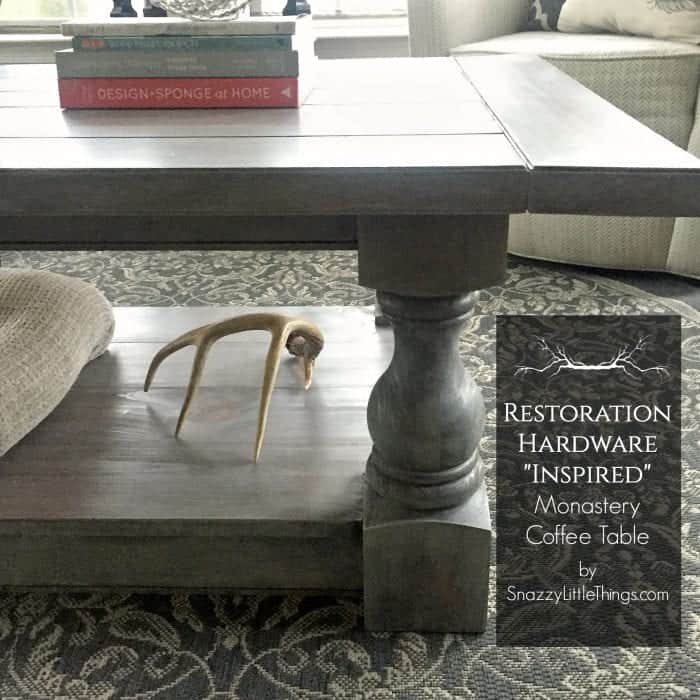
Recently we built our own mock-Restoration Hardware Monastery table, and I wanted to achieve the same weathered finish with a little bit of grey, weathered, driftwoody tone. I also used this same technique on my dog crate table build. To achieve this look on new pine, we used stains that soak into the wood.
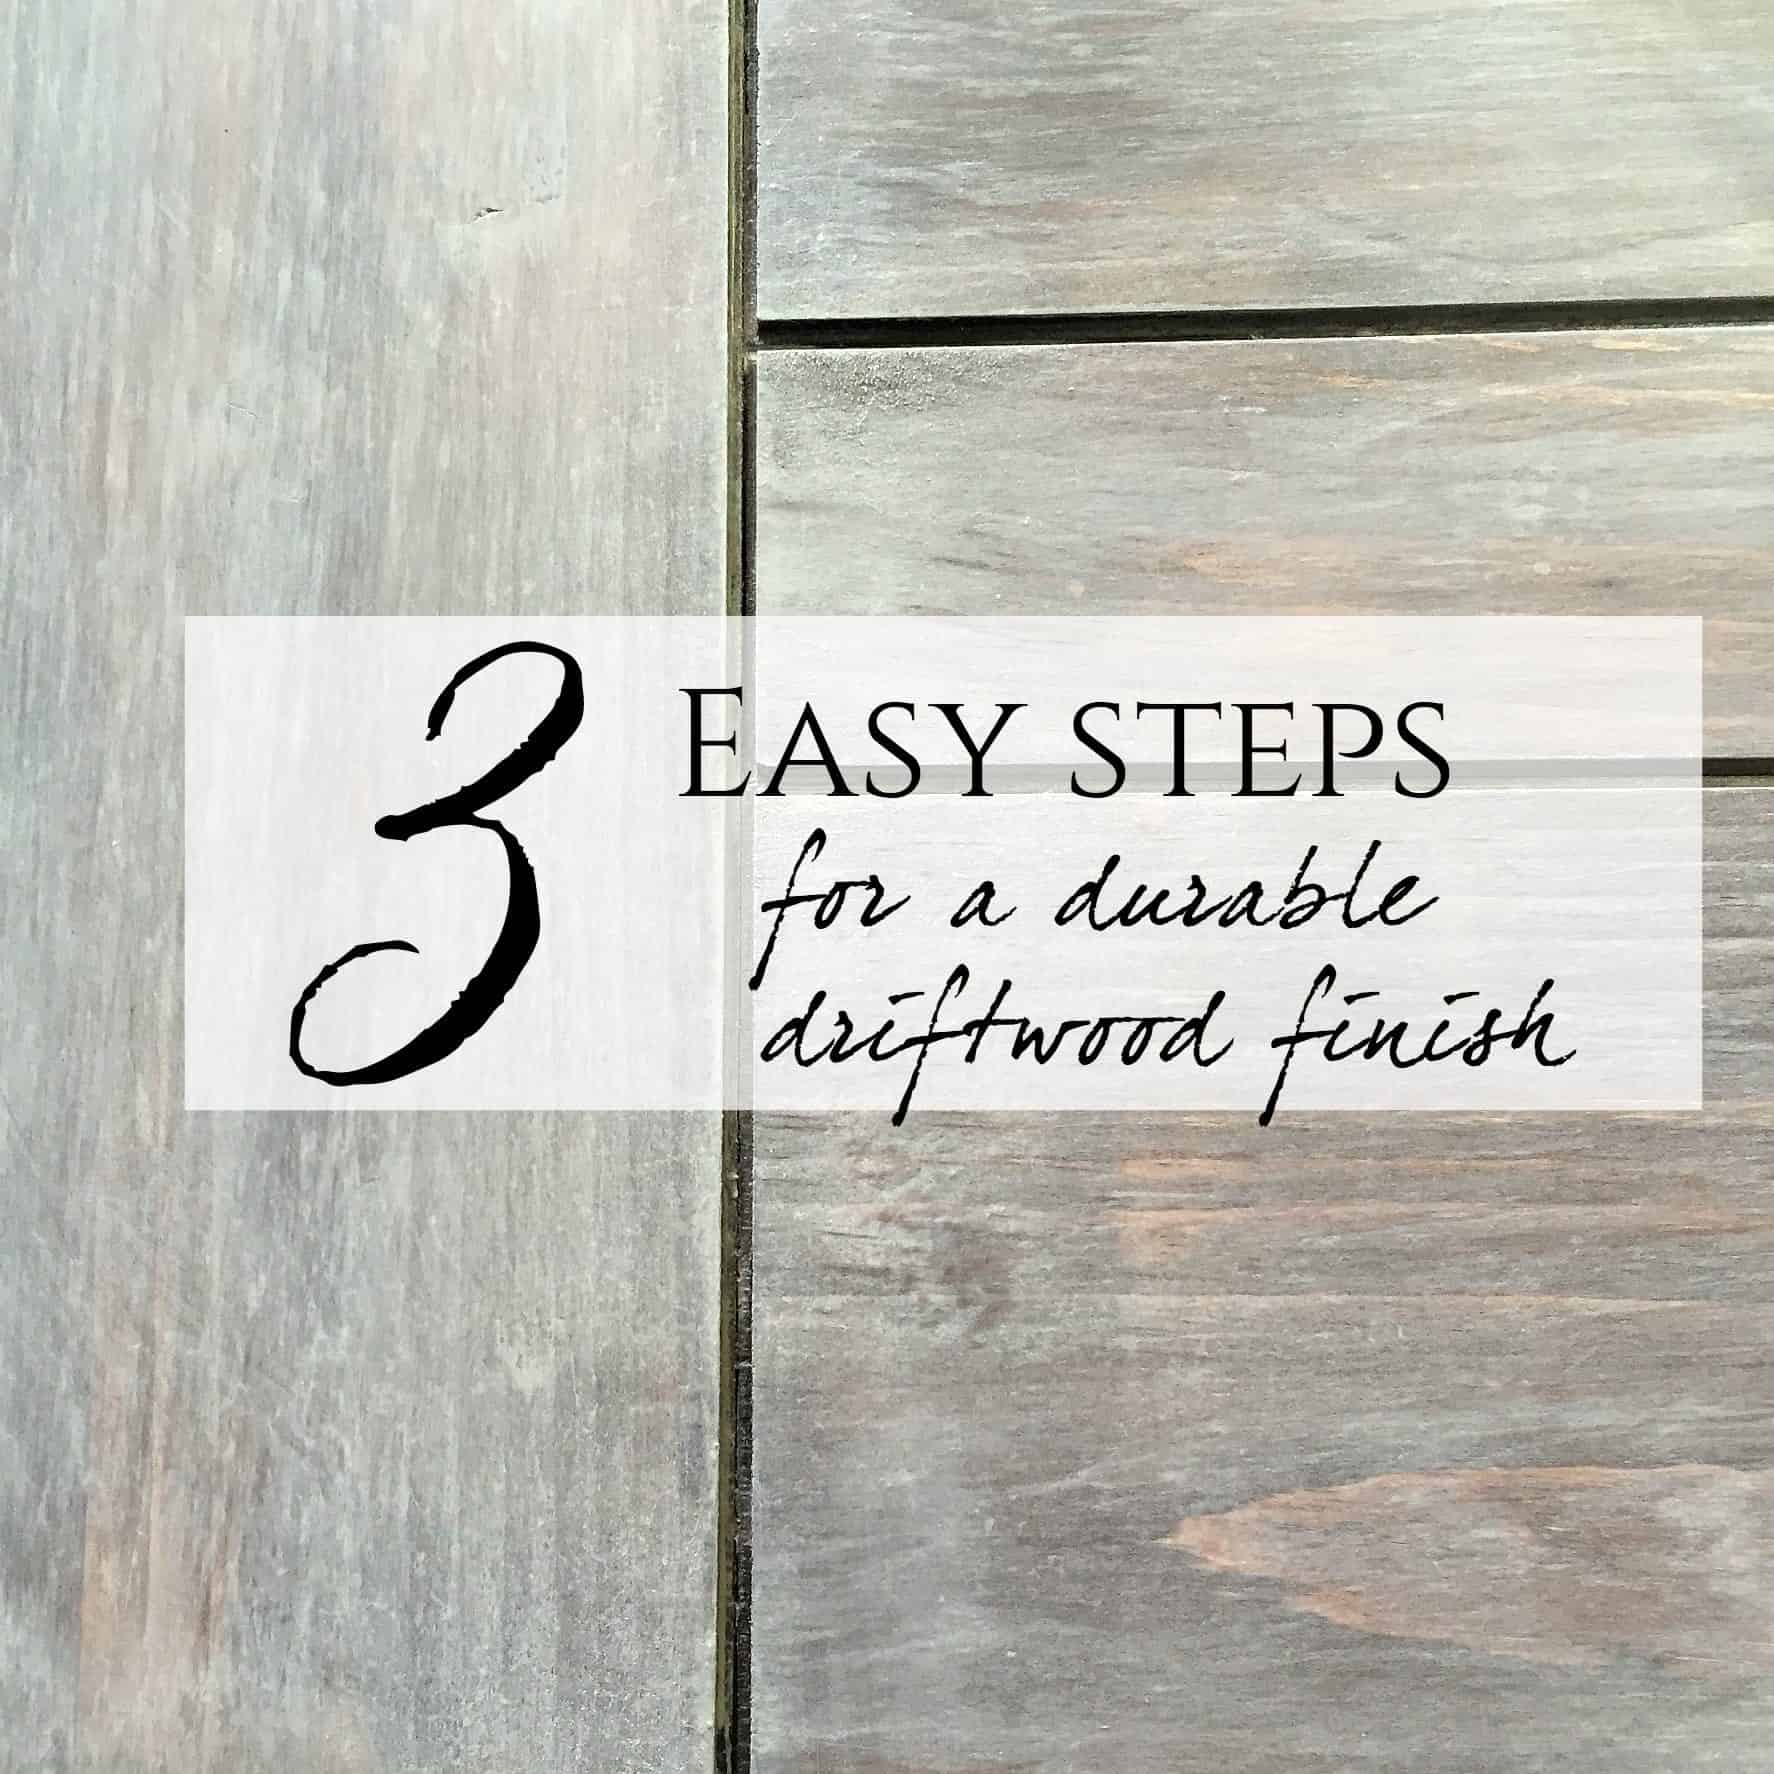
3 Step Durable Driftwood Finish
Step 1: Start with New Pine
Start with new pine. By darkening the wood, it makes it appear older, and the stain soaks into the wood and dries very quickly. I love that it doesn’t feel tacky when it’s dry, which is what you sometimes get when you apply an oil based stain. In our woodshop this is our “knocked-off” Restoration Hardware Monastery Coffee Table. At this point, the wood was sanded and ready for the next step.
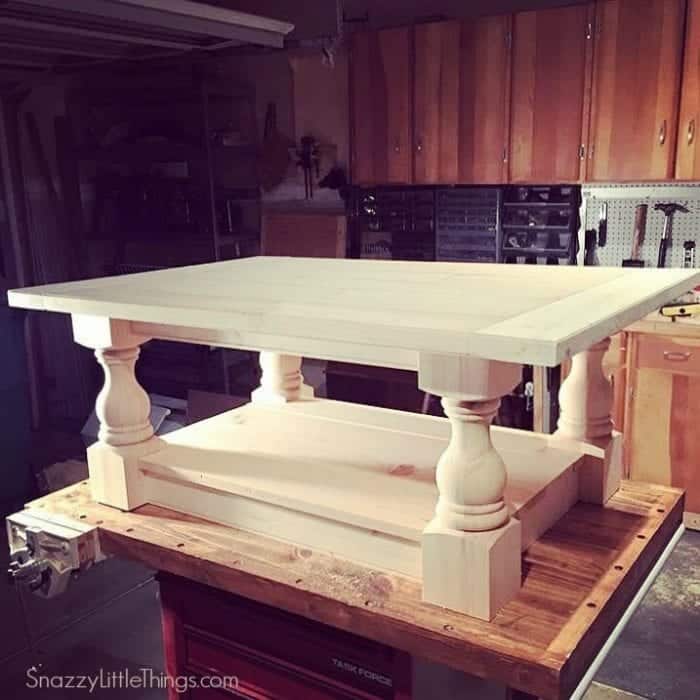
Above: Our version of the Restoration Hardware Monastery Coffee Table (knocked off, before staining)
You can choose any dark stain, but my personal favorite is Varathane Dark Walnut. We brushed it on heavily with a nylon brush and let sit for about 5 minutes. Then we rubbed it into the wood by hand, removing excess and ensuring that the wood was completely covered. Let dry overnight (AND BE SURE TO WEAR RUBBER GLOVES).
Tip! If you do get stain on your hands, I’ve discovered that nailpolish remover works wonders!
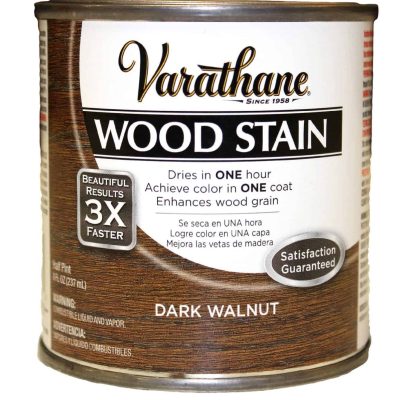
My favorite stain
Step 2: Apply the Driftwood Effect
Next, apply a thick layer of Sunbleached stain with a synthetic brush, overtop of your dark stain. I’ve done this one of two ways:
- I let soak into the wood for not more than 5 minutes. Then, use a dry cloth to evenly and lightly wipe Sunbleached stain into the wood (by hand…again, gloves!) and remove the excess. The goal is not to rub hard, something I discovered is that it will remove portions of your dark walnut stain underneath — you want to use the cloth (in place of the brush) to give it an even finish overtop of the walnut stain. In the end, we liked our finish with the variation of color.
- I’ve also tried applying the stain and just leaving it dry for 24 hours. I love both looks.
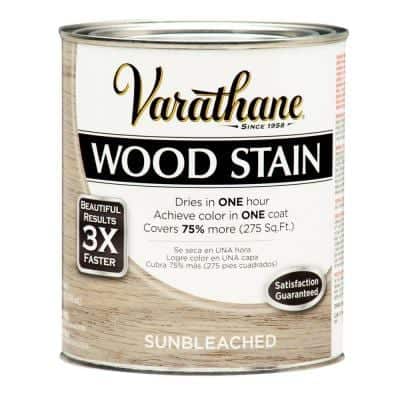
My new, favorite stain
SPECIAL EFFECT TIP!
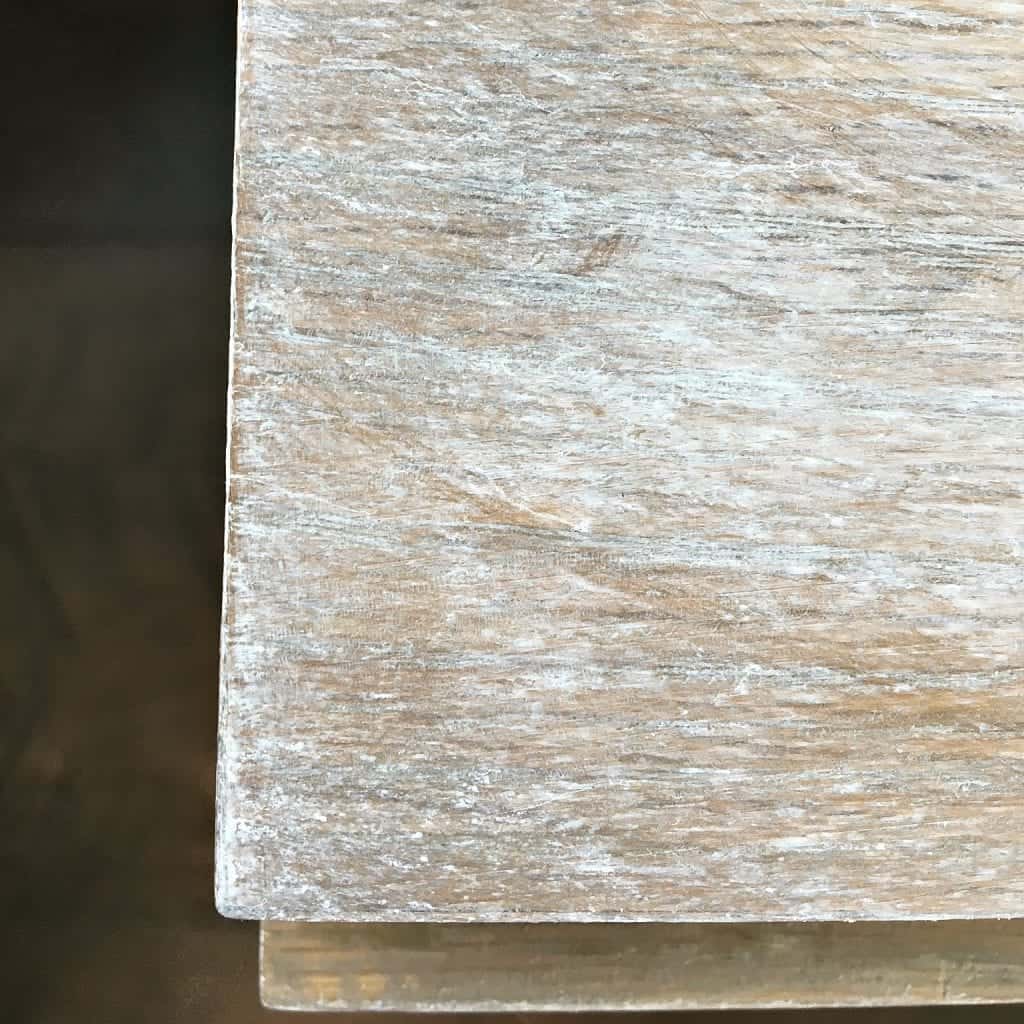
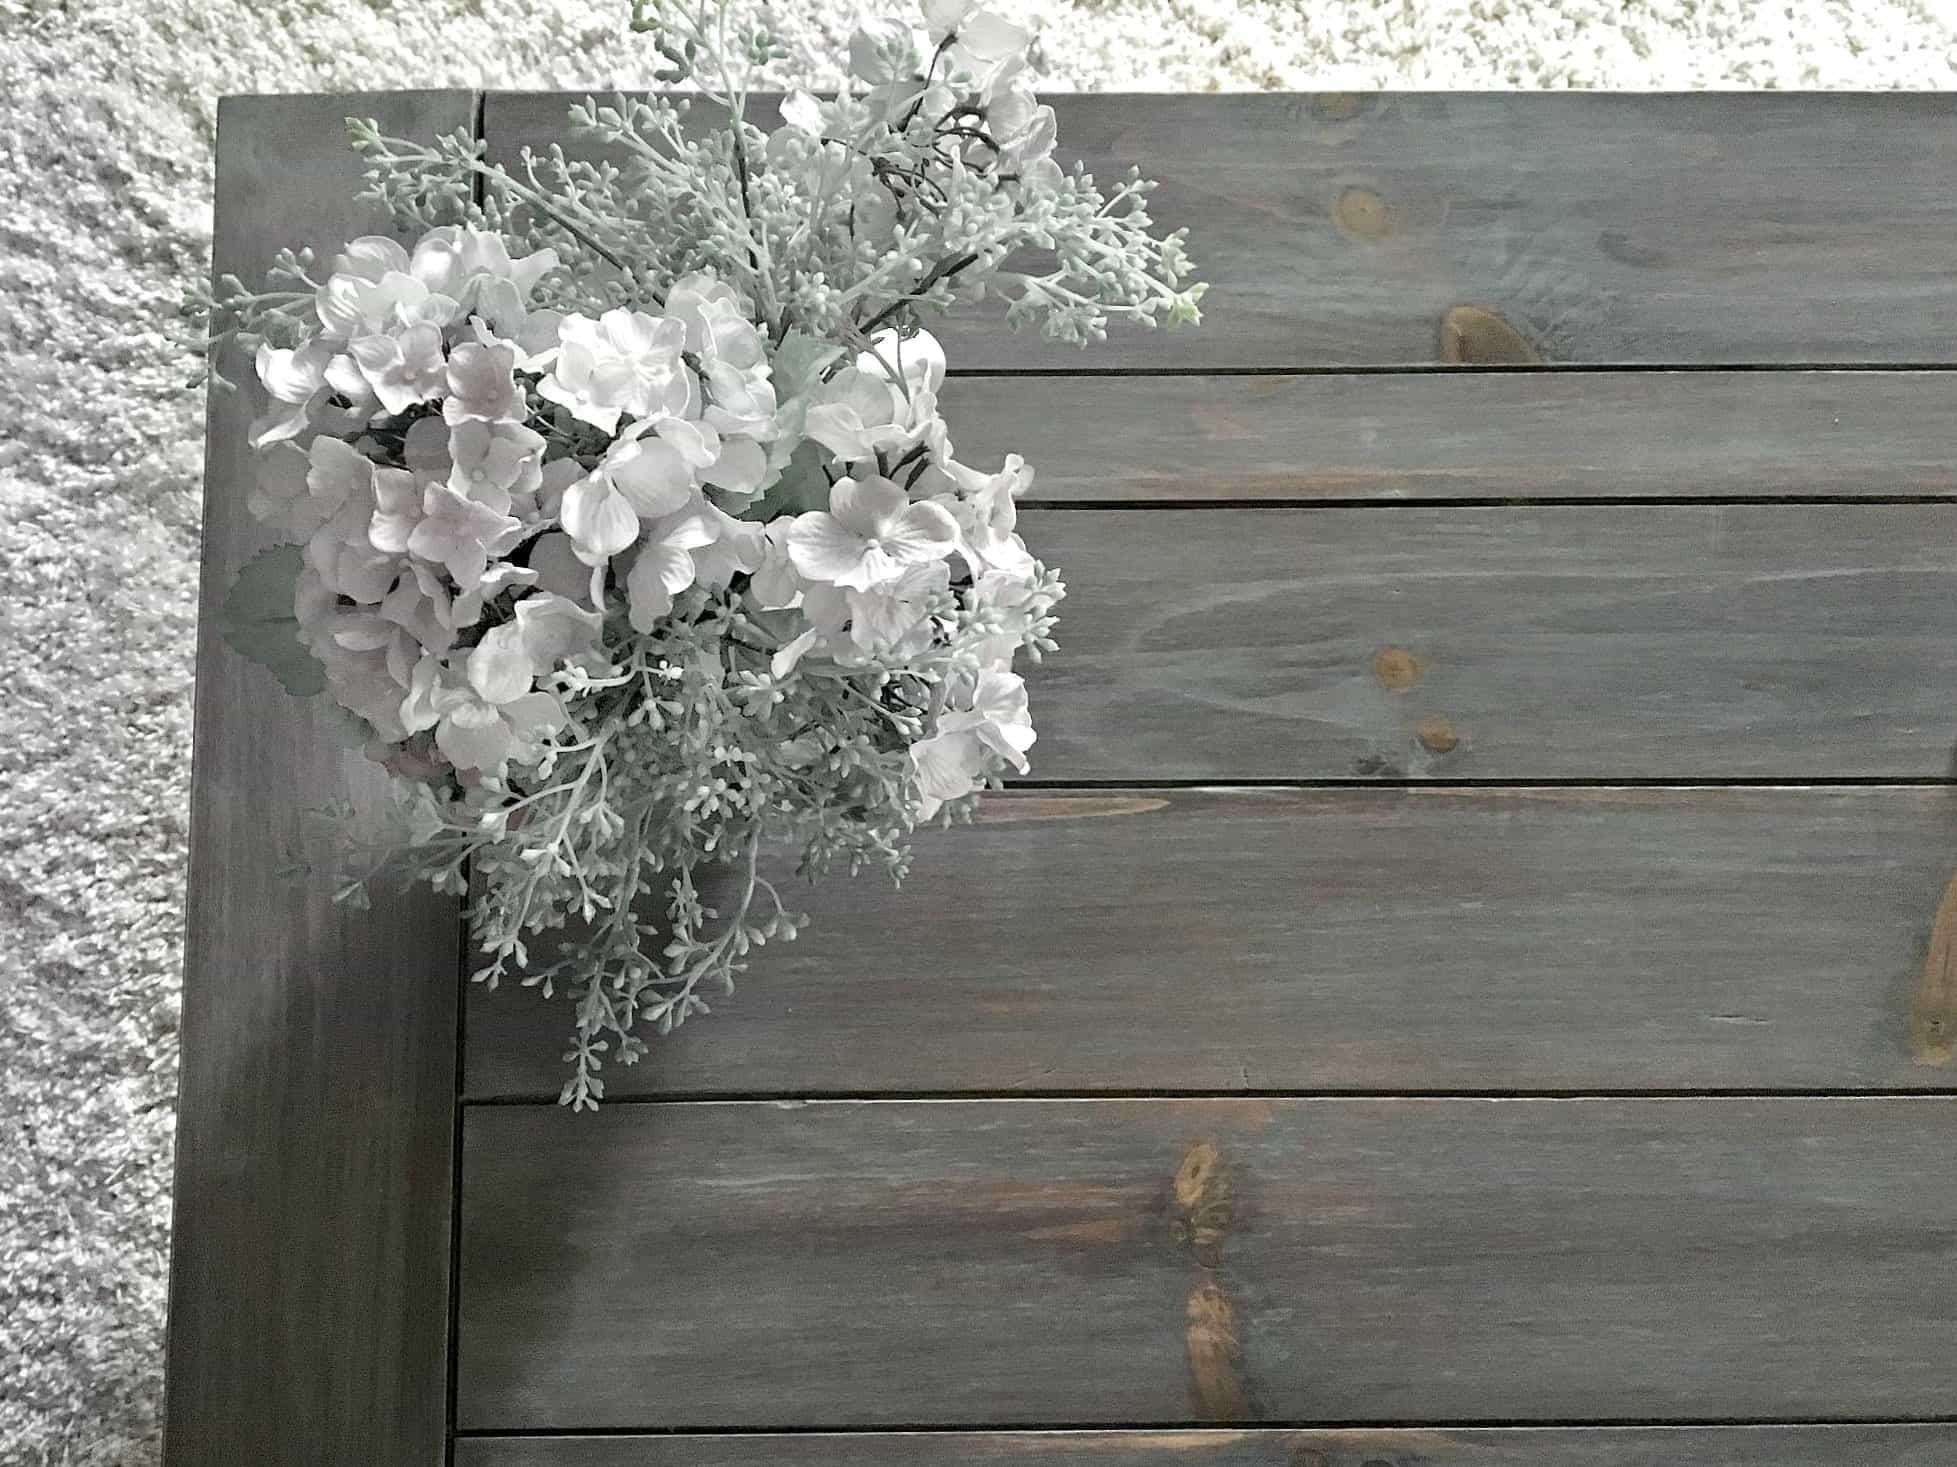
After Step 2 is complete, if you want more variation of colors, you can “dry brush” the Sunbleached finish in a cross-hatch application (in quick “X” patterns) using a barely-wet synthetic brush. Make sure the brush is MOSTLY dry. My method: I would cross hatch followed by dabbing with my wet cloth. This is the effect that you get — a beautiful driftwood finish.
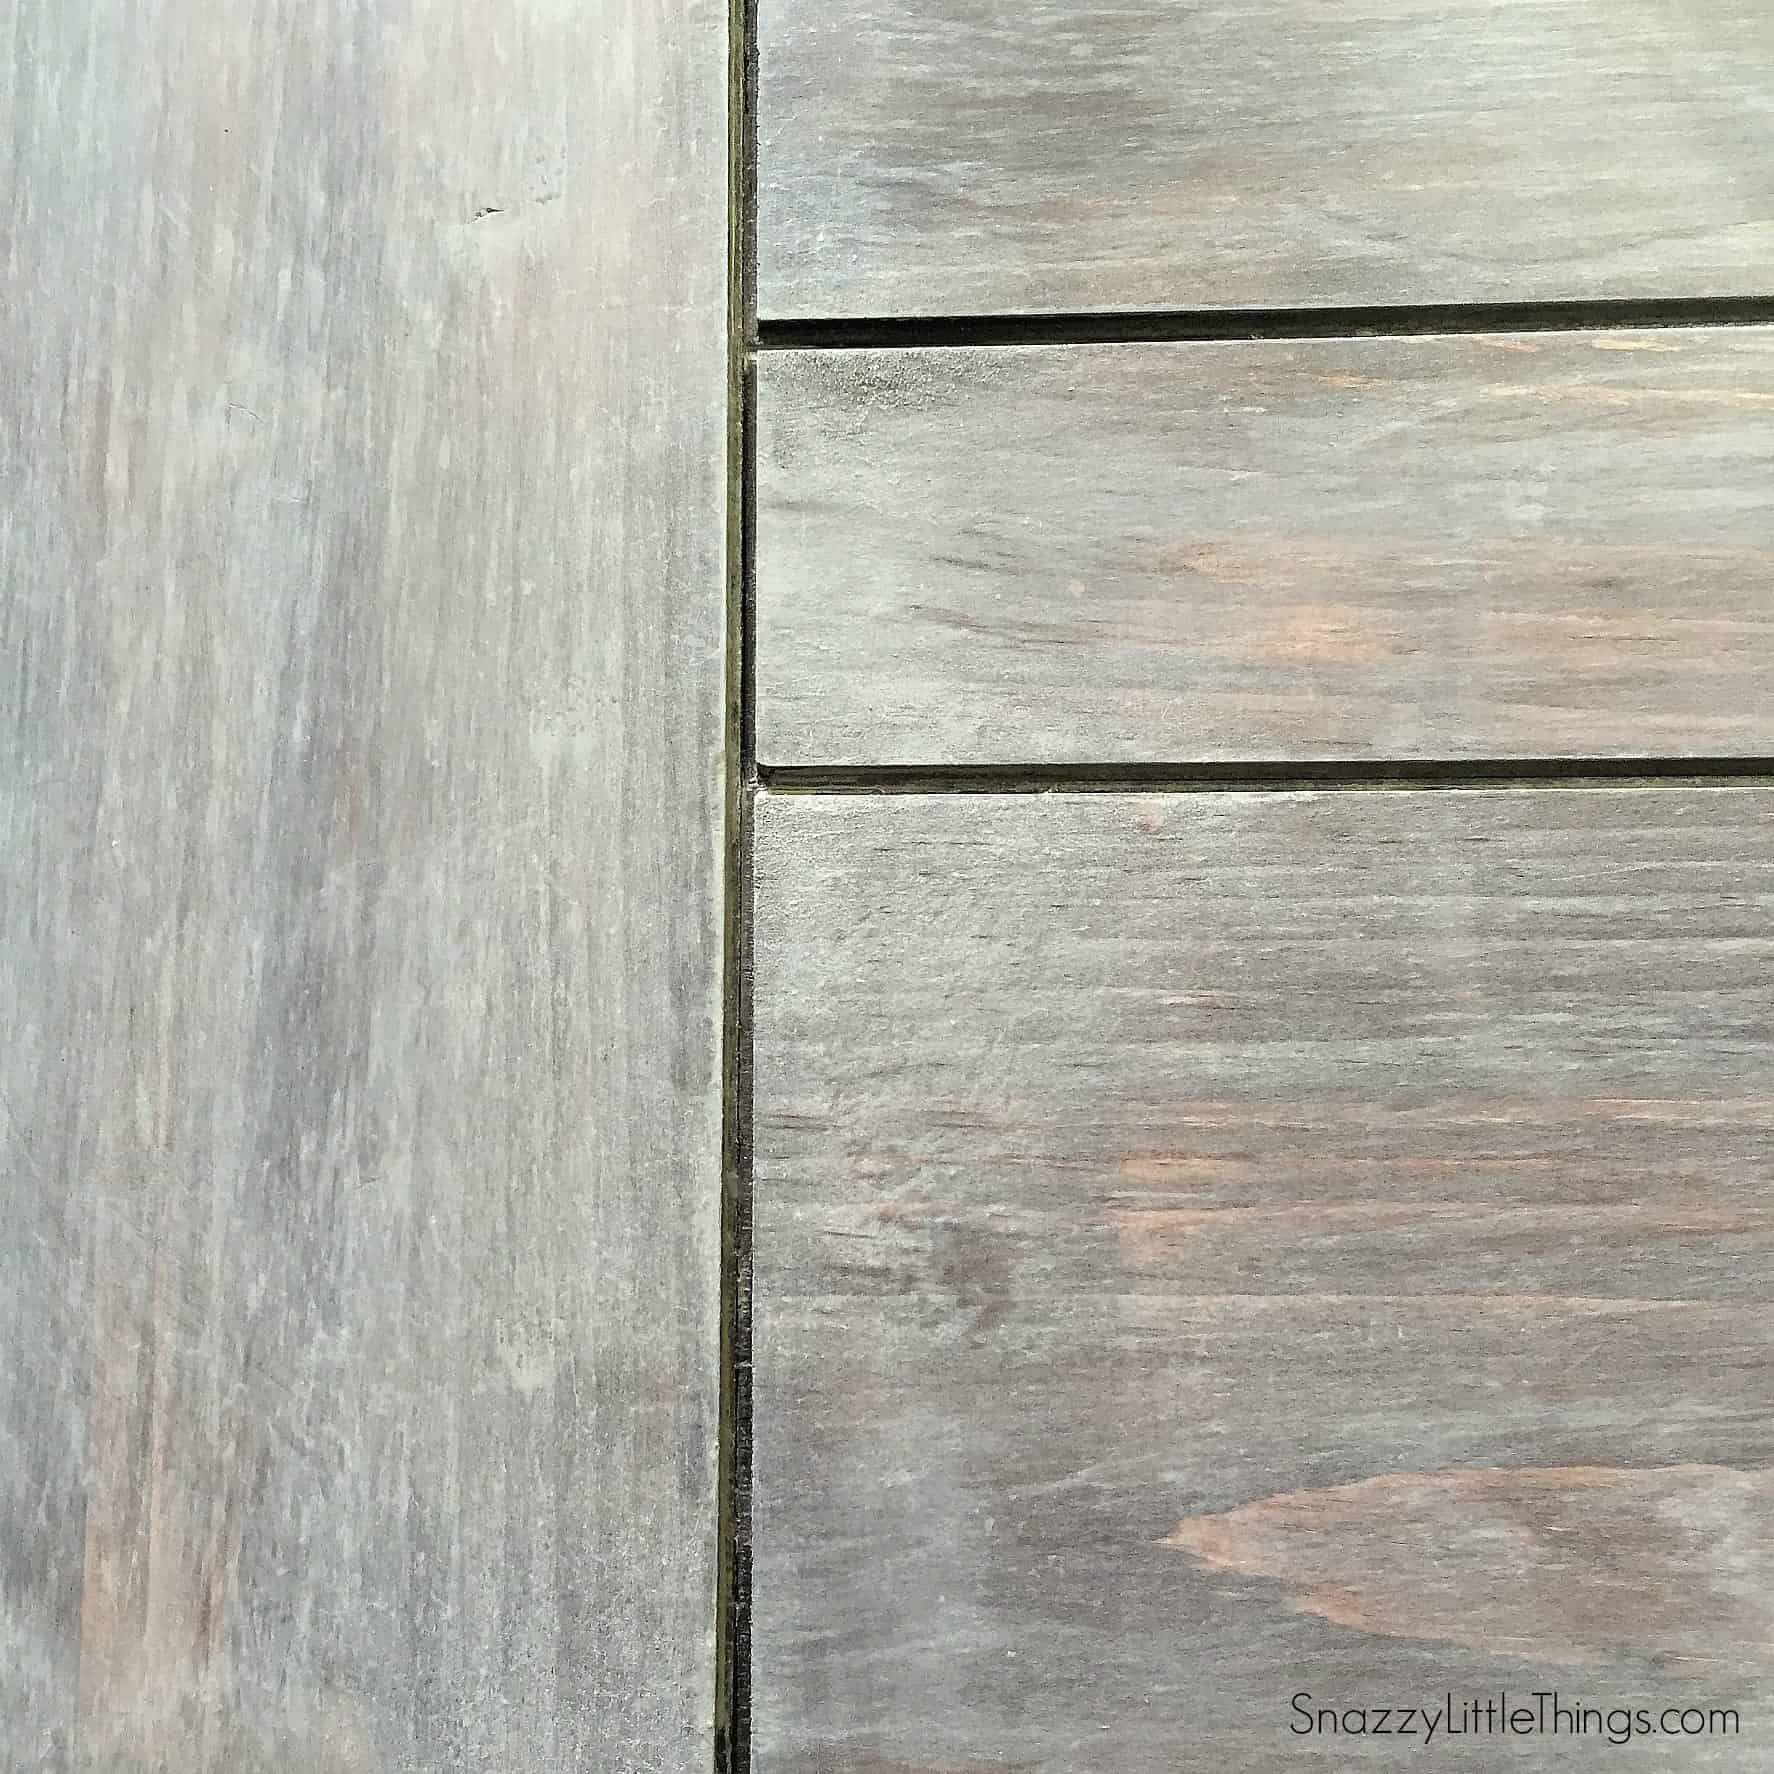
See how you can see a nice combination of light and dark wood tones showing through? And just a few “dabs” and “cross-hatch” effects are visible, too.
Step 3: Seal with a Topcoat
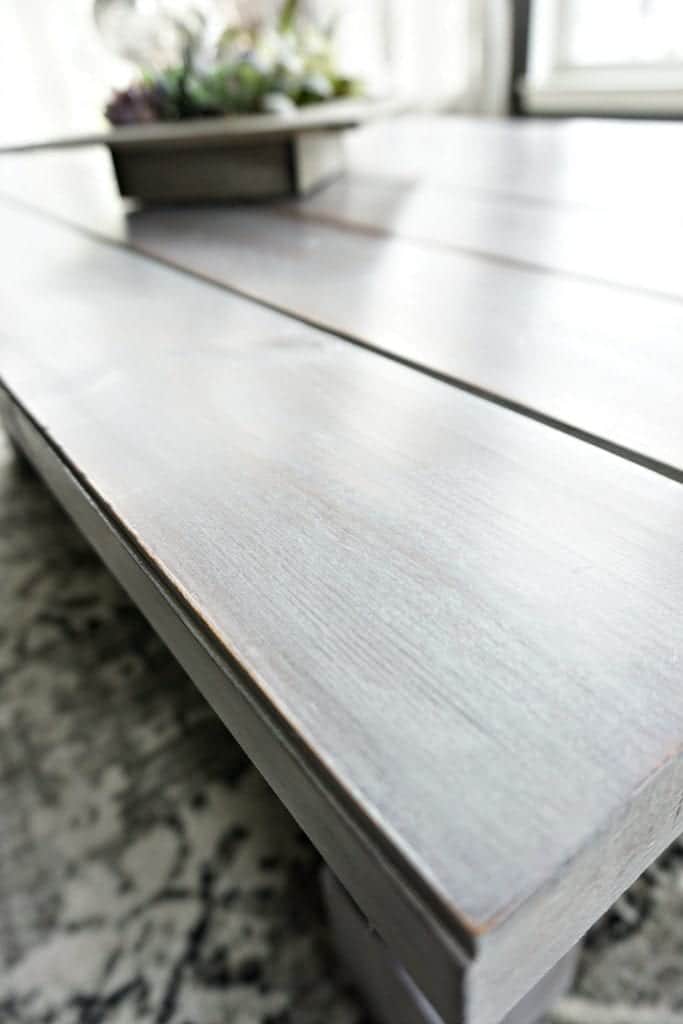
Congratulations! You’ve finally achieved the perfect driftwood look. Now, there is just ONE more–but very, very important (and simple) last step. Apply a matte polyurethane. This particular brand has a milky white finish at first. BUT DON’T PANIC!! It dries clear. I chose matte to keep it looking as close to natural driftwood as possible.
I am not paid by Rust-o-leum…I simply love their products since they are so easy to work with (and who doesn’t love fast-drying finishes?)
Free building plans and printables are available for subscribers to my blog.
Hope you’ll follow along with us this year as we experiment with more furniture builds and fun paint finishes!
Thank you for this step by step tutorial. I’ve been debating how I am going to attain the a natural driftwood effect for my bureau. You’ve achieved it masterfully!
Unfortunately, I wasn’t able to pin it. Can you recommend how to save this to my Pinterest board?
Love this technique. Must give it a try!
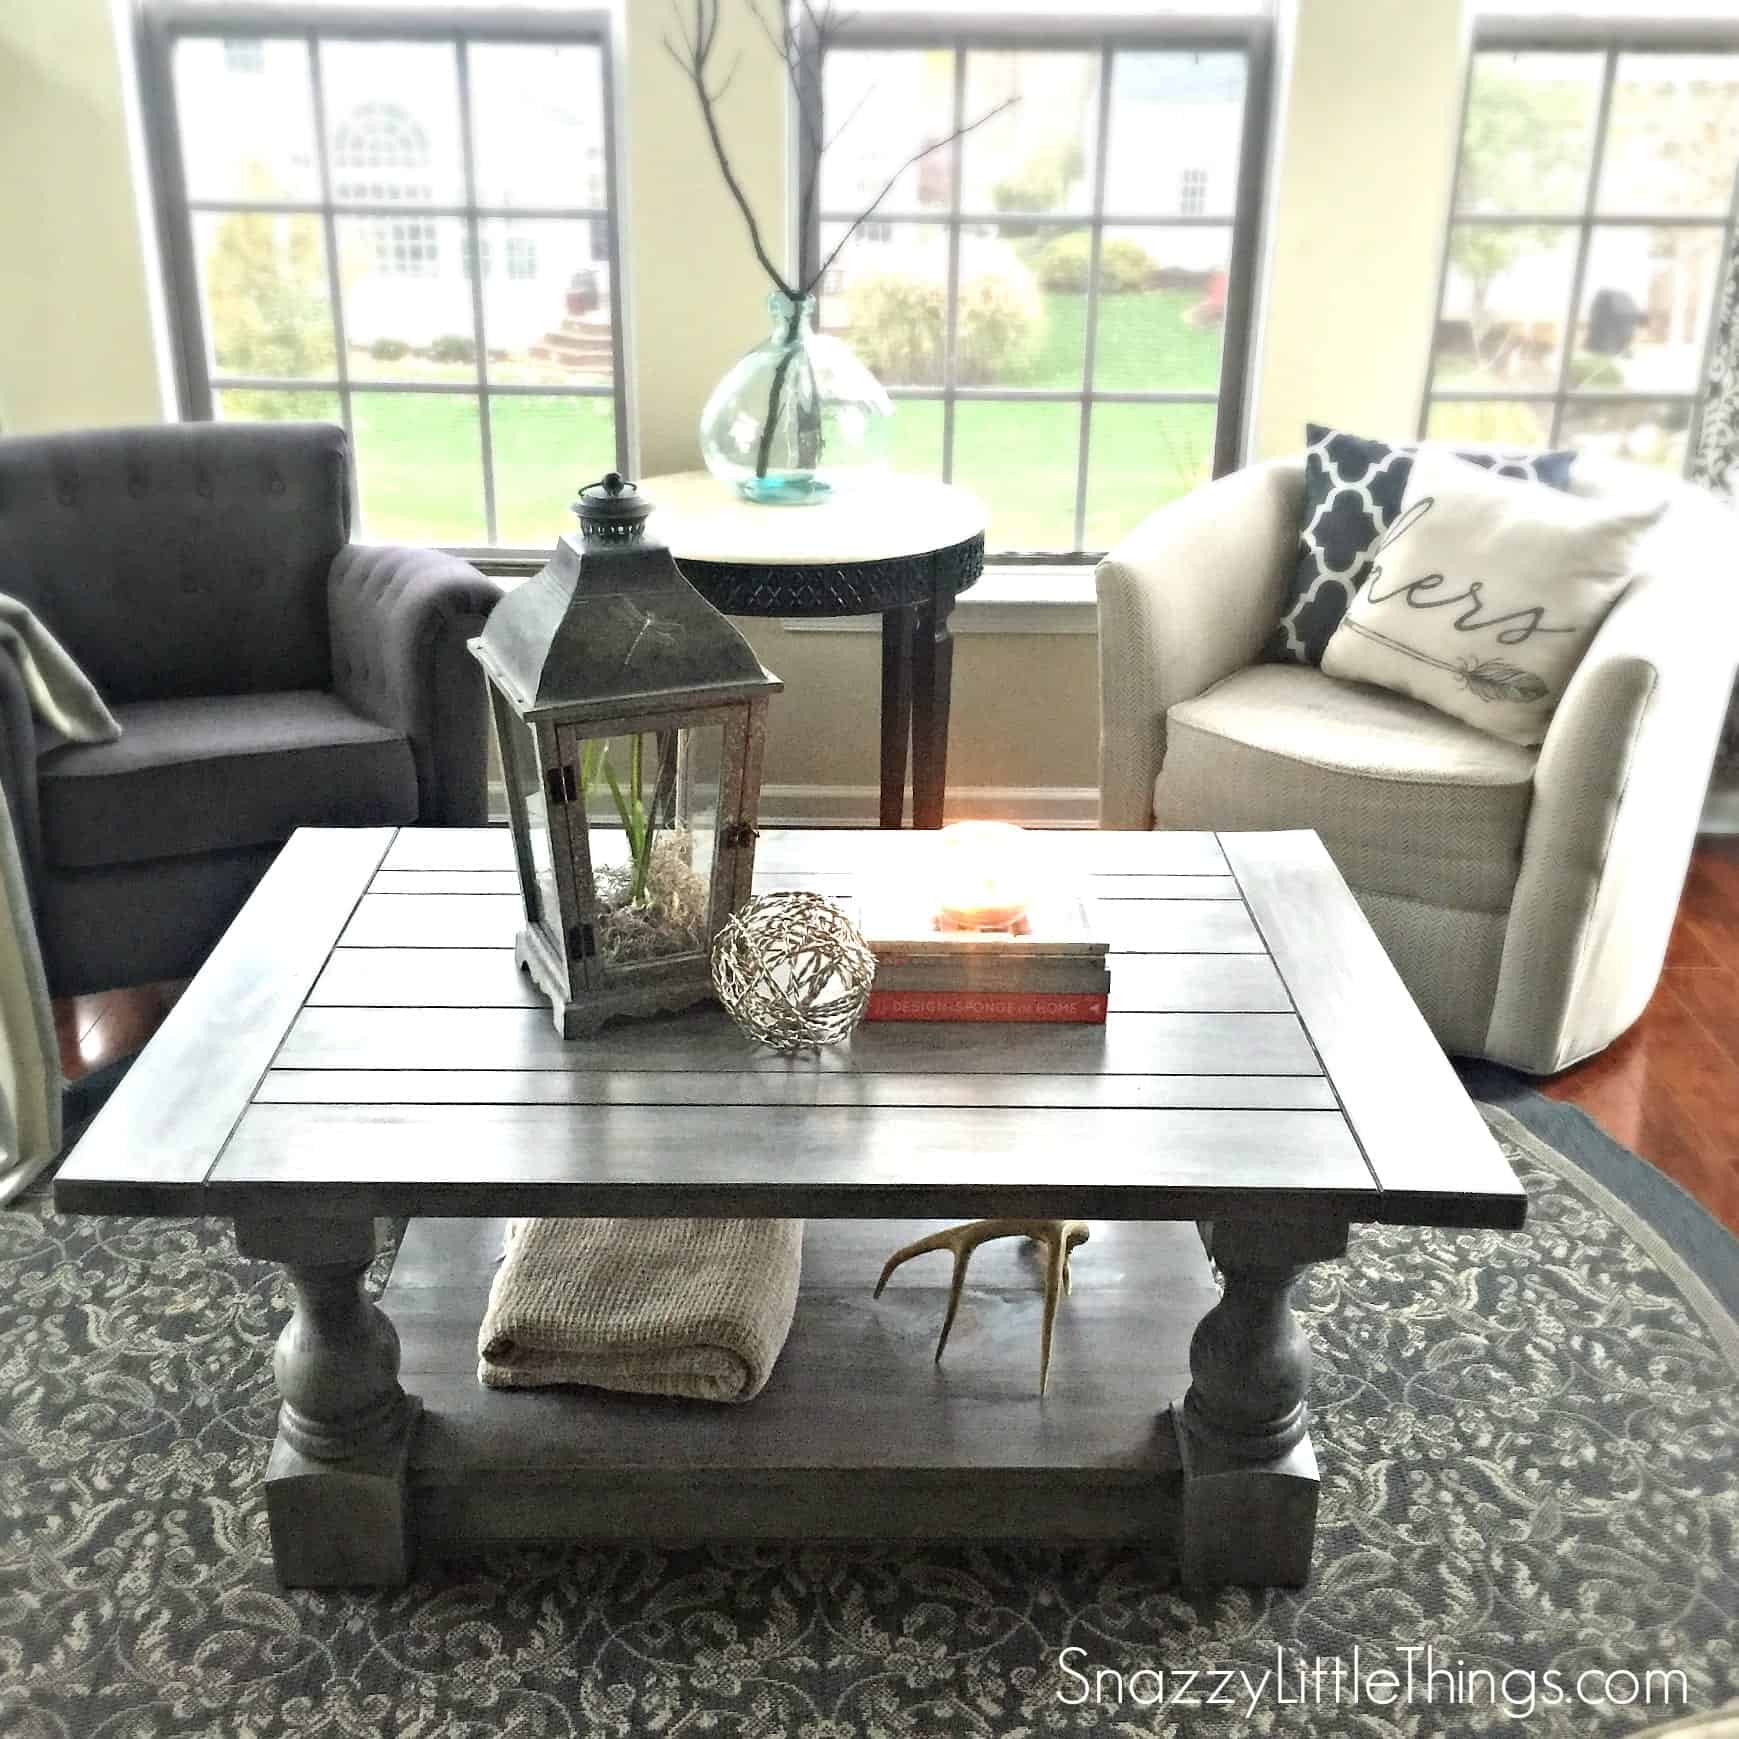
Your table turned out gorgeous. This weathered gray look, is by far my favorite! Great job! Thank you for sharing
Thank you Christina! It’s holding up perfectly, too. No chips so far and we use this table all the time. I appreciate your feedback!
We left the second coat on too long- what should we do? It’s now too light grey.
I was thinking of doing step two with dark walnut again. Help!
I’m known as the neighborhood stripper, due to the constant pieces in my garage being stripped, sanded or at some other stage of “refinishing”. I sell about 20-25 pieces a month and it take a lot of time. Can’t do it in the real cold weather, like now.
haha, that’s great, Kaaren! :)
I love this look so much. Question….if I am starting with store bought furniture do I sand first before starting the three step process? It is a bedroom set that my husband had in high school and I want to make it over for my son. Thanks!
Crystal, I replied via email, let me know if you received it. Thanks so much for taking the time to comment!
Hi there, I have the same question. I have furniture in a dark brown stain that is likely sealed with poly. What can I do to remove the poly, but not the underlying dark wood stain? And then start with the Sunbleached stain. Thanks, Angie
Wow – what a gorgeous finish! I’ve been looking for the “right” driftwood look, I’m so damn picky, lol. This is it. I’m starting with a cedar chest though, after sanding off the finish that was too dark. We’ve got it down to bare wood so I’m really hesitant about re-staining with the dark prior to the sun bleach…..Should I go a little lighter for the base, considering it’s going to look darker on this red-toned wood??
I had the same question about using this technique but with night stands that need to be repurposed so I will need to strip the stain that is currently on there. Would I use the same colors and technique after that? Or look for a lighter color also to start with? Thanks!
Where can you find the water based version of the stains? I was looking at Home Depot online but it only explains oil based.
I followed the first two steps and I feel like my makeup vanity turned out horrible, I was just wondering if someone had an idea of what I could do to make it look as beautiful as this picture? My colors came out in two shades dark and light, I didn’t get the other pretty color showed in the picture, I used both stains recommended.
Hollie, If your vanity already had a finish on it, that could be the problem. This tutorial is how to work with plain pine. Is that maybe what happened?
Thank you for this tutorial. I have been looking for almost a year for a way to make my own planking to redo the floor in my mfg home without spending a million dollars.
A cat lives with me and they can not tolerate the fumes from these products so I will do all of the finishing out in the garage and then install it as I would purchased flooring.
Can you suggest a low voc product that I can use as a final topcoat to seal the joints between the boards?
Thankyou,
Sharon
When I first saw this **perfect** driftwood finish last year, all kinds of (awful) things happened that kept me from actually doing this project…BUT:
Dark walnut done! Gack! it’s dark. OK, going in with the unbleached…..fingers crossed……
So I went over it with the unbleached and I’m thinking it looks lighter than your table. I like that yours looks darker. I’m wondering if the poly would darken it a bit, or maybe I should just add a little steel wool-vinegar to darken a bit, then poly….?
Jeanette,
This is the color I’ve been looking for for my kitchen cabinets ! They are oak cabinets. I’m wondering, if I sanded them down, if this process would work on them. I would actually like to use this process on the top cabinets and paint the lower cabinets a dark gray. What are your thoughts about this process for kitchen cabinets?
I absolutely love your style and your site. I love the clean lines, yet coziness of your home. It is everything I would love for mine!
Hi Karen! I emailed you directly about this, let me know that you received my reply!
I am revisiting this post to review everything before starting my floor project. I noticed that the close-up picture is a lot lighter than the pic of the entire table. I want the floor to be the lighter shade.
Which is the actual tone? Could I lighten it by putting on another coat of the lighter color if it is too dark?
Hi Sharon, if your floor isn’t new pine, I don’t recommend this tutorial. Please let me know. This tutorial was intended to show how we make new pine look weathered.
Hi Jeanette,
I am refinishing a kitchen table and it is not pine. If I sand off all the varnish to the bare wood will this work? I am not sure what kind of wood. It is one of the 90’s “orange wood” tables. Thanks!
I would test the underside of your table first, especially since my tutorial was focused more on how to stain new pine. When you’re applying stain overtop of stain, I would definitely sand it down to bare wood. However, be sure your table isn’t a wood laminate (not plastic, but a very thin layer of wood). You don’t want to sand through that laminate layer. I hope this help!
Hi Jeanette,
Love this coffee table and I am already a subscriber to your blog. would love to get the plan for it! Can you help me?
Am loving all your tips on refinishing furniture. keep up the great work and thank you for sharing
Joan
Hi Joan! Glad to hear from you thanks for your kind words. I think we have plans but I’m away from the office this weekend. I’ll search my archives and will let you know once I have them loaded in the subscriber library.
What is the difference in the look between the two approaches that you took in step 2? Thanks.
Hi Joni, I emailed you the two photos and will add them in the post as well.
Hi, This looks great. Can you email me the photos of the differences in step 2?
I love this color/look. Always wanted to obtain this look, but did not know how to achieve it. Thanks to you I can now create this look, and hope it will look fabulous like yours.
Hi Ivory! Thank you, it’s really an easy and extremely durable finish. We love this look.
I’m going to be making the dog crate like you made and wondering what size stain you think is enough for that project. Do I need the quart or would the pint do the trick? Also, on the dog crate post, the supply list states 1×4 wood for the table top but then the description says 1×6. Maybe the 1×4 is what you used for the pieces connecting the legs? If not, what size did you use to connect the legs? Thanks in advance! :)
I love this technique! After you apply the Sunbleached over the Dark Walnut do you leave it to dry for 24 hours then do the cross hatch?
Yes, wait for it to dry to add the final cross hatch touches. As I applied the crosshatch technique I dabbed it with a dry cloth to
soften the brush strokes. Once dry add a water based topcoat is all that it needs.This technique worked great for my high traffic
pieces and the finish still looks great! Good luck!
Great Jeanette! Thank you so much!
Jeanette; I’m so impressed with your achievement of “driftwood”! I have quite the undertaking ahead of me should this be the answer to my long search. We have one wall in our family room that is floor to ceiling covered in wood then two other walls that have this same wood about 1/3 of the way up. While the fireplace wall is old Chicago brick. There is a bathroom in this area that has this wood 1/3 up the wall as well and bifold doors…all has originally been stained dark walnut. Do you think if I follow your instructions using the V sun bleached wood stain over the walnut I could achieve the driftwood look I desire? Living in Florida it would truly be a beautiful look.
Thanks Mary-Louise. As you know this technique worked well on plain pine. But if your base is already a solid brown stain…I would TEST the sun bleached stain in an inconspicous corner to see if it will dry appropriately. This is typically not something I would recommend (stain over a stain) but rules like this can be broken if it works. Since you already have a stained base and this Varathane dries really fast, it just might work. Always test a spot first, especially for techniques like this.
Jeanette,Thank you for your response, I will follow your suggestions and cross my fingers crossed.
Hello,
This post is very informative and your grey table design is very beautiful. thanks for shearing
Hi. I started a nightstand project- so far so good. Got the drawers done and I really like how they came out.
I used the walnut stain like you suggested and it came out grey (which is what I wanted). At the store, I noticed they have grey stain- what would happened if I used a grey stain with the sunbleached stain over the grey stain? Also, on your special effect tip, is there a video on this step because I don’t quite understand it even though it’s explained and all. (novice)
Hi Nicole, I emailed you, I will try to o a video for you to explain the process a bit better :)
Hi Jeanette,
If doing the 3 step driftwood to refinish kitchen cabinets, would you recommend more of a gloss poly vs matte poly to make cleaning the cabinets easier? Also, any update on video for hatching process?
Thanks,
Nicole
Hello. I am redoing my headboard and bureau to look like the drift wood look. For my headboard I’m using new pine planks but my bureau I’ve sanded down. It’s not pine but it’s a light hardwood. Not quite sure what. I’m concerned it won’t come out looking like drift wood. Any recommendations I should consider? That I you for your time. I absolutely love your table. Also does the brush need to be polyester bristles? Can I use a foam brush?
I would test an inconspicuous part of the bureau — my tutorial is based on making new pine look old. The underside maybe? If it doesn’t match completely that may not be terrible since “matchy” furniture isn’t popular anymore. I wouldn’t use a foam brush since it can create a solid look so try to stick to a brush with more natural bristles.
I am trying to repurpose the color of my oak kitchen table. wondering, if I sanded it down to the bare, if this process would work on them. I want the oak table that has a dark finish on it now to be light driftwood style. What are your thoughts about this process for kitchen table?
I absolutely love your style and your site. It is everything I would love for mine. Thanks!
Hi Jessica,
Oak is a bit different so I would test your technique on the inside of one of your less-visible / less used cabients. That’s always what I recommend for any project is to find an inconspicuous spot. I *think* it could work but will need a bit of practice first so you’re comfortable doing the same on the rest of your cabinets. Good luck!
Hey there! I am wondering about the last step- the matte. It looks like that gives the shine to your table. The pieces I am working on will be indoors only but I don’t want the shine. Is that ok to leave that step out? What happens over time to an unsealed piece? Thanks!
If you spill on an unsealed piece, it can leave a permanent mark and you’d have to start the finish over again. I would test out different matte polys to see which one gives you the final finish you want.
I used your directions to redo a Pottery Barn pedestal table. I love the results. I’d love to share a photo but I can’t figure out how.
Ellen
Thanks Ellen! That’s great news! Feel free to email it to me at [email protected] and if you’re ok with it I’d love to share a before and after on this post!
I have had two Pine tables from Ikea for 35 years and I would like to try the Driftwood look on them. Do I need to completely send them down or would the dark walnut stain work after a light sand? It is a fairly yellow pine by now.
Also the same question for our living room table which is a mission style but with a darker Walnut like color.