Milk Paint Tips for Beginners {Video}
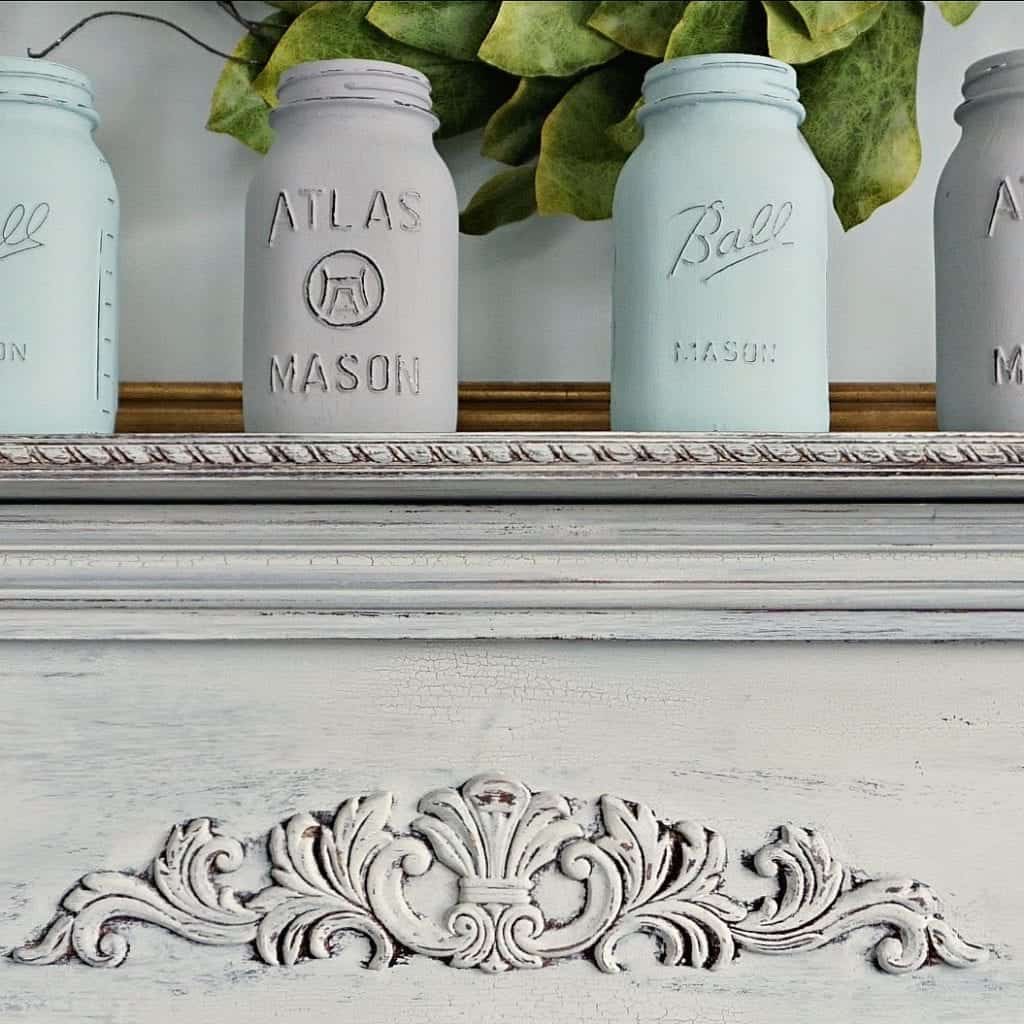
If you ever want to create an old-world chippy paint effect, Miss Mustard Seeds Milk Paint is my favorite to achieve this look.
Learning how to apply milk paint takes practice. I personally struggled with using her paints and I wanted to know more. But once I mastered it, I LOVED the results. Several years ago I had the honor of attending a hands-on workshop with Marian, the owner of Miss Mustard Seeds. I took diligent notes as Marian spoke, so I’m sharing them with you today.
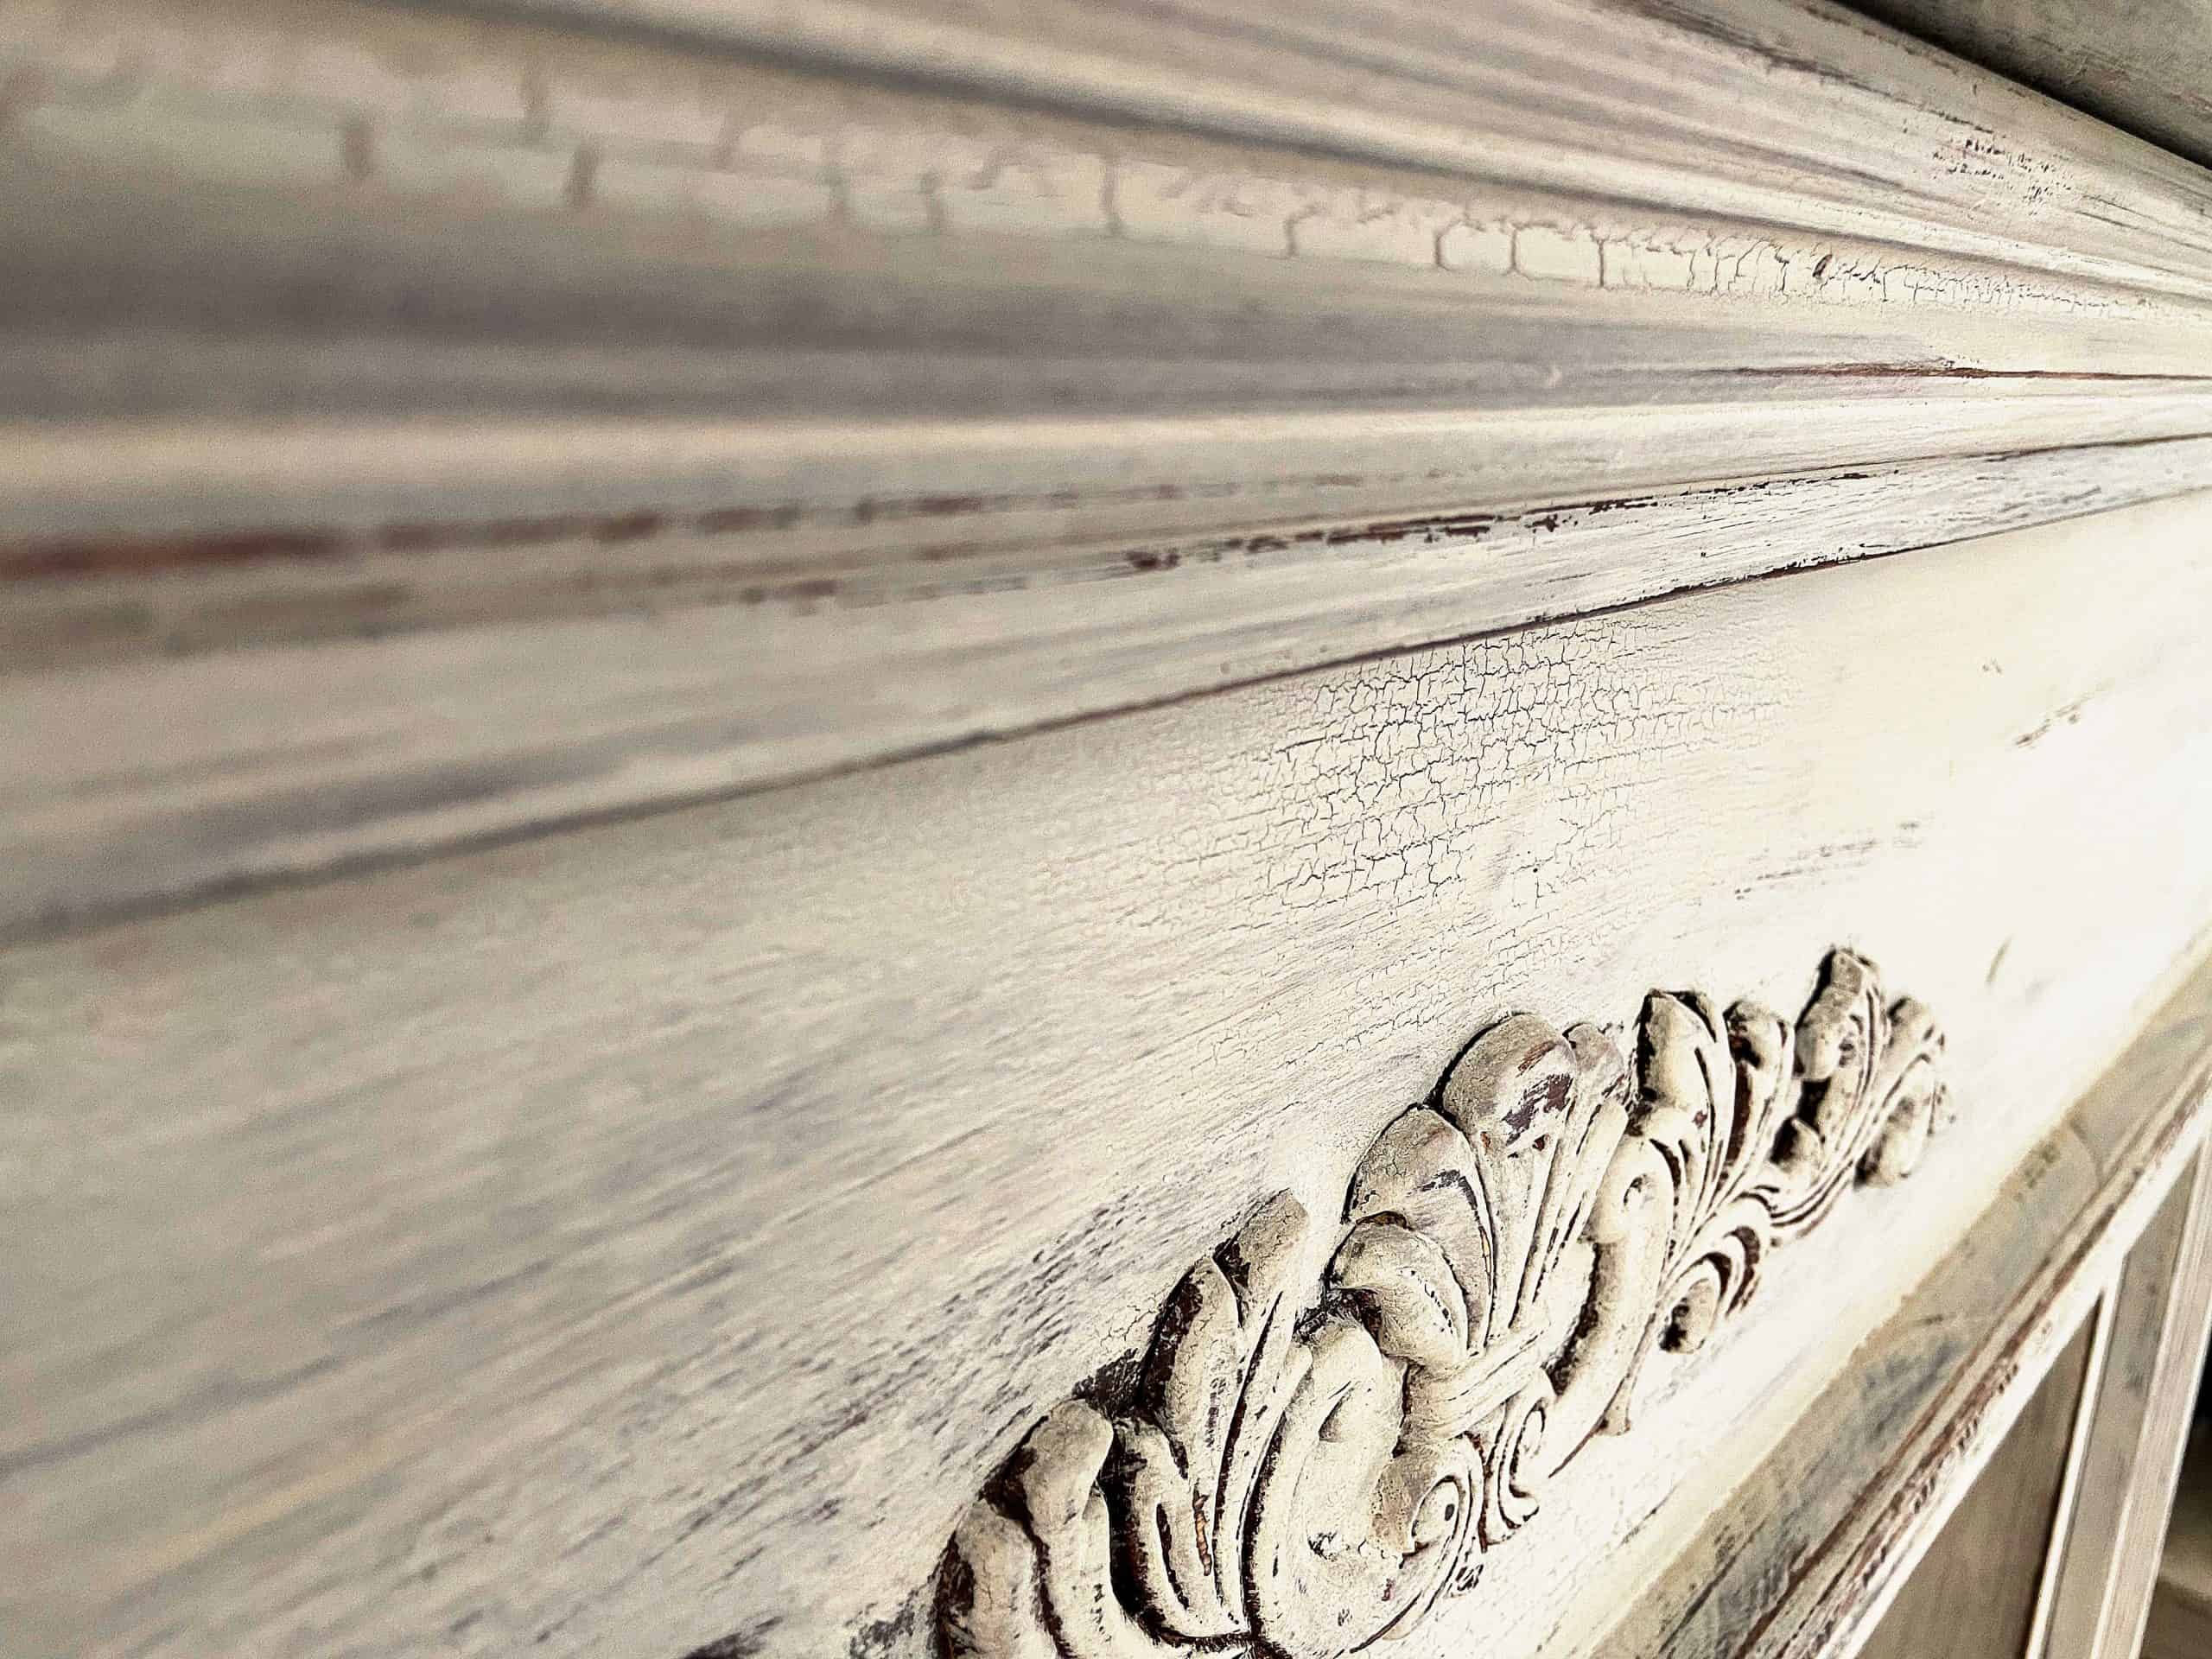
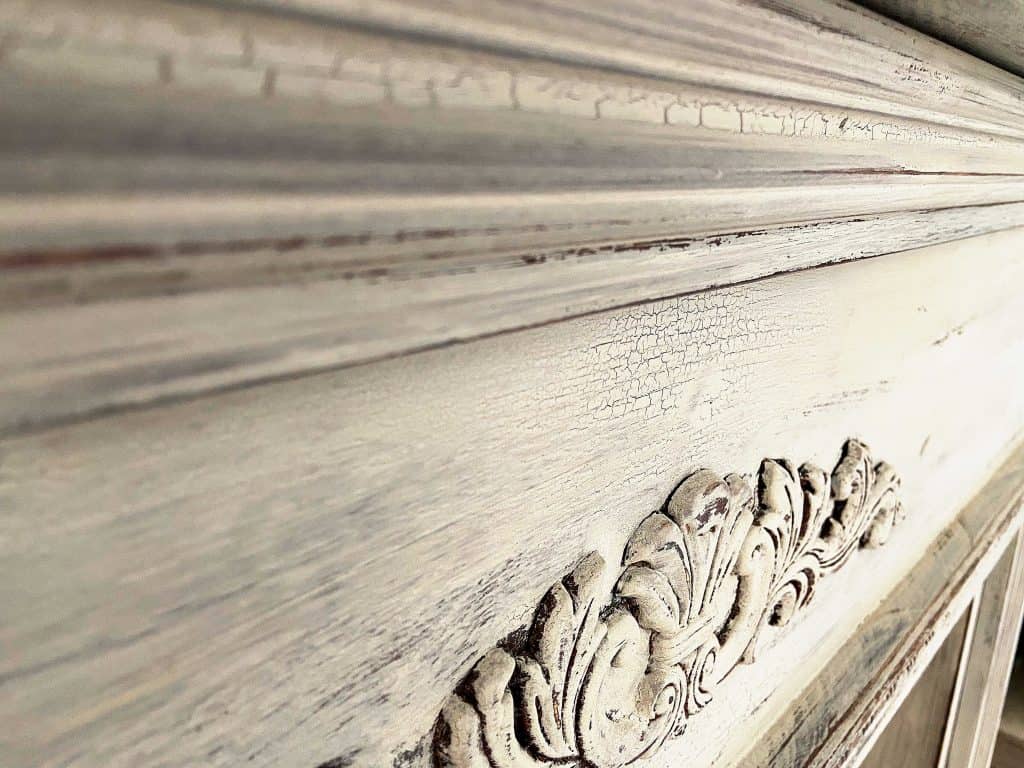
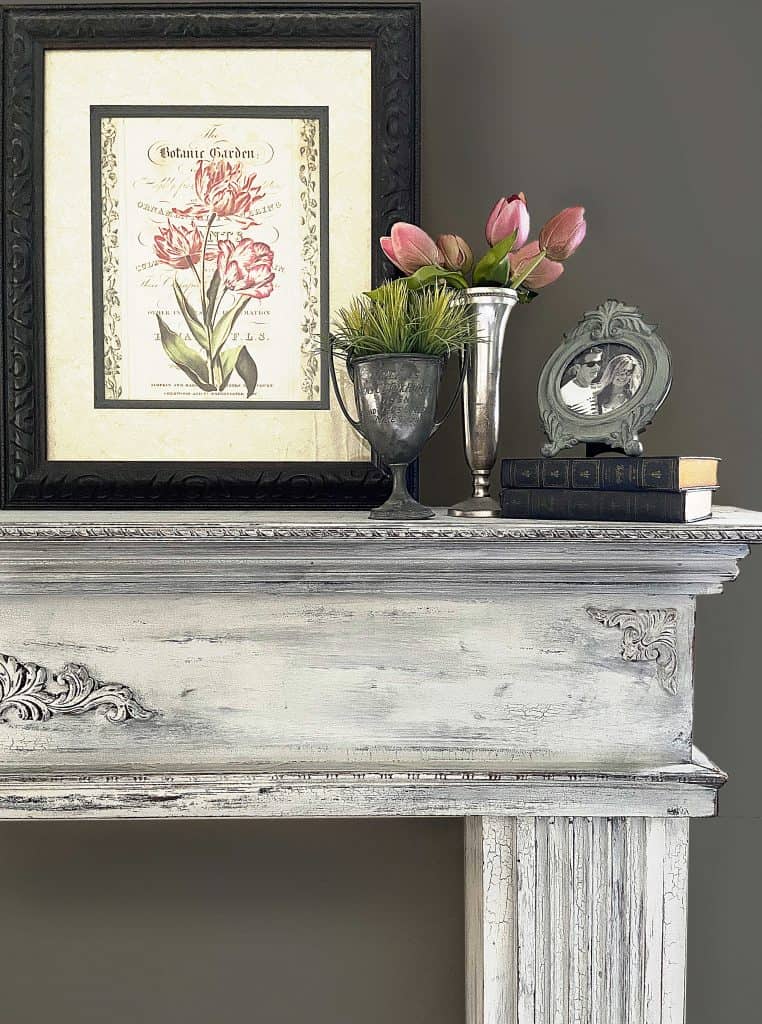
Her class helped me achieve the final finish of new (made to look old) wedding “altar” which was a vintage-looking mantel that we built made to look like an architectural salvage item.

“Miss Mustard Seed Milk Paint – Tips & Tricks”
MMS works great on raw wood. This will absorb into the raw wood like a stain. Made with unique, natural ingredients. Achieves the shabby chic look without a lot of distressing, but works especially well on a pre-painted surface. To achieve the chippy look there are a few techniques which I will explain below.
Other things to note about MMS paint:
- It’s unpredictable
- Must be willing to go with whatever the outcome might be. This is NOT the paint to use if you want to control the outcomes.
- If you don’t want the chippy look add a bonding agent for a smoother finish
- Works well on Ikea pieces
- Would be hard to strip this paint, but you can certainly paint over it later.
Milk Paint Mixing Formula:
- Ratio –add water until it’s watery and the paint flows well. If it’s lumpy — then it’s too thick. Watery is good!
- Curio – this is a a dark brown paint MMS color that can act as a stain on plain wood.
- Distress / beat up the board to add to it’s distressed finish
- Ok to use a sprayer but strain it first, milk paint tends to be grainy. Grainy is normal and is easily sanded off.
Top Coats:
Can use any top coat that you love over Milk Paint…combine it with the combination of products you like. Adding a matte poly over top will stop the chipping from continuing (if that’s the look that you’re going for). Although you do NOT want to apply an oil based top coat on white which can yellow the piece.
3 different waxes
- Furniture Wax: high concentration of bees wax. Apply with a cloth on your fingertip. Don’t use too much. think of it as a lotion, not a nailpolish and work it into the grain of the wood. A matte top coat would be okay.
- Antiquing Wax – most waxes are meant to be used as a stain and a wax in one. Not this wax! Her waxes go on much thinner and lighter.
- White Wax – STENCILING WITH WHITE WAX! it lightens a color looks faded.
Tip! You can mix the white and antiquing wax together, and you get a grey wax. Great for creating that Restoration Hardware look on natural wood pieces. Mix with white wax layers to get it just right.
Antiquing
Aging occurs naturally in grooves, corners of a furniture piece. You can simulate the “antiquing” effect by applying a product to the low point of the piece, that means the grooves or recesses or the dings, wiping it away from the high points. Antiquing will mute / darken the color of the base paint.
Distressing
The act of removing paint from the high points of a piece. Simulating the wear that happens as people used the piece over time. The paint has worn away. People bump the corners so this is naturally a place where distressing would occur.
The “Resist” Technique
A substance that is applied prior to paint that prevents the paint from sticking to the surface creates a “resist”. This encourages chipping. Apply something that doesn’t allow the paint to stick. Products that create the resist technique are:
- Wax Pucks – a crayon type of product for the resist technique.
- Hemp Oil. Other uses –> Use before a second coat to give an ultra chippy look. (OR after you apply it as a finish instead of wax. Apply then use a wet sanding technique fine grit sandpaper for a super smooth finish. Or use it to Revive old wood. Safe to use on food prep surfaces, like butcher block). Good to use if you’re showing your work outside instead of wax, since wax can get sticky and melt. Using hemp oil deepens the color of the base paint.
- Vaseline – apply in various places where you want the paint to chip / resist.
- Pam cooking spray
<- Video: Using a Hairdryer to Achieve a Chippy Effect
This is so cool to watch. By applying heat or letting a piece dry in the hot sunlight will encourage chipping. I used a hairdryer on my mantel, as seen in this video.
Brushes
- Wax brush – don’t use on a large area….use a cloth to apply. She buffs with the brush she loads a corner of the brush only. She cleans off wax and hemp oil from the brushes with Dawn Soap.
- To clean the paint, MMS sells a brush soap. It works well for paint but not waxes.
Layers, and mixing…
She talked about layers. Lots and lots of layers of paint help achieve that old world finish. Use chalk paint as a base under the milk paint if you want a variety of colors to show through.
White: White is a hard color to work with since it goes on so thin, it may require several layers of paint if using only white paint.
Vary distressing by using MMS Bonding Agent in random places on a piece where you know you don’t want distressing or chipping to occur.
In our case, we like staining the first layer with a dark stain. This is what gives us the final result.
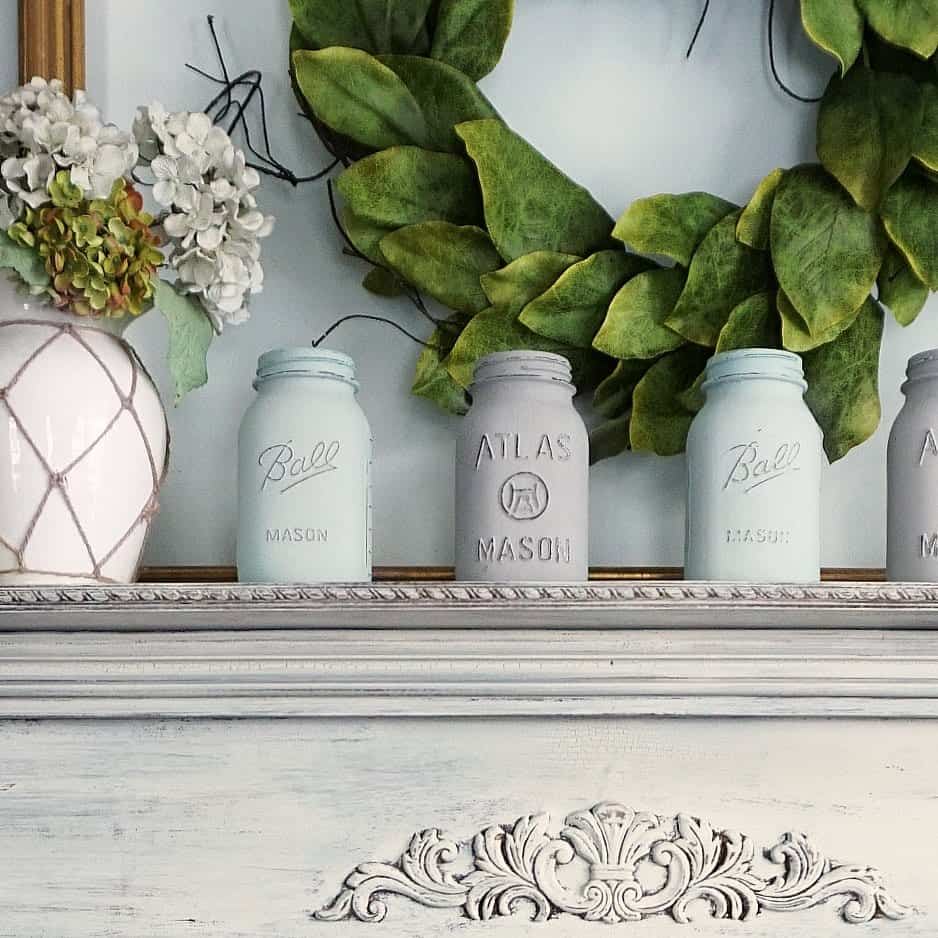
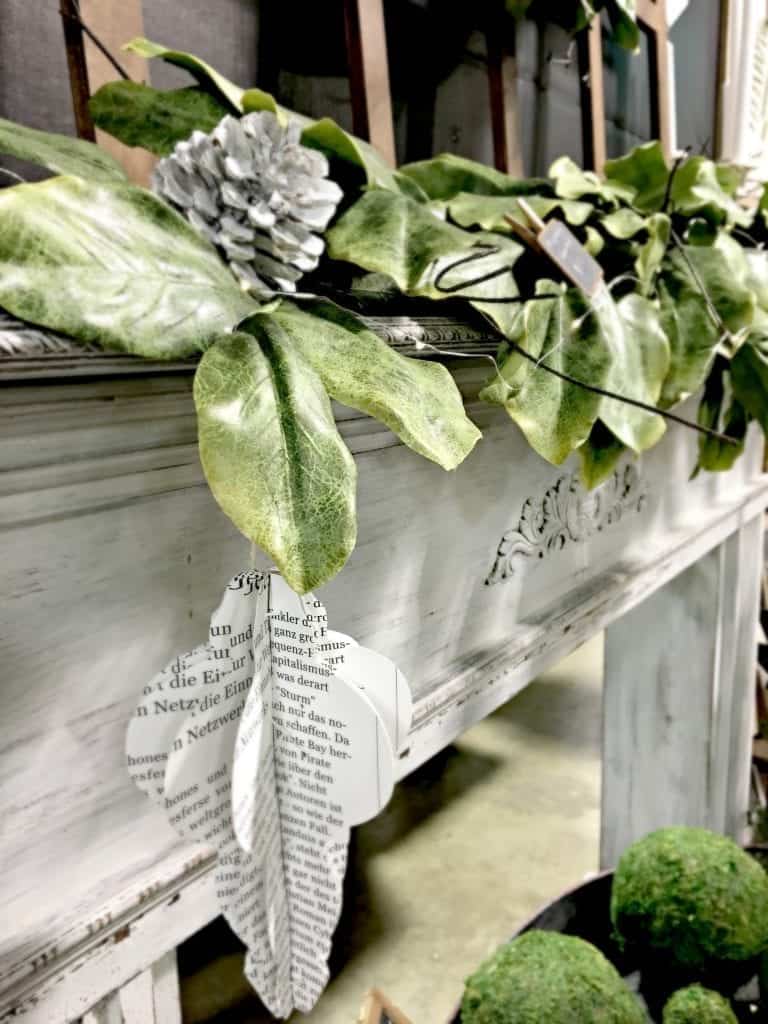
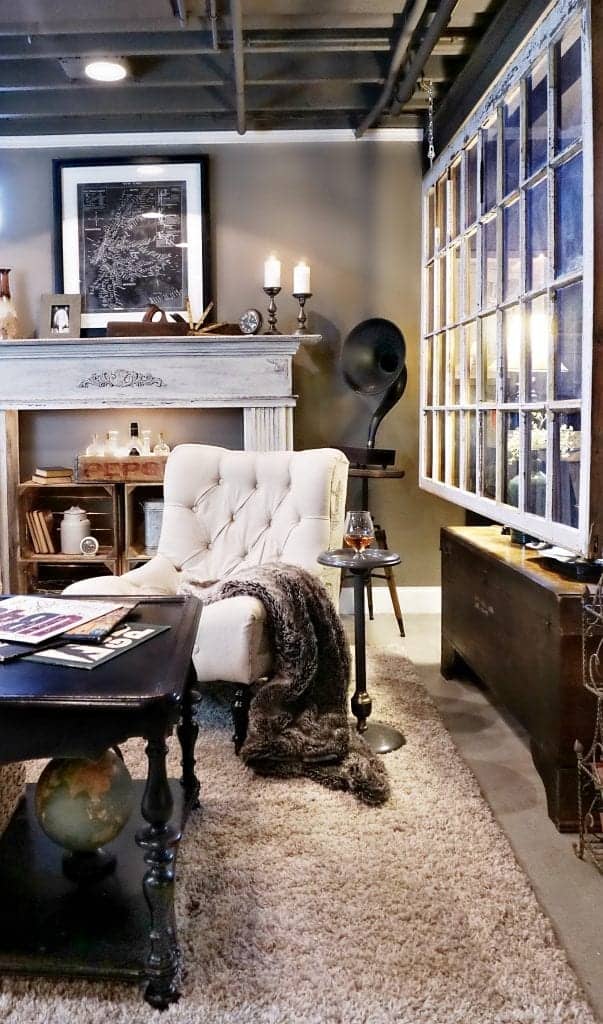
By popular demand, we build these for local clients
Featured in Country Living, Family Handyman
Our love for architectural salvage will never change. So if we can’t find it we make it ourselves. The the chippy old window and vintage mantel caught the eye of a few publications and has be featured a few times.
Did I remove any doubt that even a beginner can achieve greatness using Miss Mustard Seed Milk Paint? My mantel came out perfectly, and I even fall into the “control freak” category with my paint projects, but I’m learning to let that go. I’m so glad I did, especially on this project. You can too with a little practice. ;-)
All the best…and good luck!

Hello friend!
Just checking in with you! Love all the tips and ideas….Marion is amazing!
Happy day!
karianne
KariAnne – thanks for stopping by, lovely lady. So excited that you did! :)
Looks great, picked up 2 bags of MMSMP last year at the beach and can’t wait to try it. I like the idea of using the white wax as a stencil!
Me too, I haven’t tried it yet but I really want to get back into using her paints. Loved the outcome, kind of like a science experiment!
Thanks for the tips! I am going to try this in the fall. I am saving all your tips!!!
Great I’m glad it helped. Kind of helps to get direct coaching from Miss Mustard Seed herself, so I was much more confident after her class. Good luck!
Beautiful mantel! Will there be a tutorial coming?
Hi Kate, thank you! Maybe someday, this is sold in our shop and we are in our busy season…so once things slow down we will. My husband winged it this first build and he said he perfected his technique since then. Thanks for stopping by to comment!