wallpaper stairwell feature wall
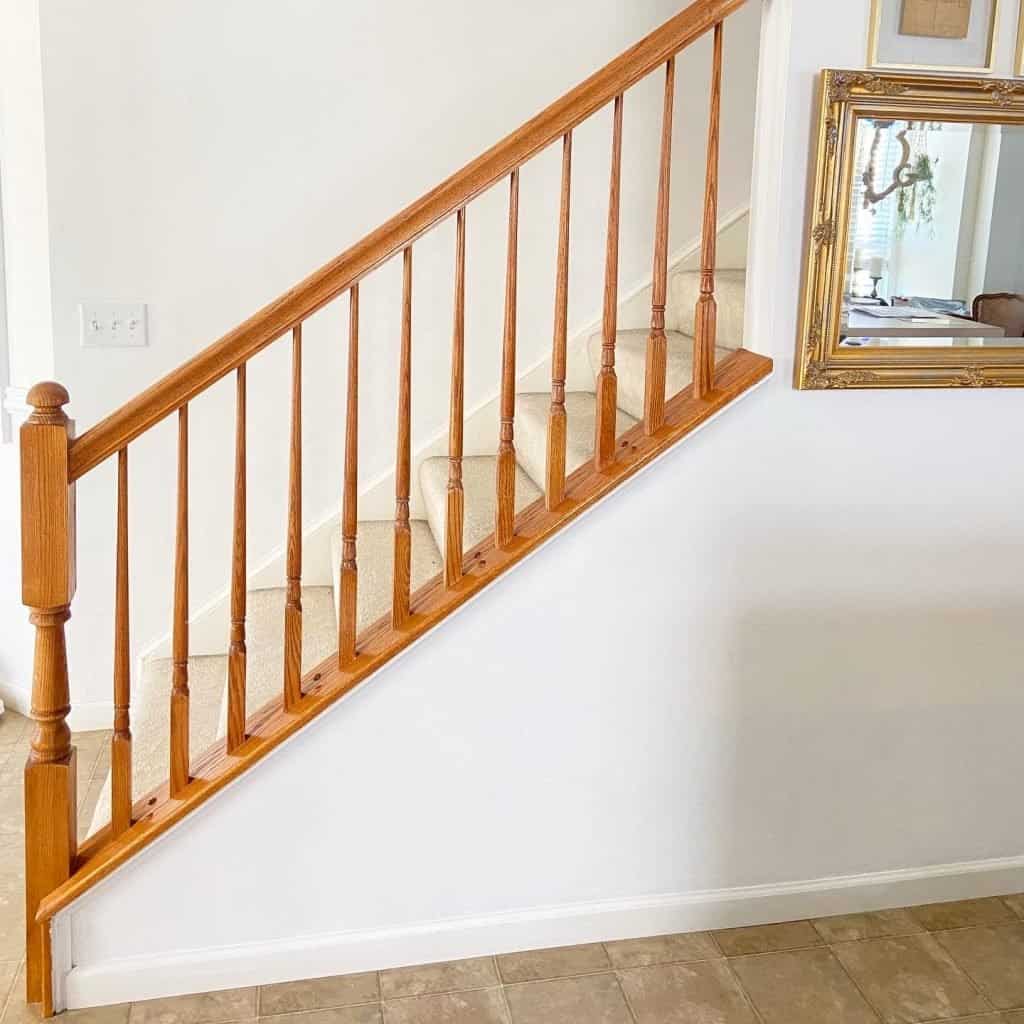
Stairwell walls can be tricky to upgrade since they consist of awkward angles, tall ceilings and are often a heavy traffic area (especially in houses with kids). In our previous house we added wainscoting and a gallery wall up the stairwell. This approach is always beautiful, but in our current fixer upper we wanted to try something different.
Our adjacent kitchen wall (in the picture) is currently a mirror gallery wall, so having two gallery walls would be way too busy for this space.
So how do I enhance a boring stairwell wall and add texture and color without creating another gallery wall?
Wallpaper, of course!
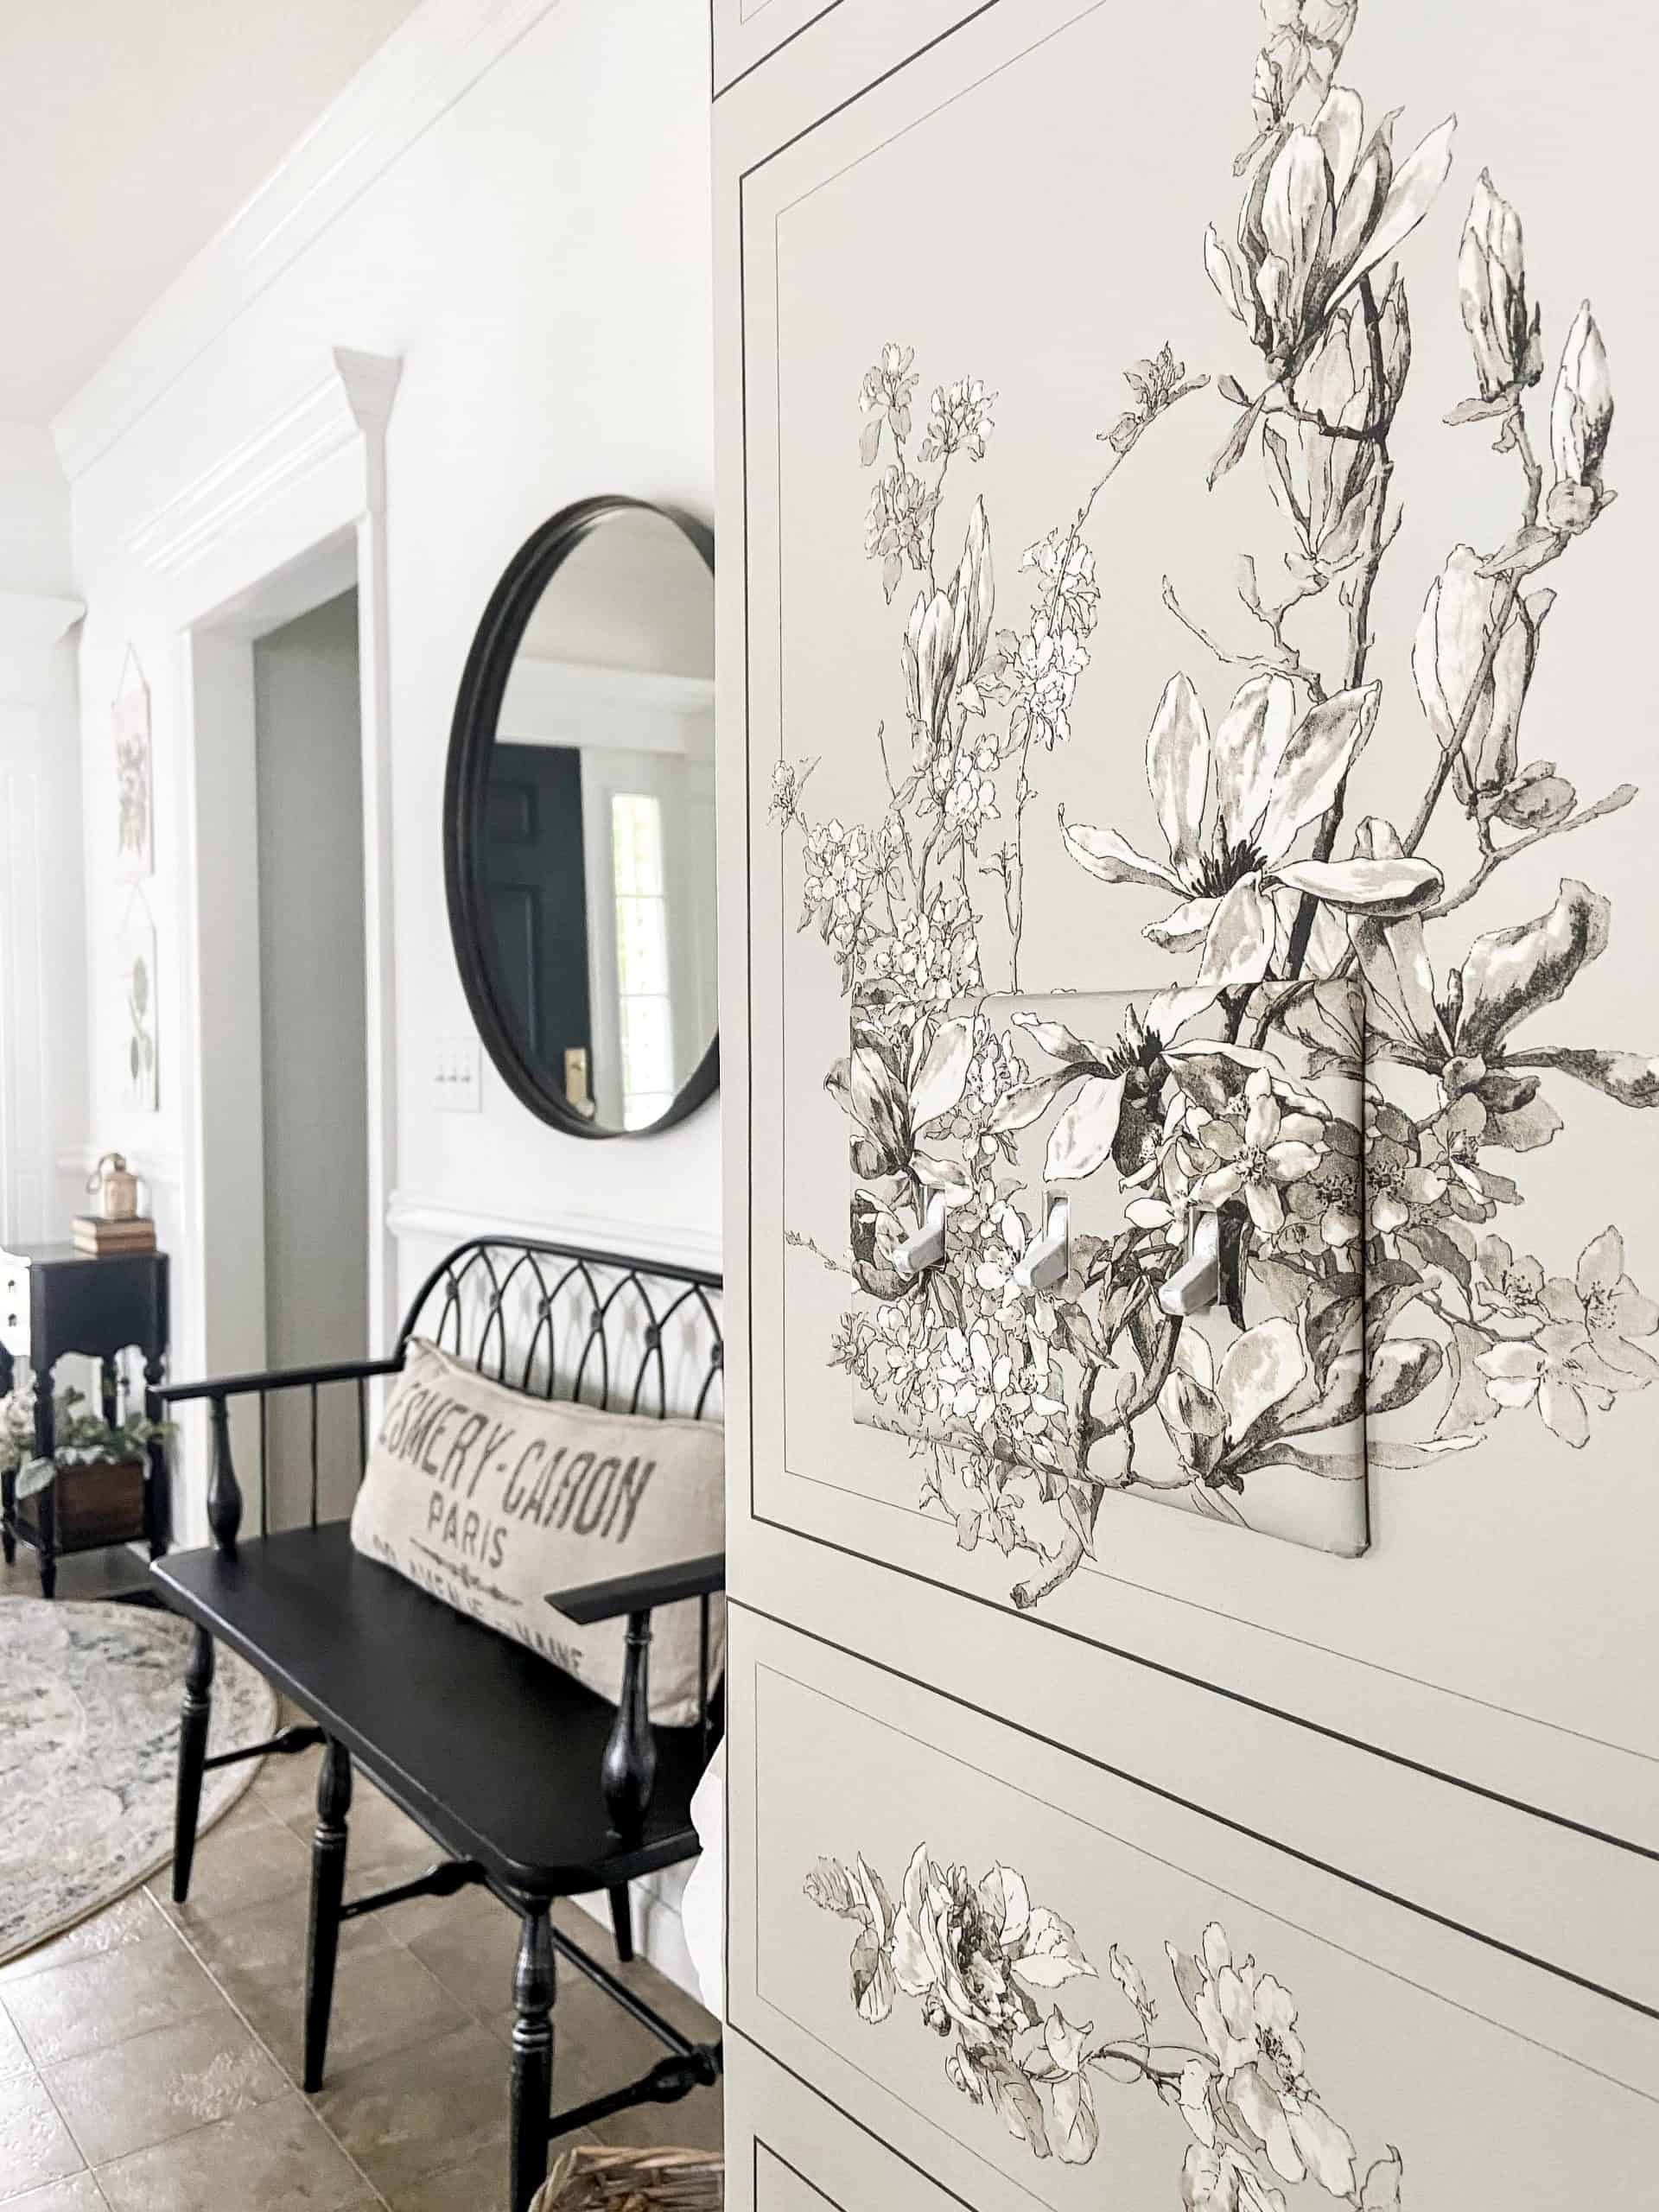
Wallpaper has made a huge comeback, and there are so many beautiful vintage wallpaper patterns with a variety of installation options. After doing some research I finally settled on a pattern that I LOVE!
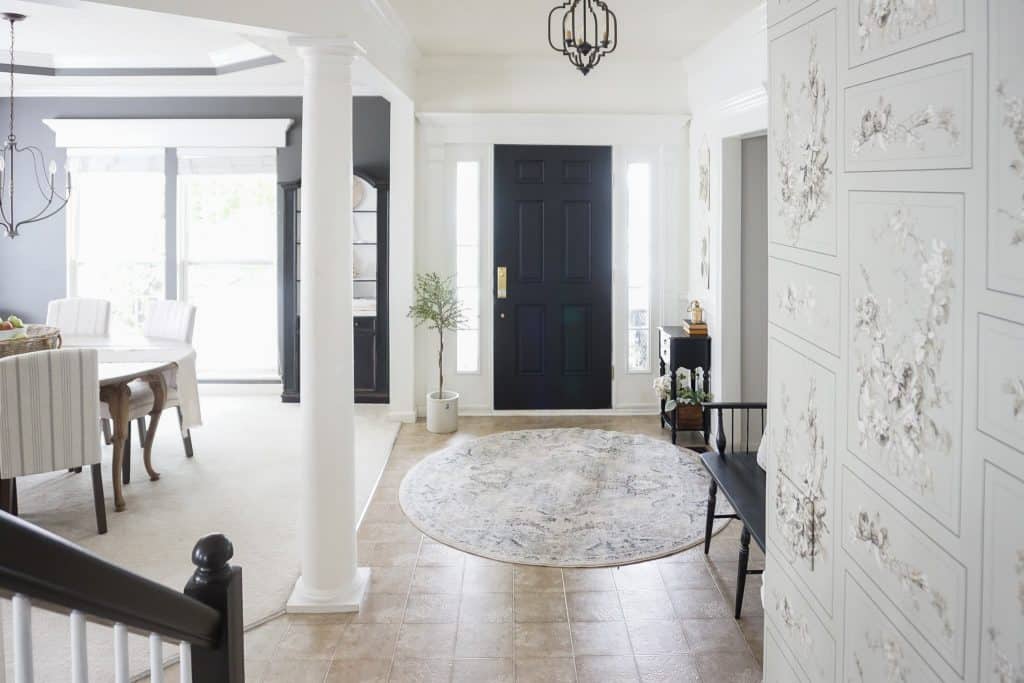

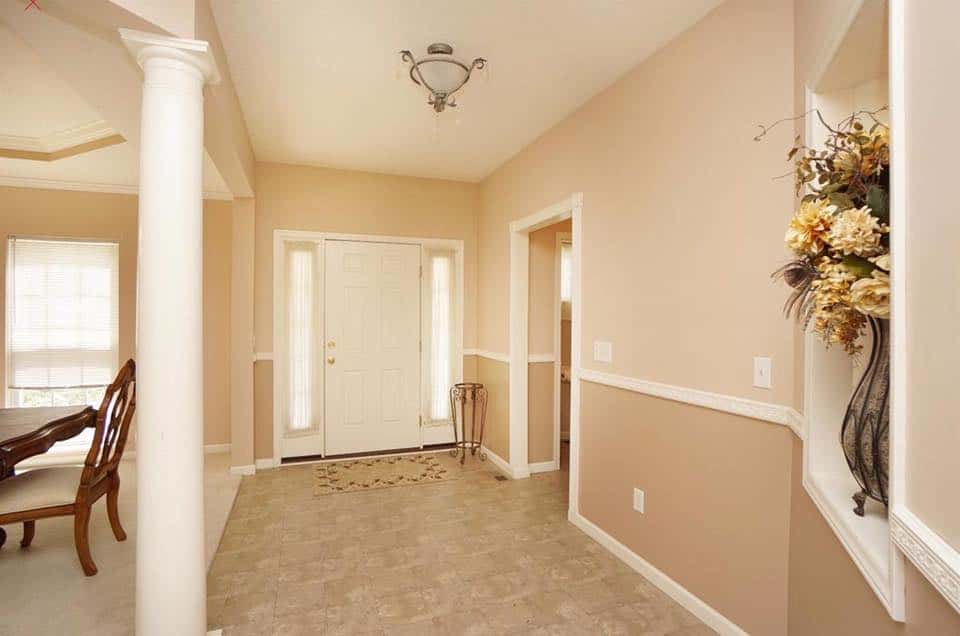
Some things to know about the stairwell wall project and “The Magnolia” wallpaper from Magnolia Home:
- “The Magnolia” wallpaper is NOT peel and stick (it’s pre-pasted!)
- You activate the adhesive by spraying it with water
- No dipping the entire sheet, and no soggy paper. If we found a dry spot we simply sprayed that portion of the wallpaper or wall.
- We chose the sage green to add some color
- Working time: about 5-7 minutes after it’s placed on the wall
- To extend the working time, we sprayed the wall if needed
- Seams are virtually invisible!
- Modern classic style that we love
- How high did we hang the wallpaper? At the top of the second floor hand rail. We don’t have a scaffolding – so lining it up with the handrail seems like the natural line. We will top it off with a pretty chair rail once finished. Admittedly we are still working on this (Covid hit me hard) so once I get my energy back I’ll finish the upstairs portion of the stairway makeover.
I have not tried peel-and-stick wallpaper (yet!) but I’ll save that type of project for another room. It didn’t feel like the right application in a busy stairway. I opted for a more traditional wallpaper and pre-pasted seems much “sturdier” if that makes sense.
How to Install Pre-Pasted Wallpaper
Pre-Pasted Wallpaper Supplies
What supplies do you need for pre-pasted wallpaper? Here is our list:
- An L Square
- A pencil
- A large level
- Utility knife with extra blades
- Spray Bottle with water
- Plastic to lay wallpaper down and measure
- Rubber Roller
- Smoothing Squeegee
Wallpaper Installation
- Plumb Line: Using a level, create a vertical plumb line. If an exterior or interior corner is level, many people choose to start there. In our case we chose the outside corner at the bottom of our stairs and drew a line that was the exact width of our wallpaper.
- Cut the Wallpaper: Using an L square and a very sharp utility knife, cut the wallpaper giving yourself a few inches extra at the top and bottom.
- Activate the Adhesive: Flip the wallpaper over (adhesive side up) and spray the adhesive. I used my hands to spread the water evenly over the back.
- Tip! Fold the paper from the bottom up (no creases) making it easier to to carry the wallpaper. Be prepared to hang the wallpaper from the top-down. Don’t try to carry an extremely long piece, lightly folding it this way will make the project easier.
- Apply Wallpaper to Wall: With the topside of the wallpaper in hand, affix the wallpaper at the top of your wall. Using your plumb line as the guide, gently allow the rest of the paper to unfold to the floor, and align from the top-down with your plumb line. Extend your working time by having the spray bottle handy and spraying the wall if needed. Use your hands to smooth out any obvious bubbles. (This step took about 5 minutes for us).
- Squeegee to Remove Air Pockets: Around the 5 minute mark, glide your squeegee across the paper to remove any bubbles or excess adhesive. Ensure your squeegee has no nicks or it could scratch or tear your paper. Do this in combination with Step 6.
- Use a Rubber Roller: This step finished your wallpaper application. Roll the wallpaper to smooth out any bubbles, bumps and to ensure your wallpaper edges are adhered to the wall. Do this in combination with Step 5.
- Cut the Excess: Using a metal straight edge, we cut the excess using very sharp utility knives. We changed the blades often to ensure they didn’t drag and rip the wet paper.
- Measure & Cut Your Next Sheet: Now that your first sheet is up, measure the length for your next sheet. Random patterns mean you can simply measure and cut your sheet since matching patterns is not necessary with this particular wallpaper. This means less waste and is so much easier.
- NOTE ABOUT MATCHING PATTERNS: if you prefer your pattern to line up (like ours) you will need to hold up your sheet and line up the patterns using a level. The small boxes on this particular pattern line up across our wall. More waste is the result when you do this.
Wallpaper Removal: I know many people dread removing wallpaper (removing wallpaper from drywall is much easier than plaster walls). I’ve done this 3 times in 3 houses using a bucket of water mixed with Downy Fabric Softener along with a steam machine and a scraper. More on that in a future post – (let’s not think about that right now!)
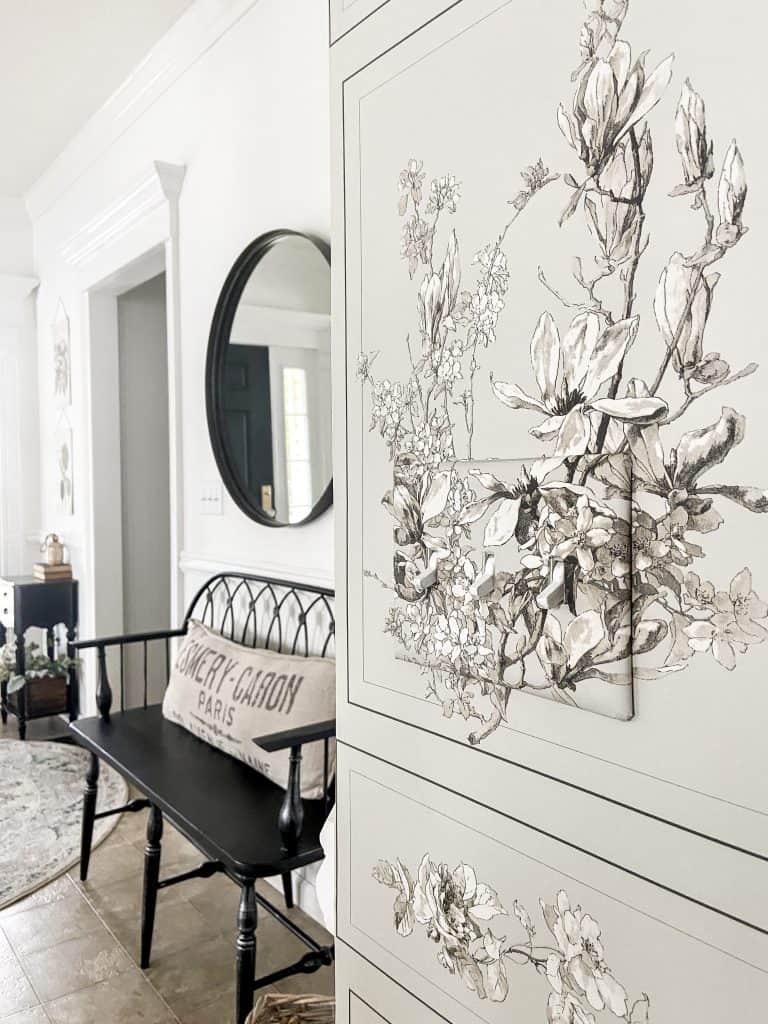
Another way to upgrade your stairwell is to paint railings. With the stair railing transformation, choosing the wallpaper became so much easier. Painting stair railings which has made a huge difference our foyer aesthetic. I have a lot of tips for painting banisters making this go much faster (artist brushes, folks! No painters’ tape needed!)
Shop All Products for Our Stairwell Wall Makeover
I may add some pretty photos or small mirrors up the stairs. But for now I’m keeping it pretty simple. We are so happy with our stairwell wall makeover, but expect more changes to this space and our upstairs landing. Stay tuned!



Wow!! What a difference!! Love it❤️
Thanks Paula, it’s a labor of love. :) Feels more like “us” now.
Can you use the wallpaper on knockdown texture walls?