Upstairs Full Bath
Mark and I have hit a major milestone. Every single room in our home has now been upgraded in one small way or another. It’s taken us 6 years of blogging to be able to say this. So finally, the room makeover that I have procrastinated the longest has finally hit our radar: the upstairs kids’ bathroom.
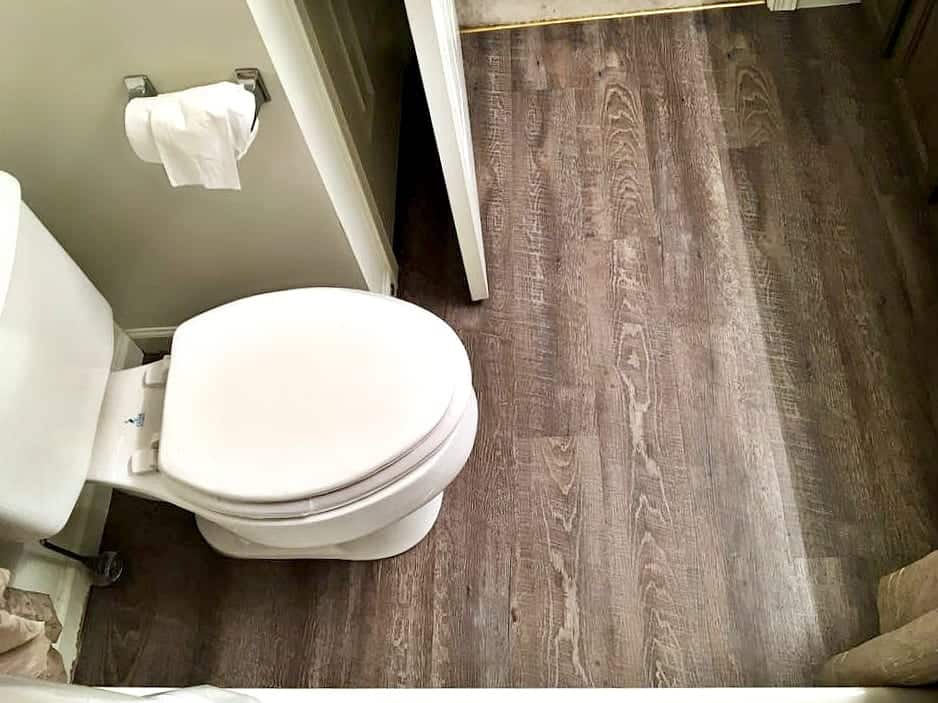
This simple flooring project is high-impact, extremely inexpensive, and only took 4-5 hours. It’s really a project that anyone can do (and the bonus…you can do it without power tools). We don’t want to risk over-improving our house and not seeing a return on investment should we ever sell. In the name of being budget conscious but still wanting a higher- end look for the floor, we chose self-adhesive vinyl plank flooring for the kids’ bathroom. I’m SO impressed with how the vinyl planks look like real wood.
Wood-Look Vinyl Plank Flooring
The main ingredients for our 2 full bath upgrades:
- Armstrong Vinyl Plank Flooring (peel & stick) – a new purchase, 2 boxes for $90
- Olympic Paint in “Grey Ghost” (leftover paint in our stash)
- Decor – existing items from our stash
On a side note: In addition to updating our powder room (if you missed that post, you can check it out here), our master bath was also updated using these same materials. I’ll share the master bath update in a future post.
Let’s Talk About the “Before”
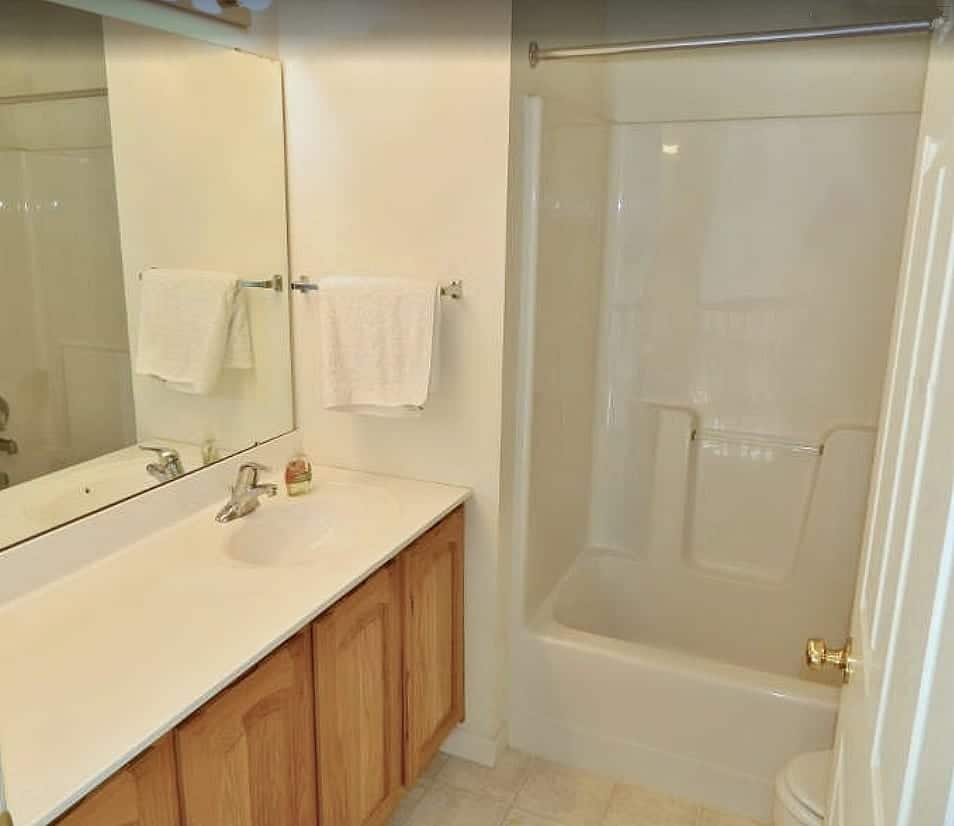
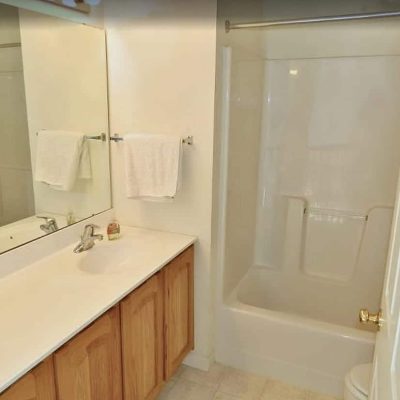
Once again, you are seeing a never-before-seen part of our house. Life happens. Our budget was spent elsewhere and between work, volleyball tournaments and twice daily trips to school I found I could never get around to this space. I painted the vanity about 10 years ago with the intentions of transforming it into a cute kids’ bathroom. Before I knew it, our toddler bathtime ritual eventually evolved into a science lab where experiments with cosmetics, face masks and nail polish happened.
Then, my babies became young adults.
The bathroom was utilitarian to say the least, but it did a great job of getting the kids clean for 14 years.
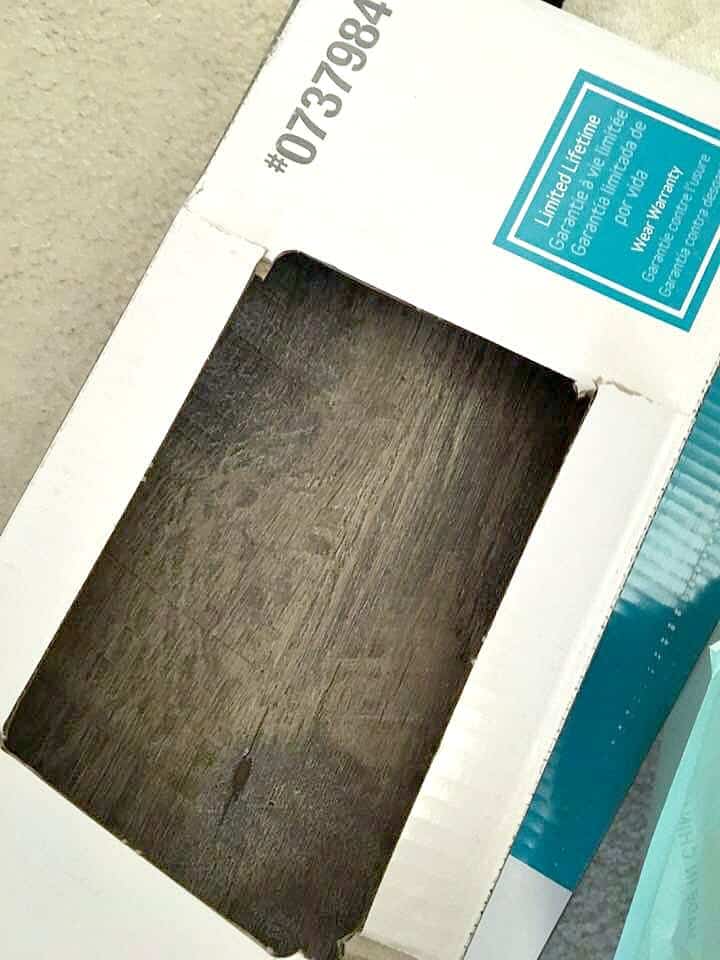
For the floor, we bought 2 boxes of the Armstrong driftwood gray color. This was more of an impulse purchase for us and I didn’t read any reviews. The cost outweighed any risk for such a small space. For this tiny bathroom I only used 3/4 of the box! You simply peel and stick it right on top of the existing vinyl flooring.
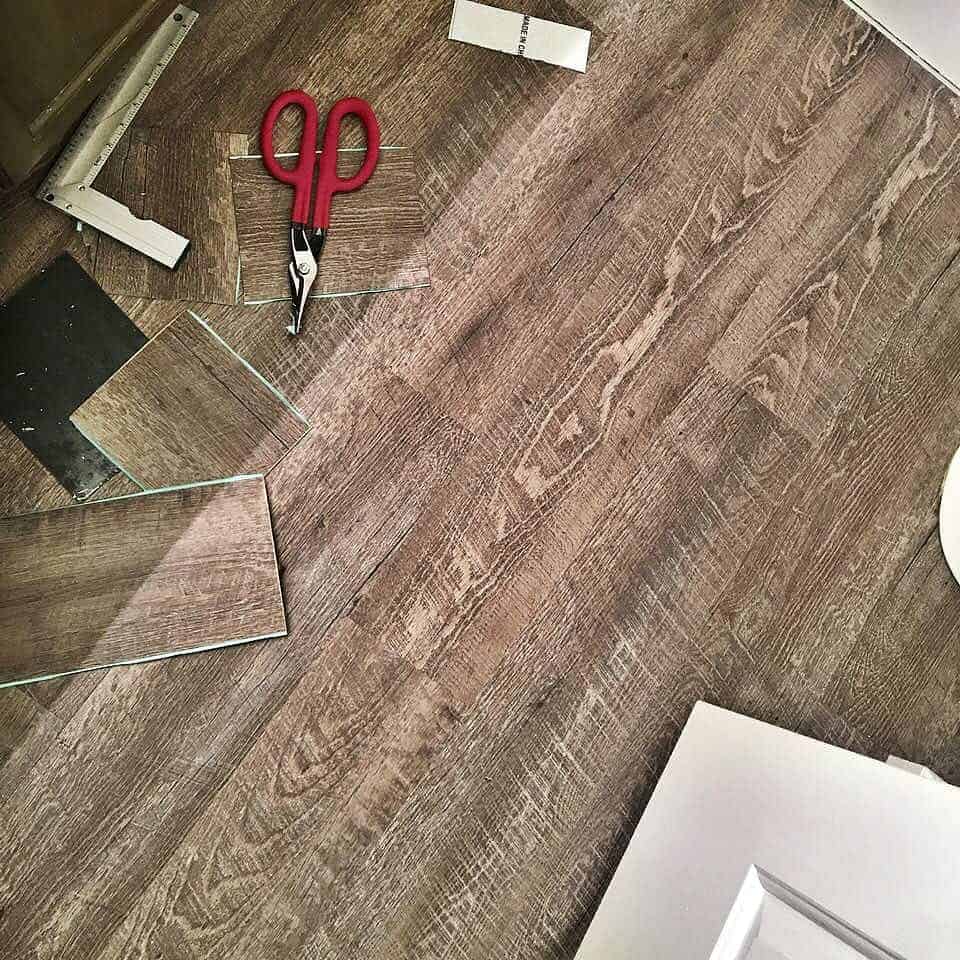
I laid the first plank and was done in about 4 hours. What I love is how tight you can cut around molding and odd shapes by simply using a heavy duty pair of utility scissors. Mark still uses tools for this purpose, but I tend to eye things up. A competition develops between us to see who does it better…
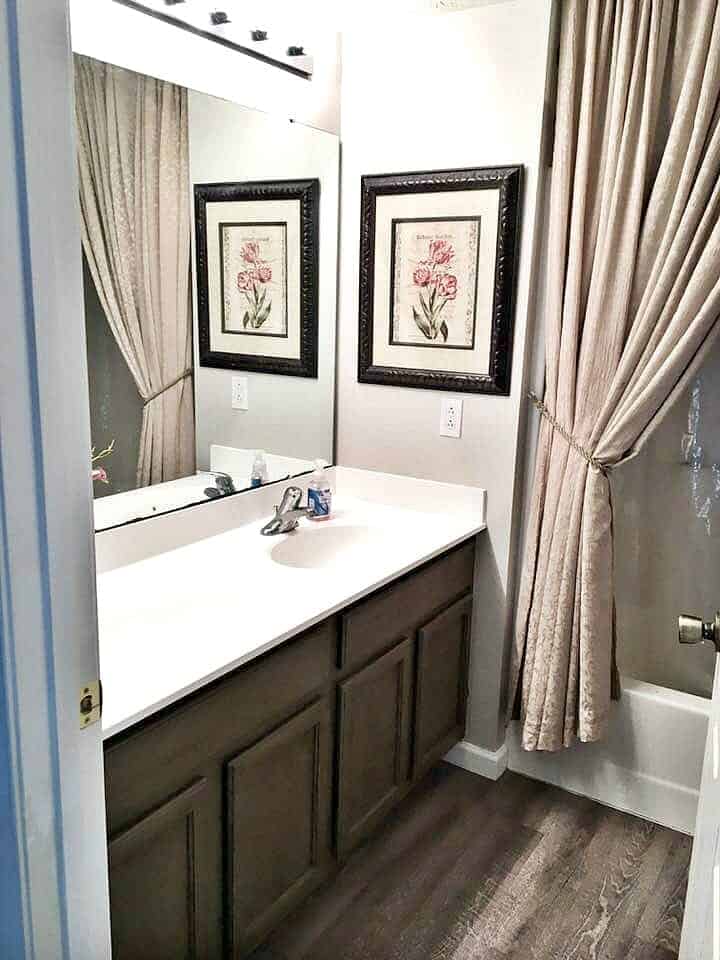
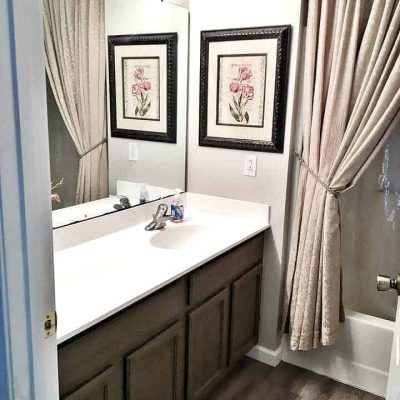
So here is the “after”:
Look how perfectly you can cut around odd shapes. I had to eye it up a bit, but finally got it right. Even after wasting a few pieces due to faulty cutting (from both of us) we still only used up 3/4 of the box.
There is nothing fancy about this space. Maybe we can still afford to do a few more things. Like add cabinet hardware, update the lighting and frame the mirror. But life isn’t about being perfect. My daughter said it feels like a spa compared to the previous version of the room. I love giving rooms new life for the kids – they seem to appreciate it so much.
My biggest lesson learned is to not neglect bathrooms for too long. Baseboards eventually start to peel due to water. Paint needs to be updated every few years. I loved the results so much that we were confident enough to update our master bath using this product. I will share our master bath floor and paint upgrade soon.
Some other articles you might enjoy:
Mini Home Upgrades that Pay Off || 6 Tips: How to Prioritize Your Projects || My 8 Biggest Decorating Mistakes


Love how this looks, I had to replace our bathroom floor do to water damage. The floor was so badly rotted that there was a hole that you could see the ceiling to our family room. So a family friend helped me pull it all up and put down a new subfloor. Then I went to work on putting in the new flooring. I really wanted to do a,gray tile but my husband didn’t want tile because he said it was,slippery. So the friend suggested Life Proof flooring since it’s water resistant. So I put that in. It was so hard to get to click together! I’ve put Pergo down a few times and this was by far much harder to get right. It seemed like once I would get one piece tapped in, another would pop out of joint. So, needless to say, I don’t think I will put it down in the rest of the house!
But one project I did do,was framing the giant mirror,above them vanity. I found,molding,that was,ore finished in a,dark wood at Ho,e Depot andmused that. Then I made a matching mirror,with,a,hide away,storage for my nail,polish. My husband ended up,taking over the project,for me and put this cool,sliding mechanism on it! But now,that,those projects,are done I have to conquer redoing the surround around the tub area!
I love this look! What color paint did you use to paint the cabinet?
Thank you! This was a Rust-o-leum Cabinet Transformations kit in “Meadow”.
I totally agree, flooring can be complicated. I didn’t have the energy for power tools this time around so this adhesive flooring worked out well for now. I also need to frame our mirrors which are original. Lots of little things I would change in this space, but my daughter loved it. It’s not a super glamorous space, but for the kids it’s just fine.
OOOOh I like this. I may consider this flooring for my basement laundry room!
That would be a great spot for this type of flooring. Good luck!
I always love your work – and this is another beautiful example! It looks like the bathtub is an acrylic insert and the vinyl tile looks really good with it!! I am thinking about using the vinyl tile in a master bath where the tub surround is white ceramic tile. Do you think the vinyl tile floor will look good with the ceramic?
I would have to see a photo of it – but on a side note – this flooring is really thin. So if you upgrade the thickness it may be more realistic and convincing. I think this thin flooring works mainly because our bathrooms are still builder-grade. At the time I built this house I only afforded upgrades involving square footage. I figured I would add higher end materials as we progressed.
Very much interesting post so far! Just a quick note to tell you that I have a passion for the topic at hand. thanks for shearing
I’ve recently considered doing something like this in our home but, had not seen it done anywhere. Amazing what I stumble on on your website.
If I had it to do over again, I would have chosen thicker laminate. But overall we love how it turned out!
Very nice – a great before and after! Isn’t it fun to do things the kids like? I bet they’re still loving it! ❤️
Thanks Barbara!