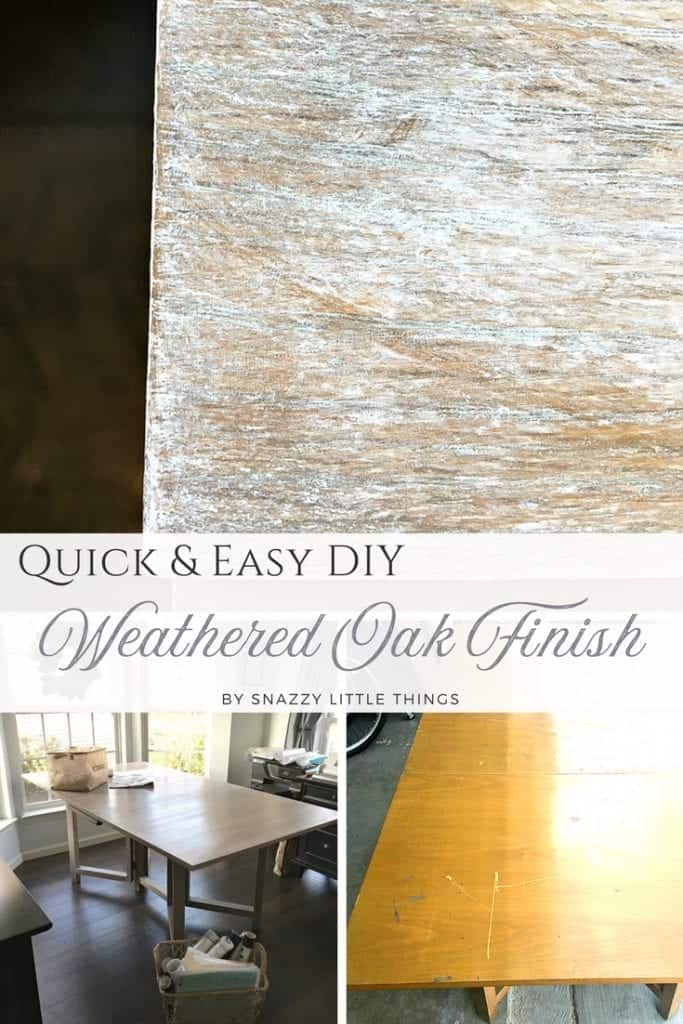
Quick & Easy Weathered Oak Finish
For awhile now Mark has been offering to make a portable craft table for me. His vision is to build something on wheels, a table that I can spill paint on and not worry about. But I struggle with the concept of “ruining” furniture – I love to keep things looking as nice as I can (especially if he made it for me). I totally get the reasons and appreciated his sweet offer, but I asked him to spare the cost of new wood and I’d find something used. Of course I’d attempt to make it both functional and beautiful.
Using Annie Sloan White Wax
 I had been eyeing up the Ikea Norden gateleg tables for the craft room, but spending $200 for an inevitably messy craft table didn’t sit right with me, either. Then…I discovered this…
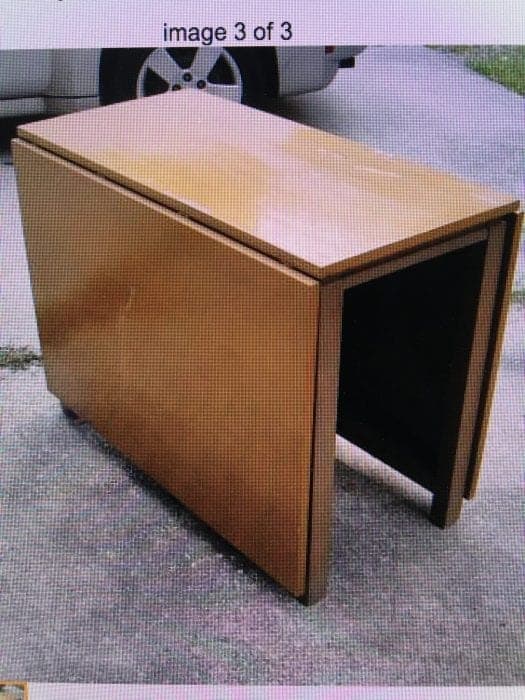
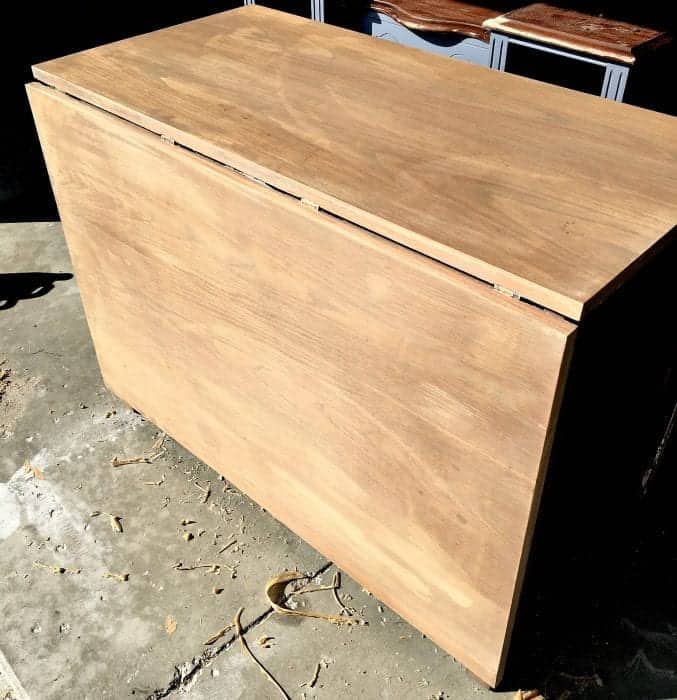
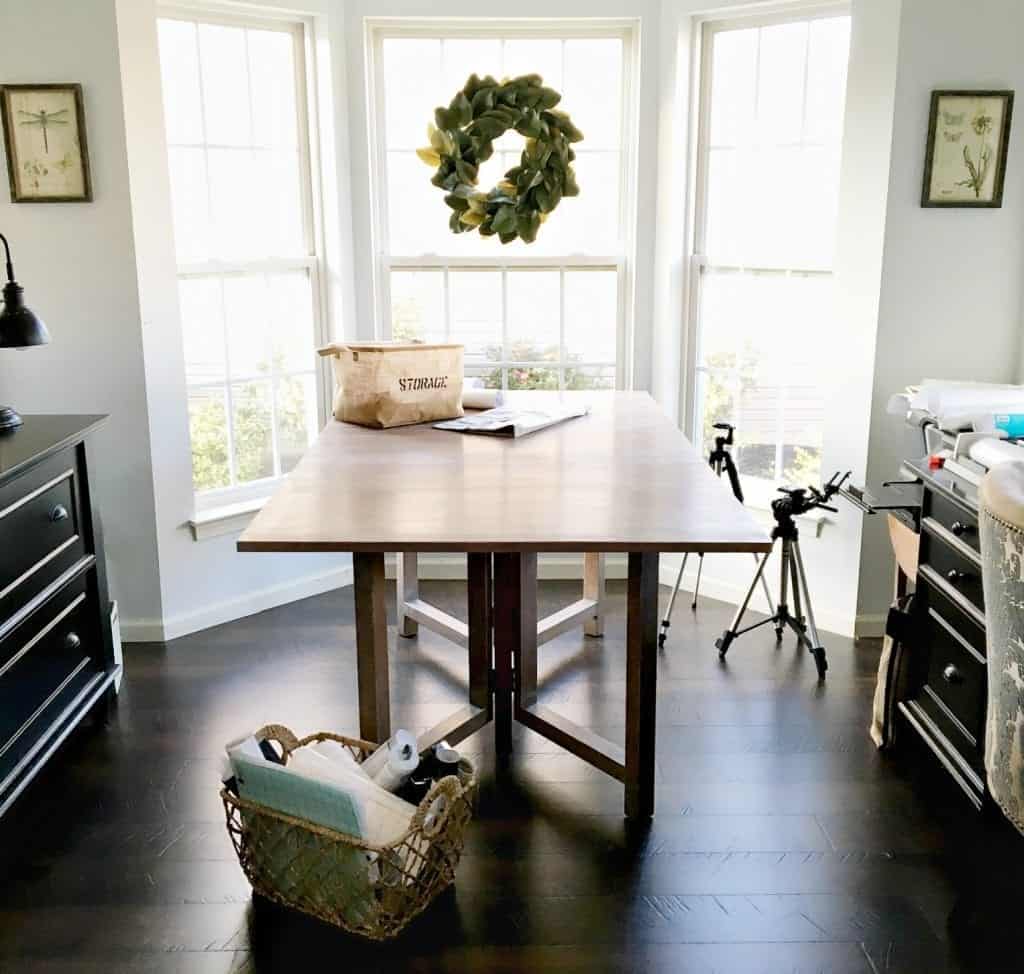
A $20 discovery! It’s not the normal style of table that I typically love, but it totally works for the craft room. The bonus? It’s even bigger than the Ikea gateleg table which made me think it might actually be a dining table. It opens easily to 72″ in length but folds down to almost nothing. To me, the bigger the crafting table the better! Add wheels, and we’re golden. Speaking of golden…get a load of this yellowed varnish finish.
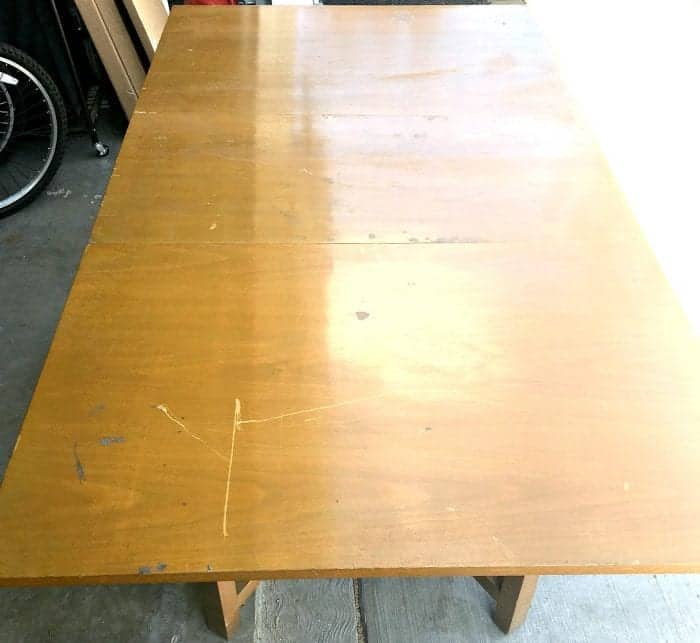
But look! A greyish, weathered finish lie beneath — I was inspired.
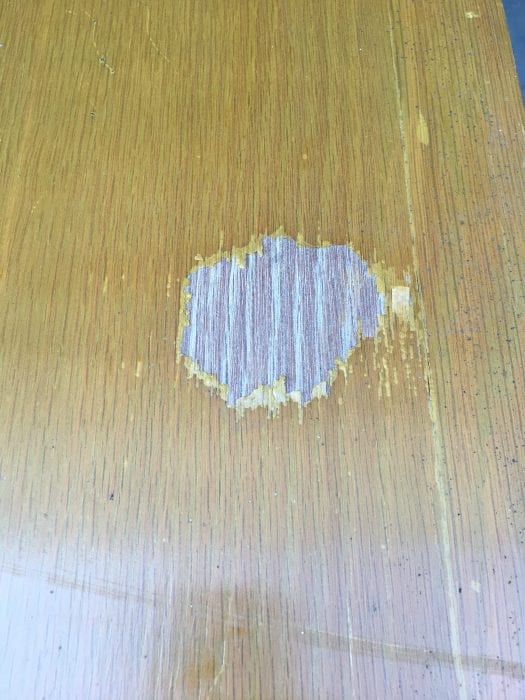
I had no choice — I had to make this table awesome again. So I applied Citristrip Stripping Gel on the varnish using a paint brush, then let it bubble up for about 25 minutes. The yellow varnish easily scraped off with a plastic scraper.
Posted by Snazzy Little Things on Thursday, September 21, 2017
At this point, I was officially in love with the natural wood look! But after stripping it revealed a red oak veneer with some stains on the tabletop. We debated for several hours on whether this was a solid wood vs. a wood veneer table. If veneer then we couldn’t really use a sander (my husband is very doomsday about sanding veneer, so I hand-sanded the tabletop for awhile). The stains remained and now the legs were a completely different shade of brown. I didn’t have the patience to strip all of it.
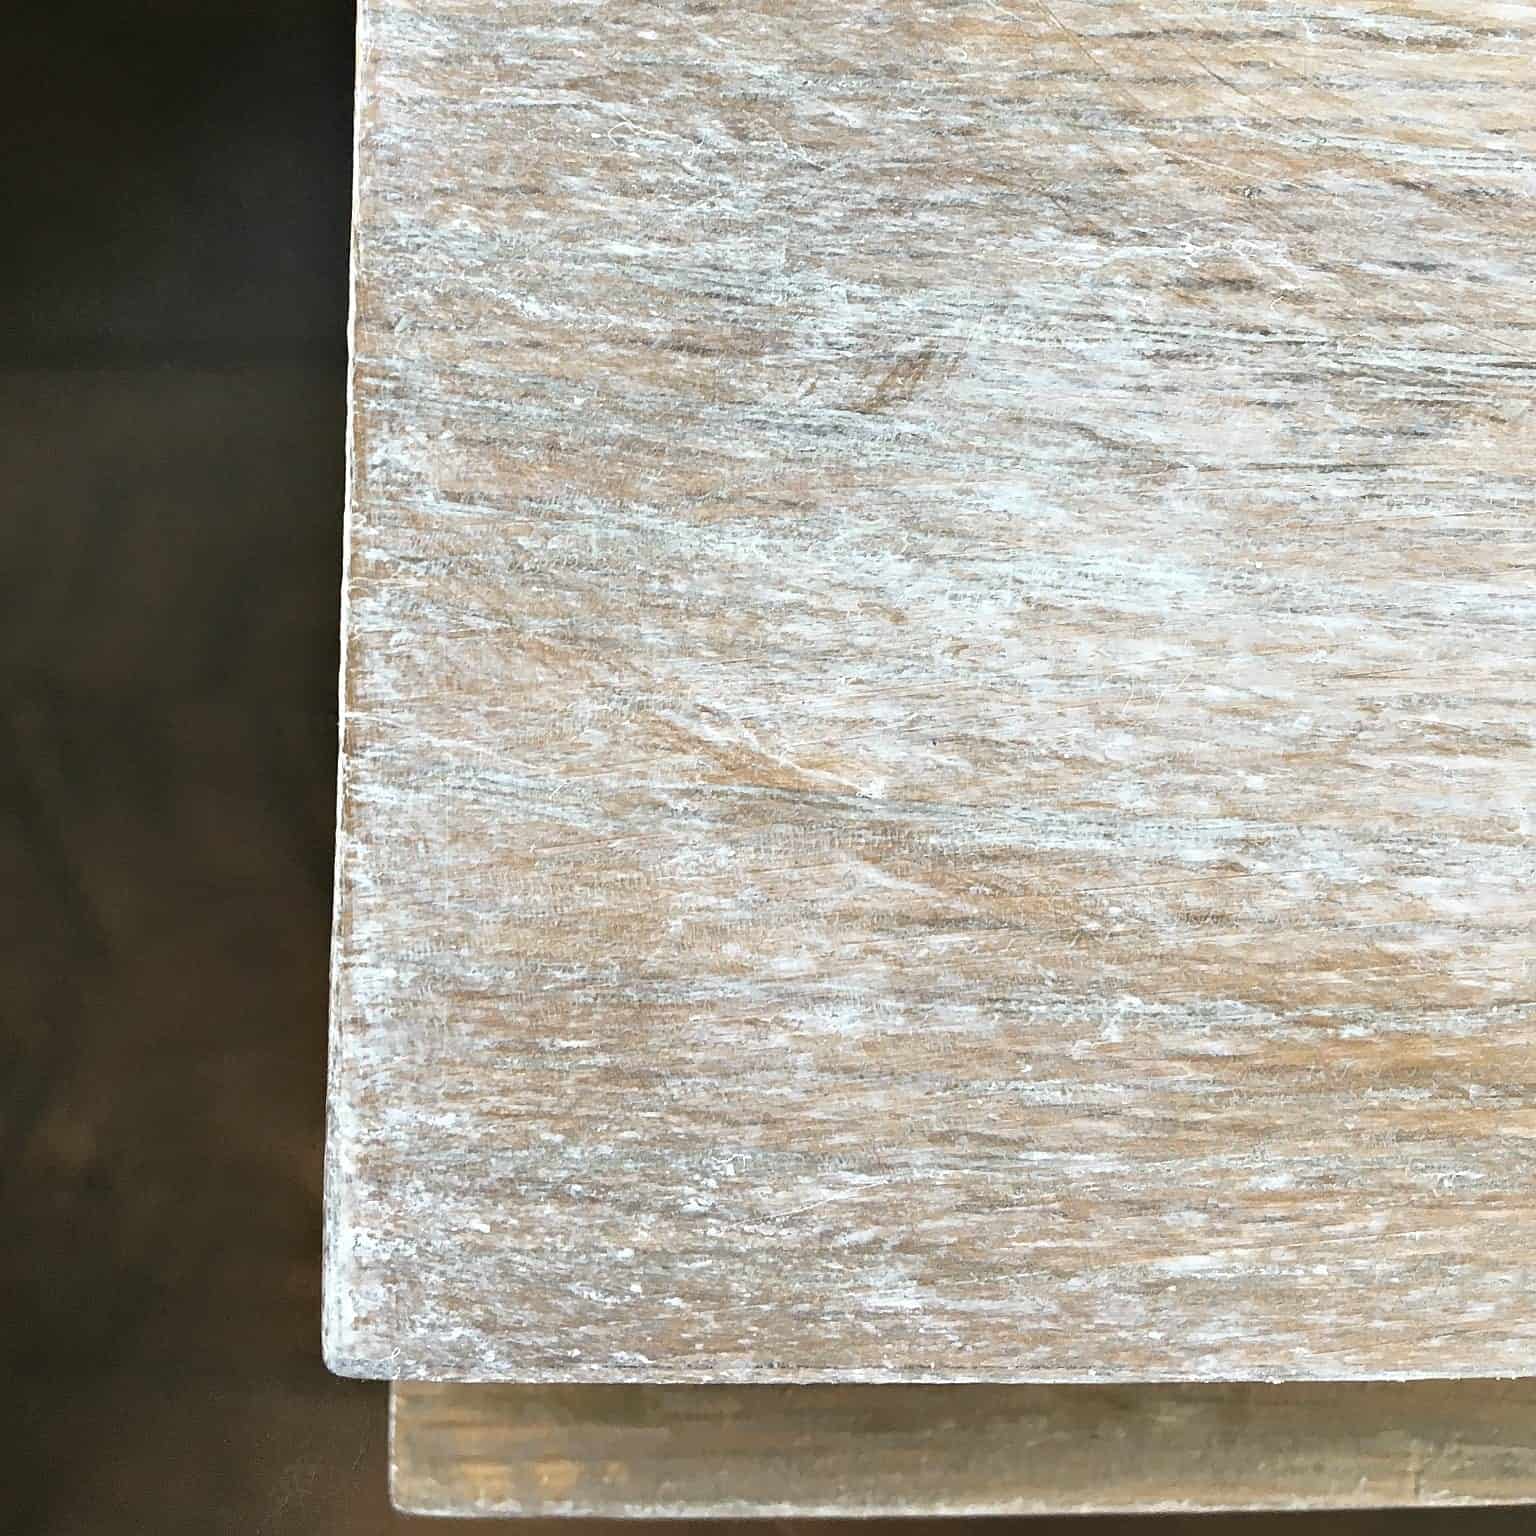
…so I applied Annie Sloan White Wax for some extra camouflage and to give it an even shade from top to bottom. I have to say, I adore Annie Sloan White Wax. (You can find an Annie Sloan stockist here).
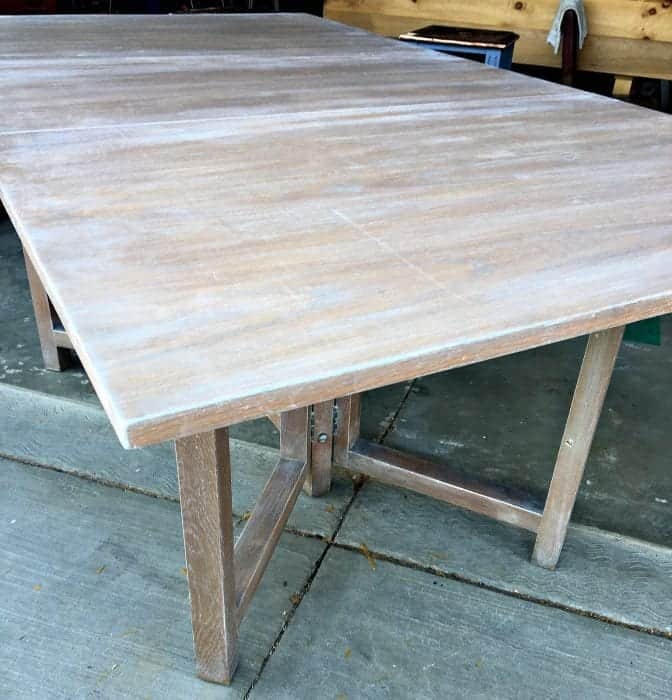
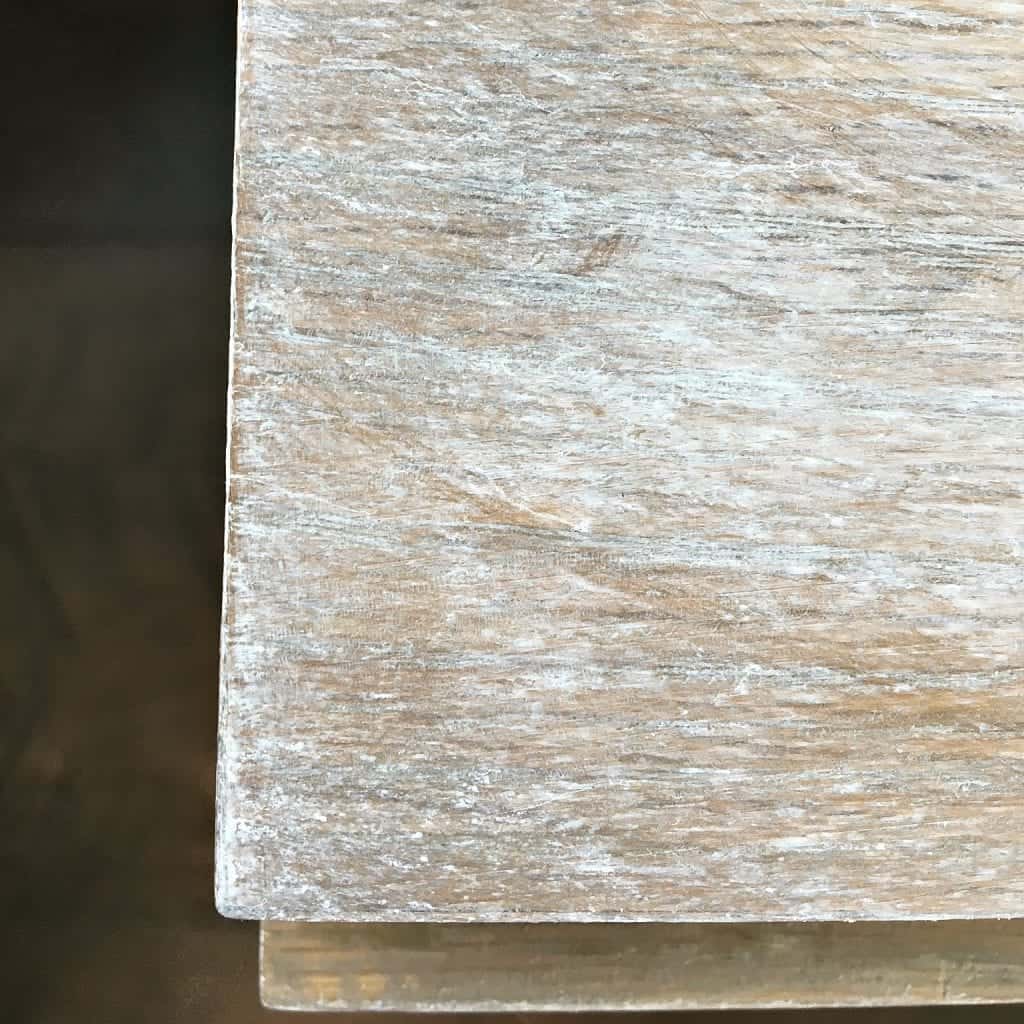
Using the Annie Sloan White Wax gave the table a very Restoration Hardware look, don’t you think? While there are still scratches and stains, the distressed look made the flaws in the finish forgiveable…adding charm and character to the piece. Once the wax cures, I will likely add a top coat to remove the waxy feel and make it last much longer.
My workspace has migrated upstairs temporarily. While I love my craft room, I confess that my crafts are taking over our whole house since we’re getting ready for our first show. I’m bouncing between Silhouette projects in the office, furniture projects in the garage…back to sign making in my office. So this gives me a convenient workspace where I can drop my supplies between coats of paint. Once our shows are over, this table will end up my official crafting table in the basement studio.
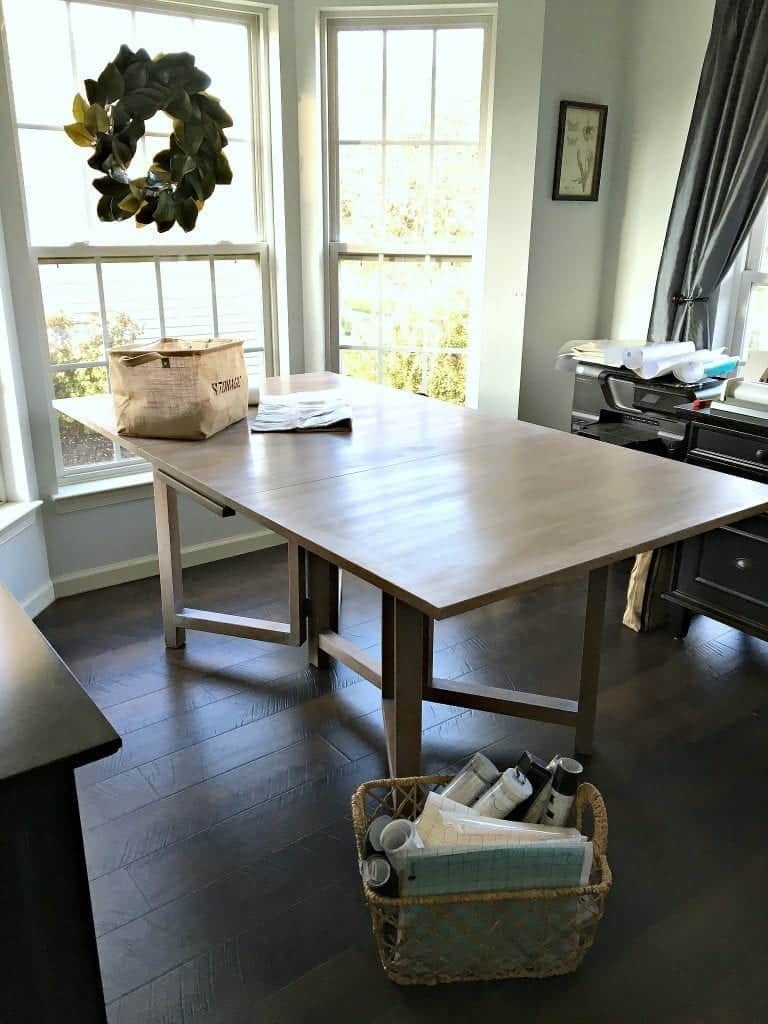
I think we’re going to add some wheels to the legs to make it easier to maneuver. I love how it folds down and doesn’t take up a lot of room if needed. But for now…it will get a lot of use up here in the office. And it will serve as a display table at Vintage Market Days in the center of our booth, too!
Thanks for following along! Still working on that antique vanity and a few other items that I can’t wait to share!





That table is awesome! I’m using an old drafting table with some leftover formica on the top–Its great for paint and glue cleanup but not very attractive! I may just pull it off and do this finish on it!
Thanks Karen! I was keeping my eye out for a drafting table too, I love those! My only issue is the waxy feel – so once this dries completely I will be putting a water based poly overtop. But I am already “banging it up” like my husband envisioned which is ok for a $20 table :)
Could you do this method for an dining table that you would use for eating?
yes, this is very durable – however, our tutorial is for new pine. but it should also work on stripped furniture. So my suggestion would be to at least strip the tabletop first…then if you don’t feel like stripping the legs, maybe you can paint those a different color.
Did you end up putting poly over it? If so, how did it work?
I sold the table with no poly – however, once wax cures completely I have used poly overtop and it works perfectly!